In a Teams class or meeting, you can share content on your screen with the other students or meeting participants. The best sharing option will vary based on the type of content you are sharing.
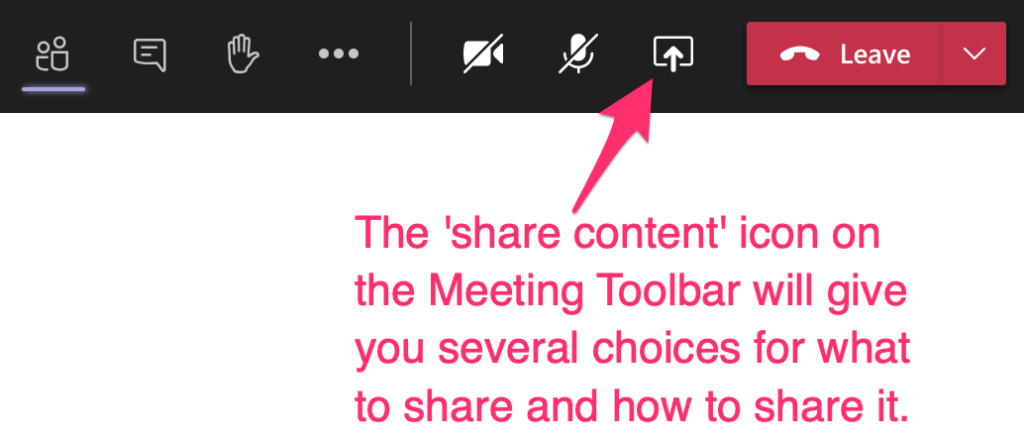
To share you screen or content, click the Share Content icon on the meeting toolbar.
Choose What to Share
When you click the Share Content icon, Teams offers several different options for what to share. 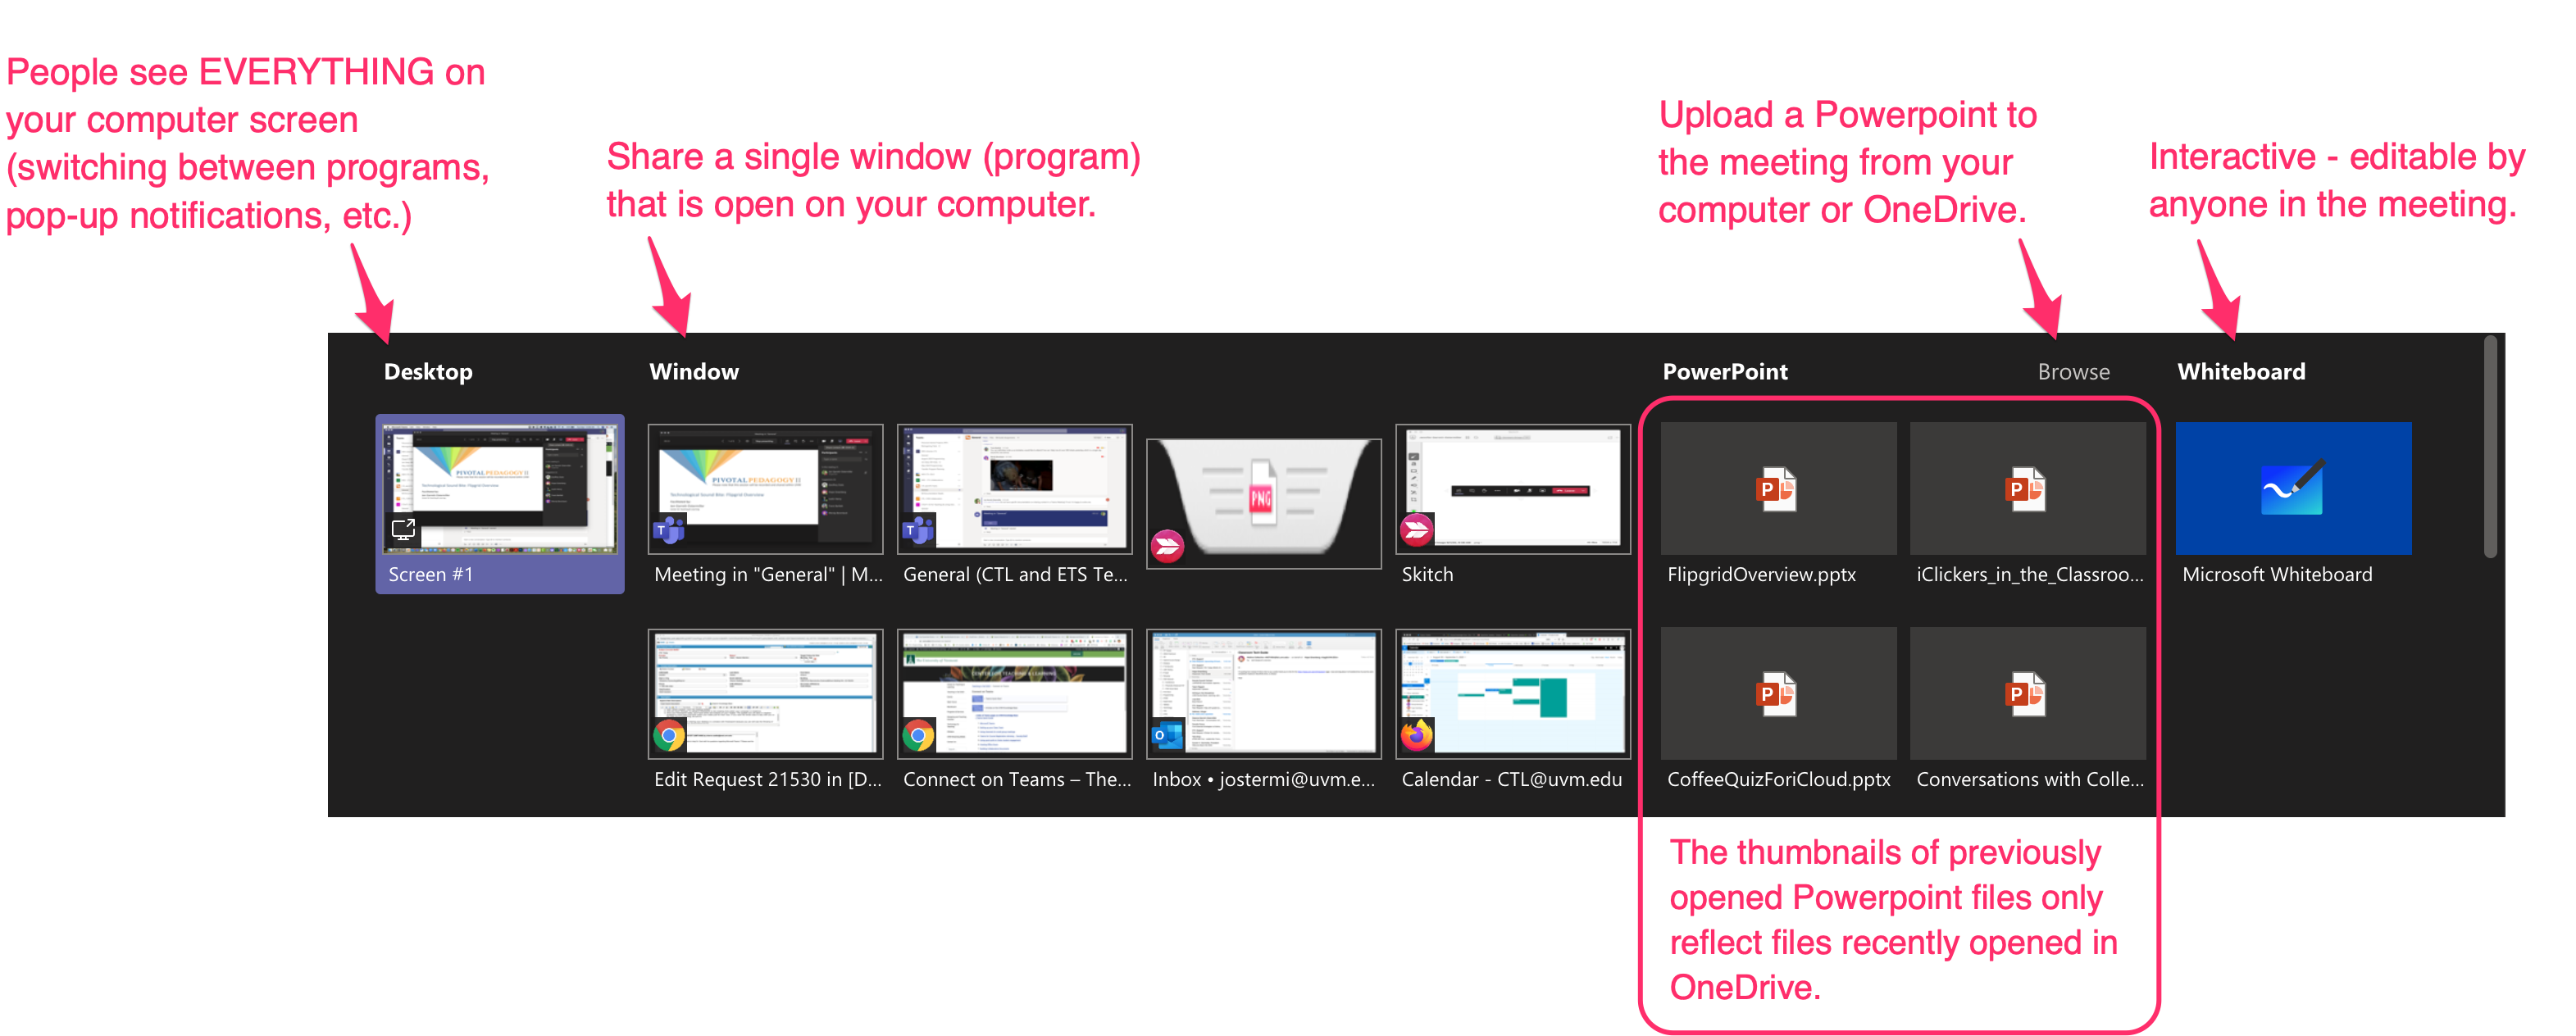
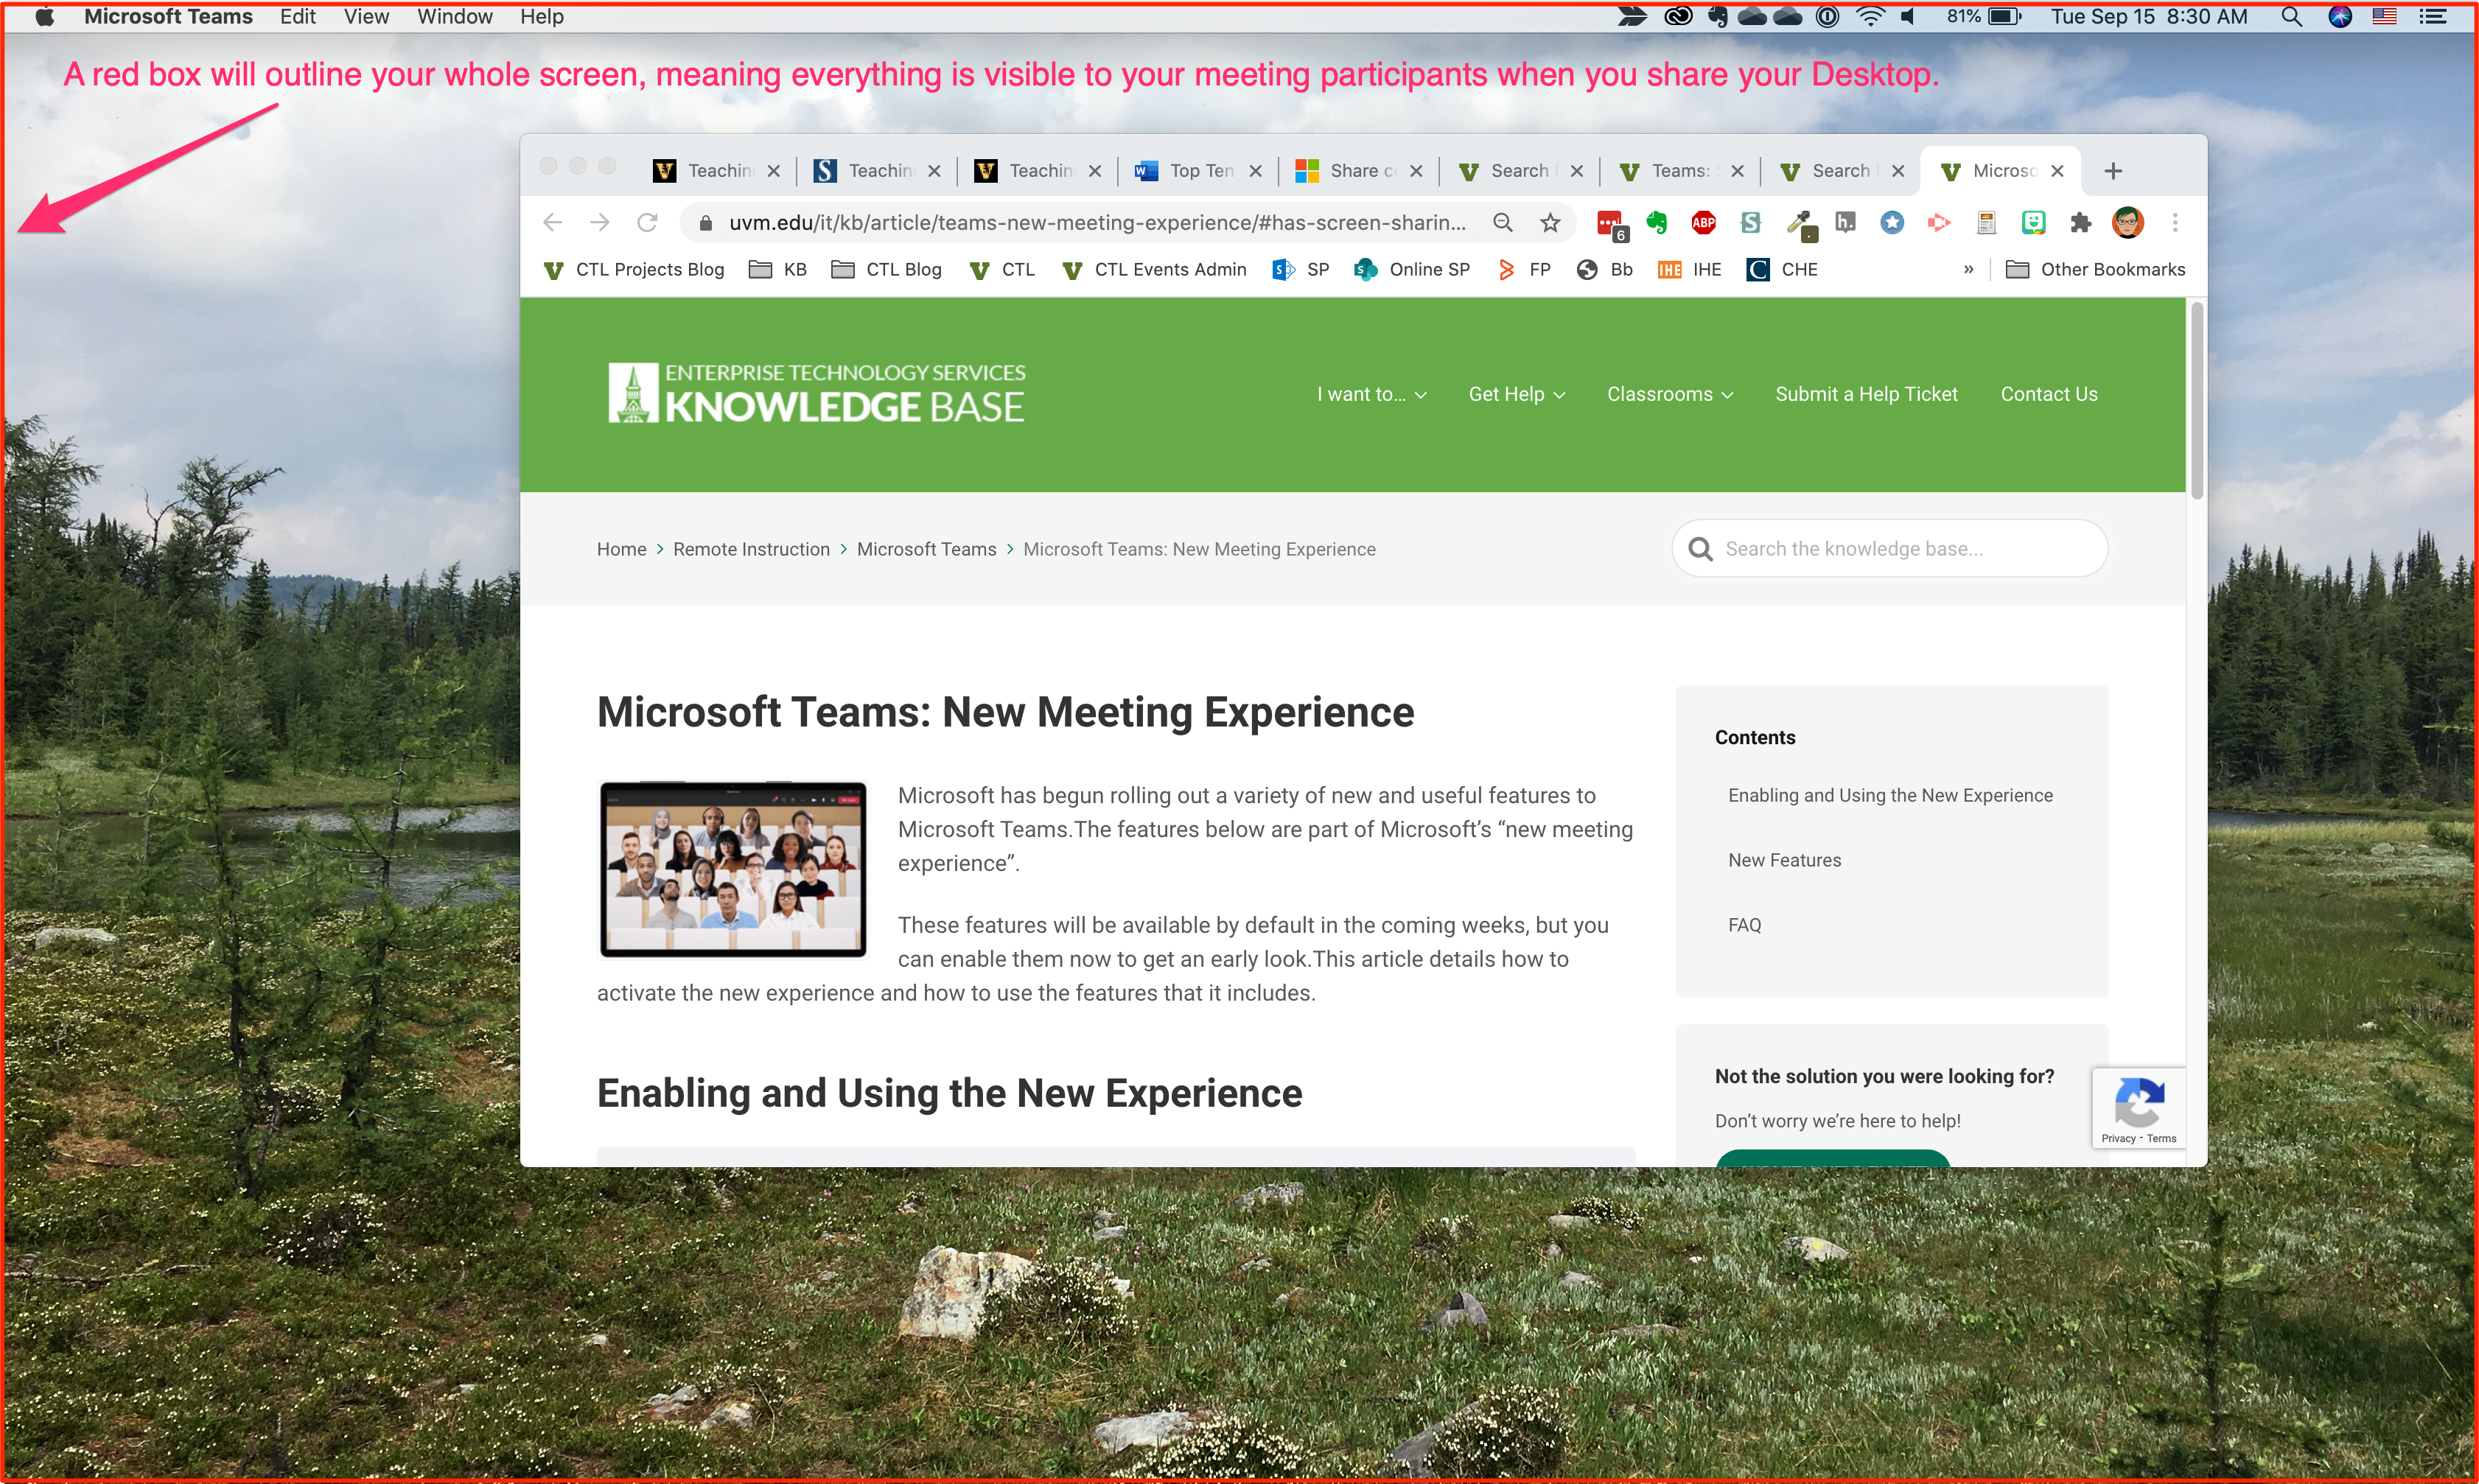
Sharing a Desktop
Sharing a Window
When sharing a Window, a red box wraps around the edges of the shared application.
Sharing a PowerPoint
While you can present a PowerPoint by sharing your Desktop or the PowerPoint window, Microsoft also allows you to share a PowerPoint directly to your meeting.
Below the PowerPoint option, you will see some thumbnails for recently opened PowerPoint files. If a file is missing from this list, you can click Browse to upload a file from your computer or Microsoft OneDrive. 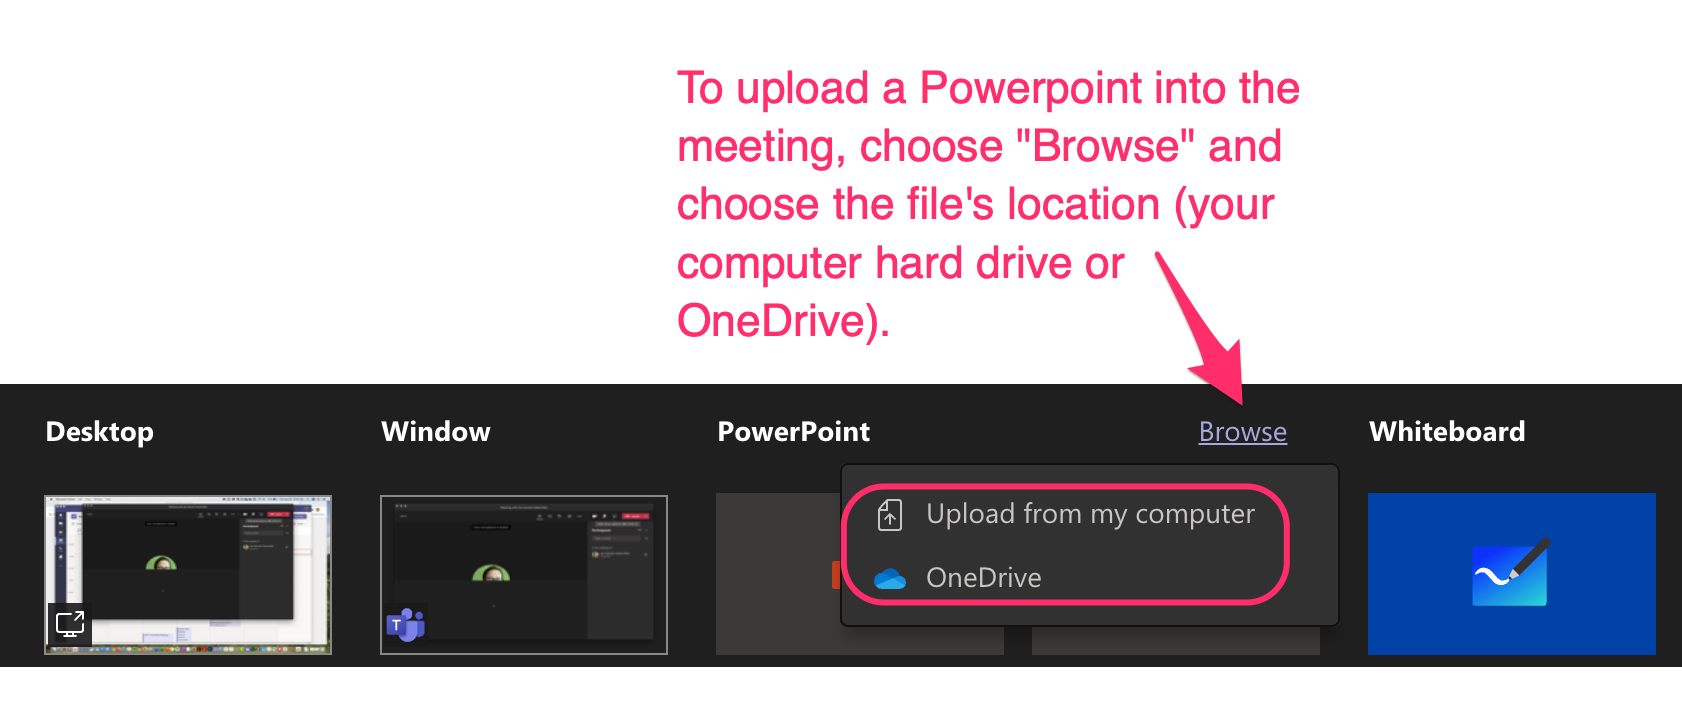
After sharing a PowerPoint, new options will appear in the meeting toolbar. Move to the next or previous slide by clicking the forward (>) or backward (<) buttons. You can also toggle the eyeball icon to allow or prevent participants from moving through your slides at their own pace.
Sharing Microsoft Whiteboard
Microsoft Whiteboard allows you and meeting participants to draw, write, and more on a shared virtual whiteboard. Everyone in the meeting can write, edit, or delete content from the Whiteboard.
Presenter Modes
When presenting content while also showing your camera feed, Teams lets you choose between four presenter modes. Each mode offers a different layout of your camera feed and the presented content.
Choosing a Presenter Mode
- After your meeting starts, click on “Share Content” in the top right corner of Teams. This will show presenter modes and other content sharing options.
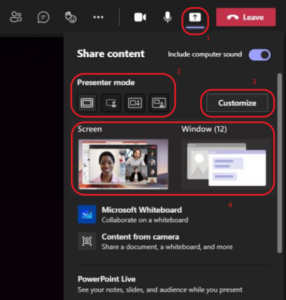
- Under Presenter mode, choose the mode that you want. For a list of the available modes and what they each do, see the next toggle.
- Optionally, select “Customize” and choose a background image.
- Finally, choose a screen, window, or other content to share.
Available Presenter Modes
In addition to the default, camera-less mode, the following presenter modes are available:
Sharing System Audio
Windows Users
When selecting which content to share, Windows users can click the Include system audio checkbox to share system audio. Meeting participants will only hear songs or videos playing on your system if this option is enabled.
Set your volume appropriately so that meeting participants can hear your shared audio. 
macOS Users
Unfortunately, it is not currently possible to share System Audio on macOS computers.
Improving Sound Quality
Interference by other sounds reduces the sound quality (often causing it to fade out for a moment). You can preserve the quality in these two ways:
- Ensure Participants are Muted
- You can manually mute all participants by clicking the participants icon in your Teams Toolbar, and click Mute All. Be sure not to mute yourself.
- Alternatively, just ask participants to mute themselves. You can right click individual participants to mute them, as necessary.
- Reduce Background Noise
- Set up your microphone away from your keyboard and mouse.
- Avoid shuffling papers, clicking pens, or creating other noises near your mic.
- Enable or increase Noise Suppression in Teams
Stop Sharing
You can stop sharing a PowerPoint or Whiteboard by clicking Stop Presenting.
For all other content, click the Stop Sharing button.
Permit a Participant to Share Content
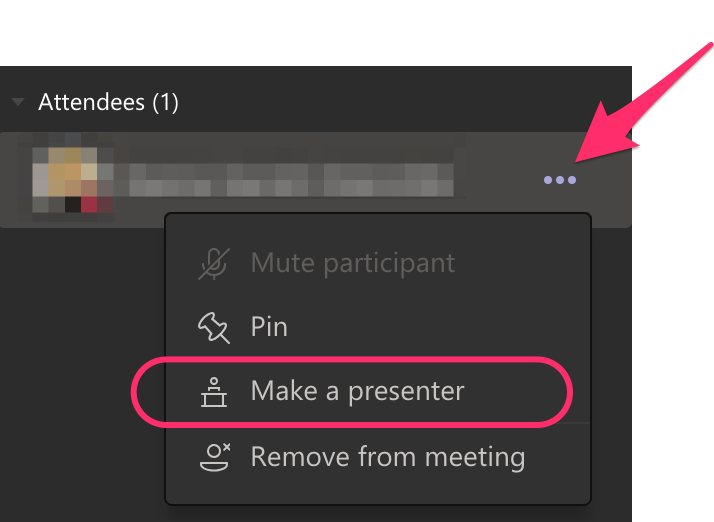
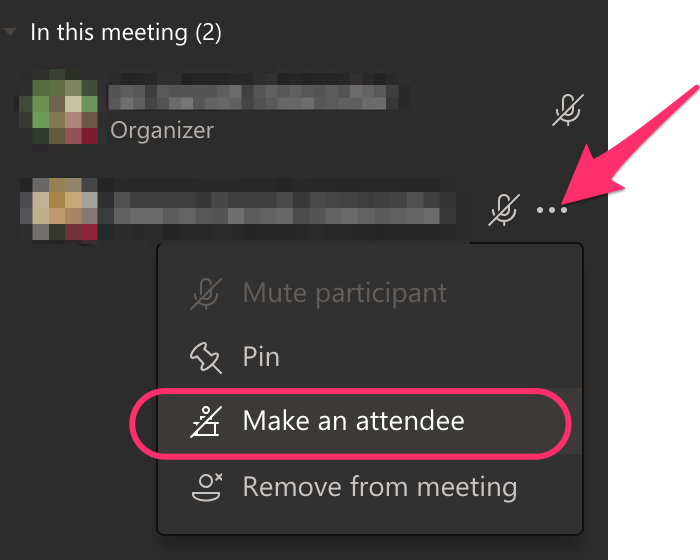
By default, only those with the Presenter or Organizer roles are permitted to share content. Organizers can adjust meeting options ahead of time to permit attendees to share content as well.
