Brightspace does not have a wiki tool. Instead, you can add collaborative working spaces and/or sign-up sheets in Brightspace by creating and linking to a file in MS Teams. The following instructions outline how to create a file in MS Teams and documents two ways to add the file’s link into Brightspace.
Create the file in Teams
-
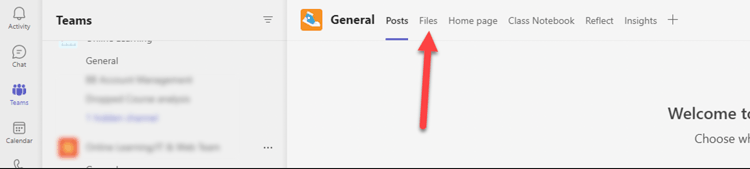
- Go to your course MS Teams space.
- Along the top menu bar, click Files.
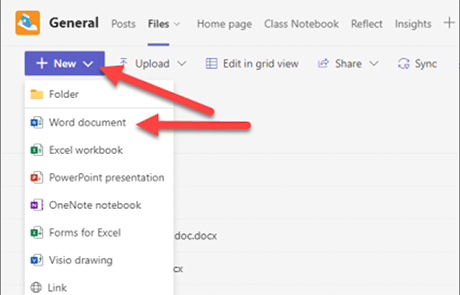
Click New > Word document.
-
- You will be prompted to enter a name for your document. Enter a name and click Create.
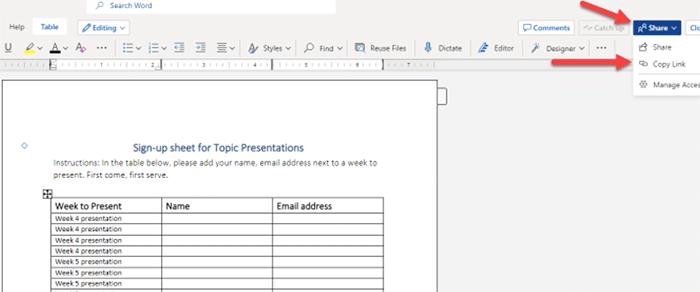
- You will be brought to a blank file. Add instructions for students. If the file serves as a sign-up sheet, it may be helpful to create and pre-populate a table with sign-up information for students.
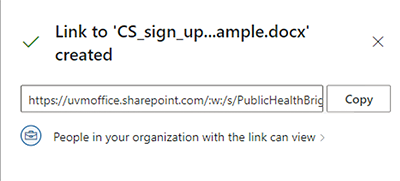
- Once your document is ready to share with students in Brightspace, click Share > Copy link in the top right corner of the file.
A pop-up box will appear. Click the link that says, “People in your organization with the link can view.”
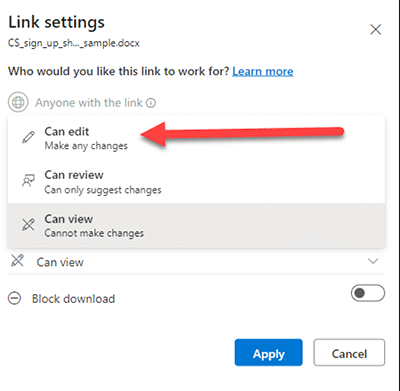
Click Other settings and select “Can edit.”
-
- Click Apply.
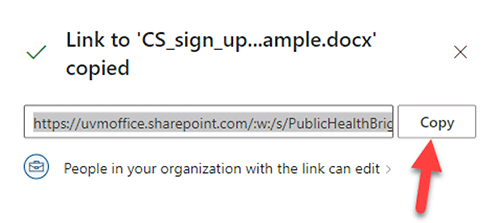
- Click Copy.
- Log into your Brightspace course and navigate to the location where you would like students to access the link.
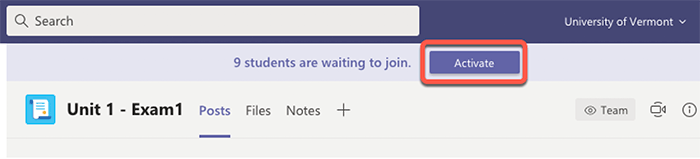
- Note: You will need to activate your Team for students to be able to see and access your collaborative document. When you go into your Team, click the Activate button at the top of the page to activate your team.
Link File in Brightspace
Here are two different options for adding this collaborative document into your Brightspace course: 1) via a LINK and 2) via a FILE.
Option 1: Adding the link to MS Teams via a LINK in Brightspace
-
- Navigate to the course location where you would like to add the link.
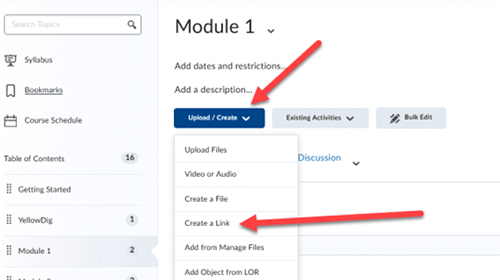
- Click Upload/Create, then select Create a Link.
In the New Link box, add a descriptive title and paste the link (copied from the MS Teams file) into the URL field. Check the box that says “Open as External Resource.”. Click Create. It will look something like this:

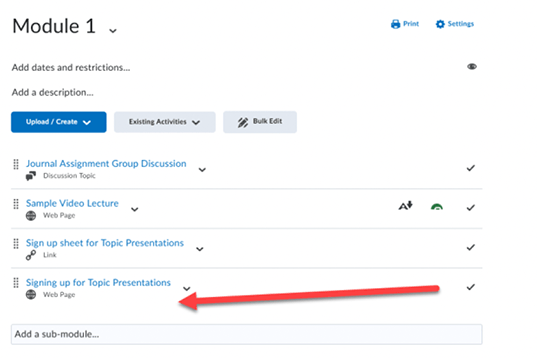
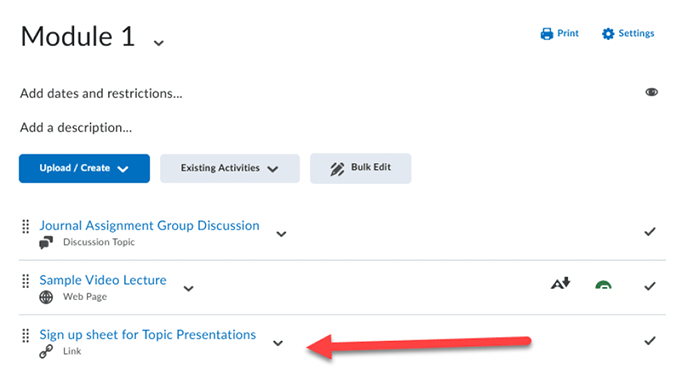
Within your module, it will look like this:
Option 2: Adding the link to MS Teams via a FILE in Brightspace
-
- Navigate to the course location where you would like to add the file.
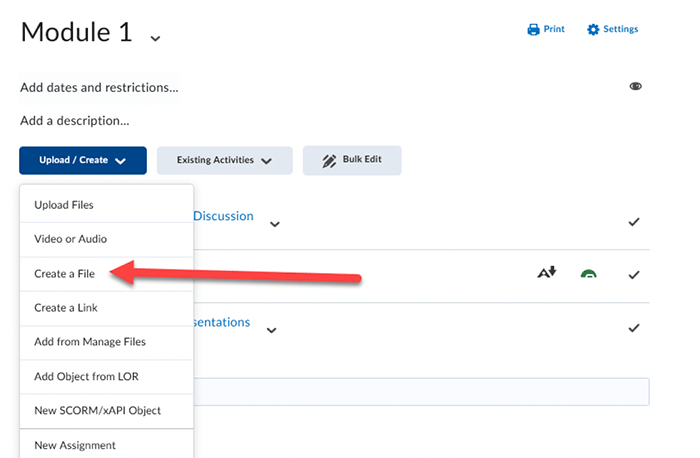
- Click Upload/Create, then select Create a File.
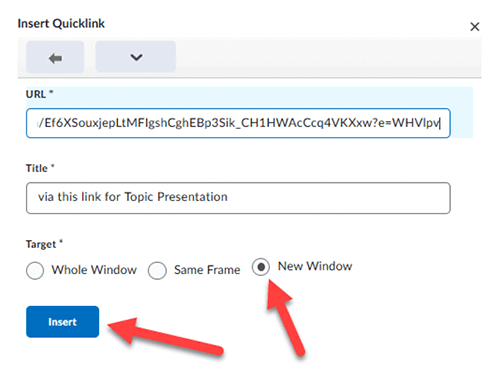
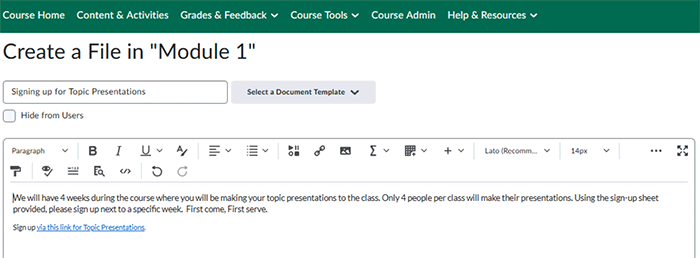
On the Create a File page, enter a title for your file. Within the body of the file, you can add instructions for students and add the link to the MS Teams file. To do so, highlight the text you want to turn into a link. Click the link icon (insert quick link) on the toolbar. Select URL. In the URL pop-up box, paste the link to your MS teams file in the URL field, and click the button that says “New Window.” Click Insert.
It then may look something like this. In this example, the written instructions are followed by a link to the sign-up sheet.
-
- Click Save and Close.
- Within your module, it will look like this: