
You may need to save the file contents from a Microsoft Team, perhaps to preserve or archive some work at the end of a project, or to collect class lecture recordings for future review and reuse.
Because Microsoft Teams uses SharePoint Online to store and manage file contents, including meeting recordings, you can use several different approaches to saving those files to another location.
Restore the Team if it has been archived
If the files you wish to save are in a Team that has been archived, you will need to restore that Team before you can access its contents. Please follow the instructions in this Knowledge Base article to view and restore archived Teams for which you are an owner.
Download specific files
Each channel with your Team should have a Files tab. Within this tab, you can select one or more files or folders and then click the Download button on the tab’s menu bar:
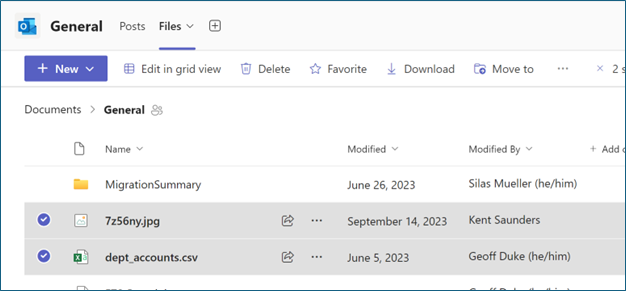
Teams will download the files you have selected, collected in a Zip archive file.
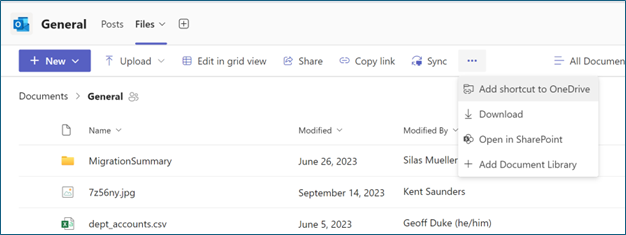
Download all the files in a channel
If you want to download all the files in a channel, make sure no files are select, then click the Download button under the ellipses (three dots) menu. Teams will download a Zip archive of all the files in the channel.
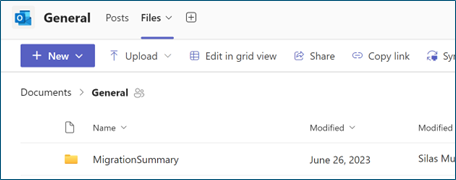
Download all the files from a Team
First, open the SharePoint site corresponding to your team. One way to do this is to select the Open in SharePoint option from the ellipses (three dots) menu.
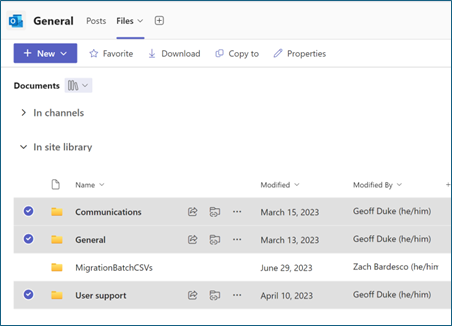
Open the In site library section and select all the folders you want to save, then click the Download button.
Note: if you are downloading a large number of files, particularly large media files like meeting recordings, you’ll want to keep an eye on the size of the files you download and the amount of space on your device.
Saving a class or team OneNote notebook
Microsoft provides an option to “save a copy…” of a class or team OneNote notebook. This capability is only available by opening the onenote.com website and selecting the Class Notebooks option (tab):
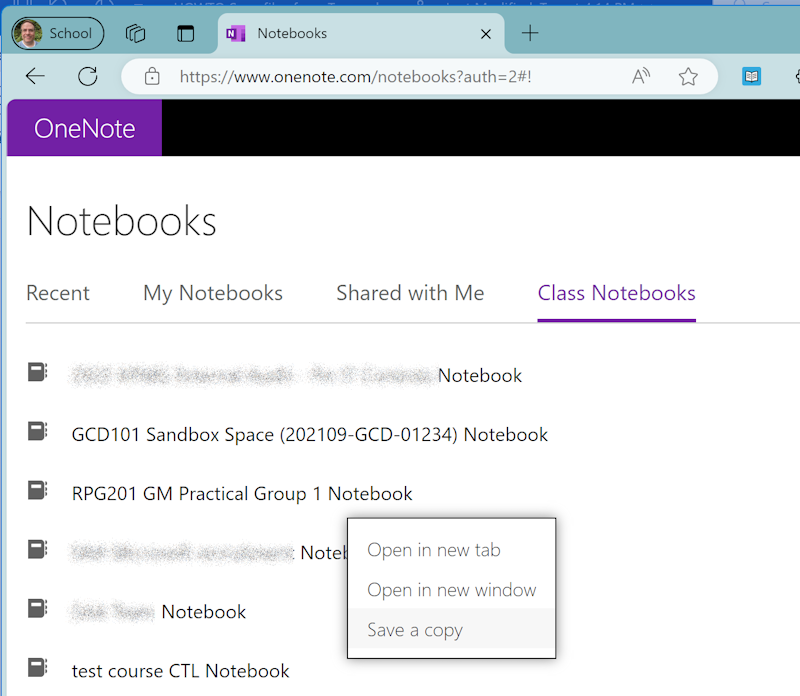
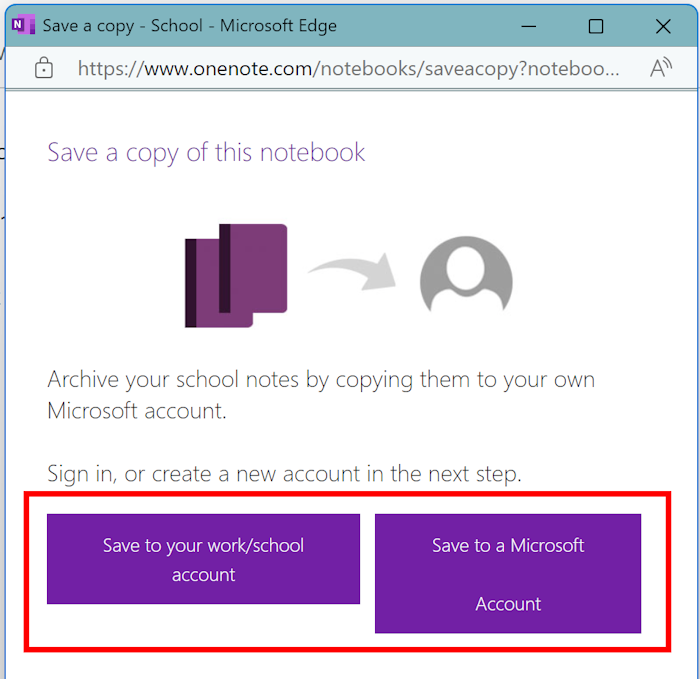
Then right-click on the notebook name and select Save a copy from the pop-up menu. You will be prompted to sign in with the account to which you wish to save the notebook copy. If you are an instructor saving a copy of a class notebook, sign in with your own account. If you are student and want to save a copy to a personal Microsoft account before you leave UVM, you can sign in (or create) a personal Microsoft account.
Saving specific content from a class or team OneNote notebook
- You will need a destination OneNote notebook to receive the sections and pages that you are saving. Create a new OneNote notebook if you don’t already have one.
- Open the team or class notebook in the OneNote desktop app
- Right-click the notebook section* and select the Move or Copy option
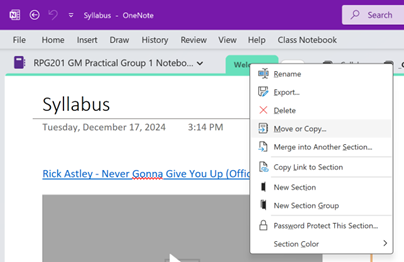
- Select the desired destination notebook

- Lather, rinse, repeat