Default calendar sharing in Exchange is set to show Free/Busy (more on statuses). This means that other members from the UVM community will be able to see that you have a meeting scheduled during a block of time, but are unable to view the details of that meeting.
The instructions below describe how to adjust your Calendar Sharing permissions to a more or less restrictive permission level.
Outlook for PC
- Open Outlook. If you don’t have Outlook yet, click here for instructions installing the Microsoft Office suite.
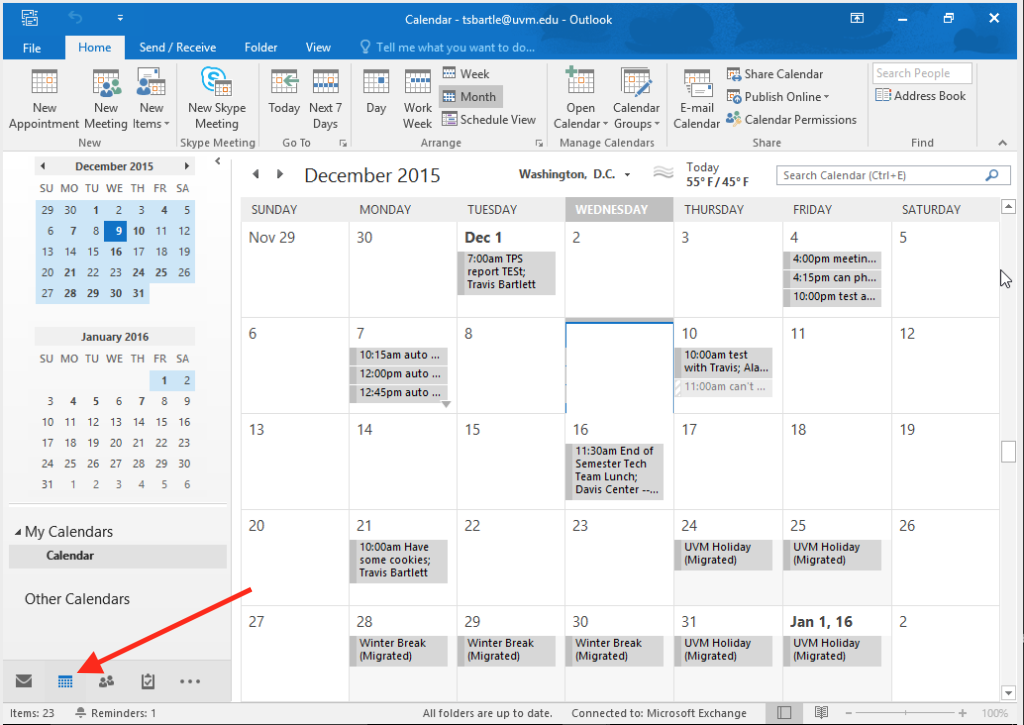
- Switch to your calendar view by clicking Calendar in the lower left corner of the Outlook window. The calendar may also be displayed as a small Calendar icon.
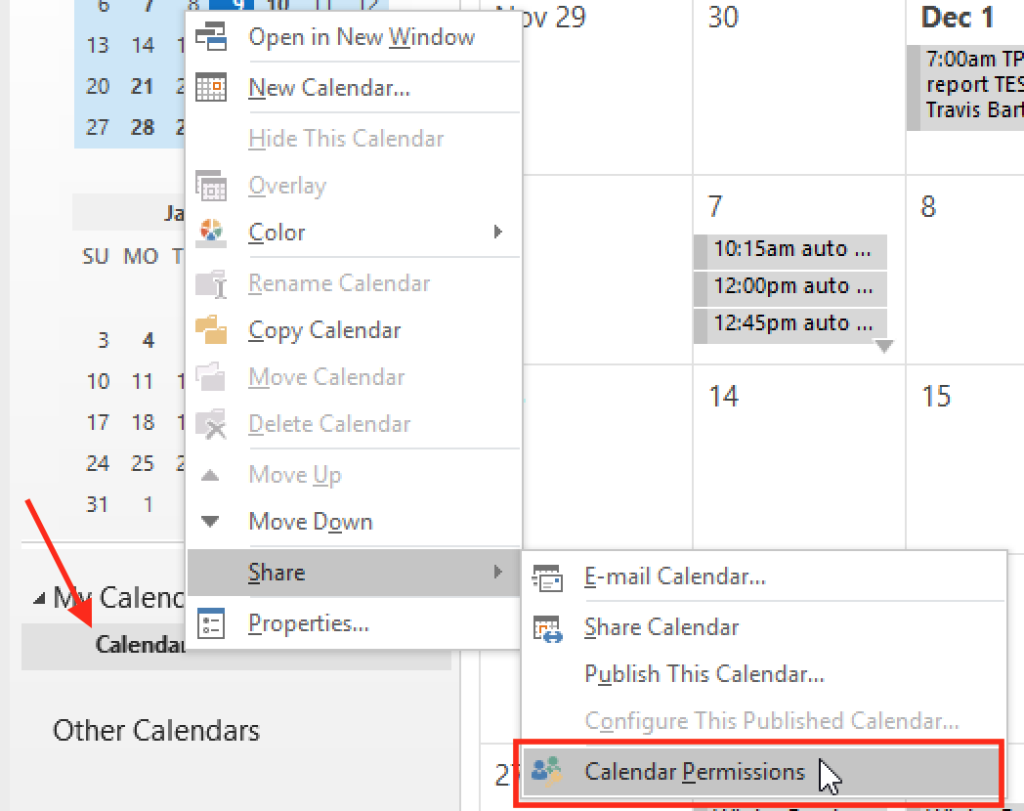
- In the left column under the My Calendars section, you’ll find your default calendar, named Calendar. Right click it, then select hover over Share and select “Calendar Permissions“.
- In the Calendar Properties window, select the Permissions tab to view your current calendar permissions settings. Select the Default name, then use the Permission Level dropdown to choose your desired permission level.
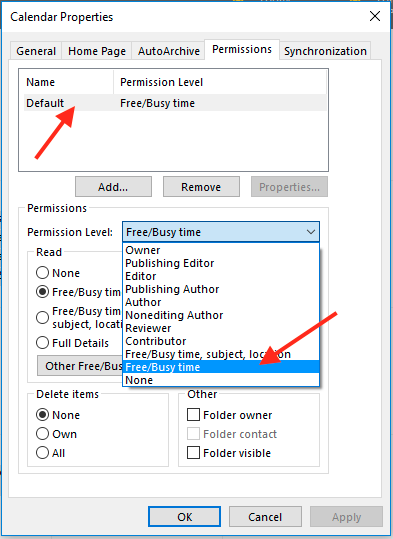
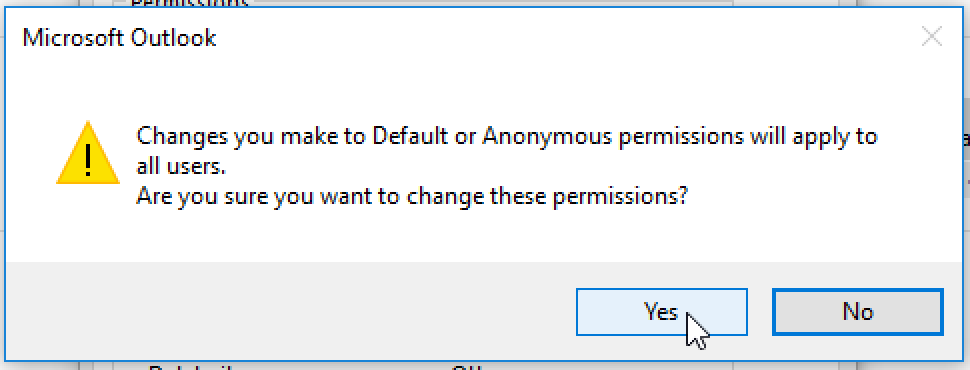
- Once you’ve selected your desired Permission Level, click OK. Outlook may warn you that the settings you’ve made will apply to all users. Click Yes to finish configuring your calendar permissions.


Outlook for Mac
- Open Outlook. If you don’t have Outlook yet, click here for instructions installing the Microsoft Office suite.
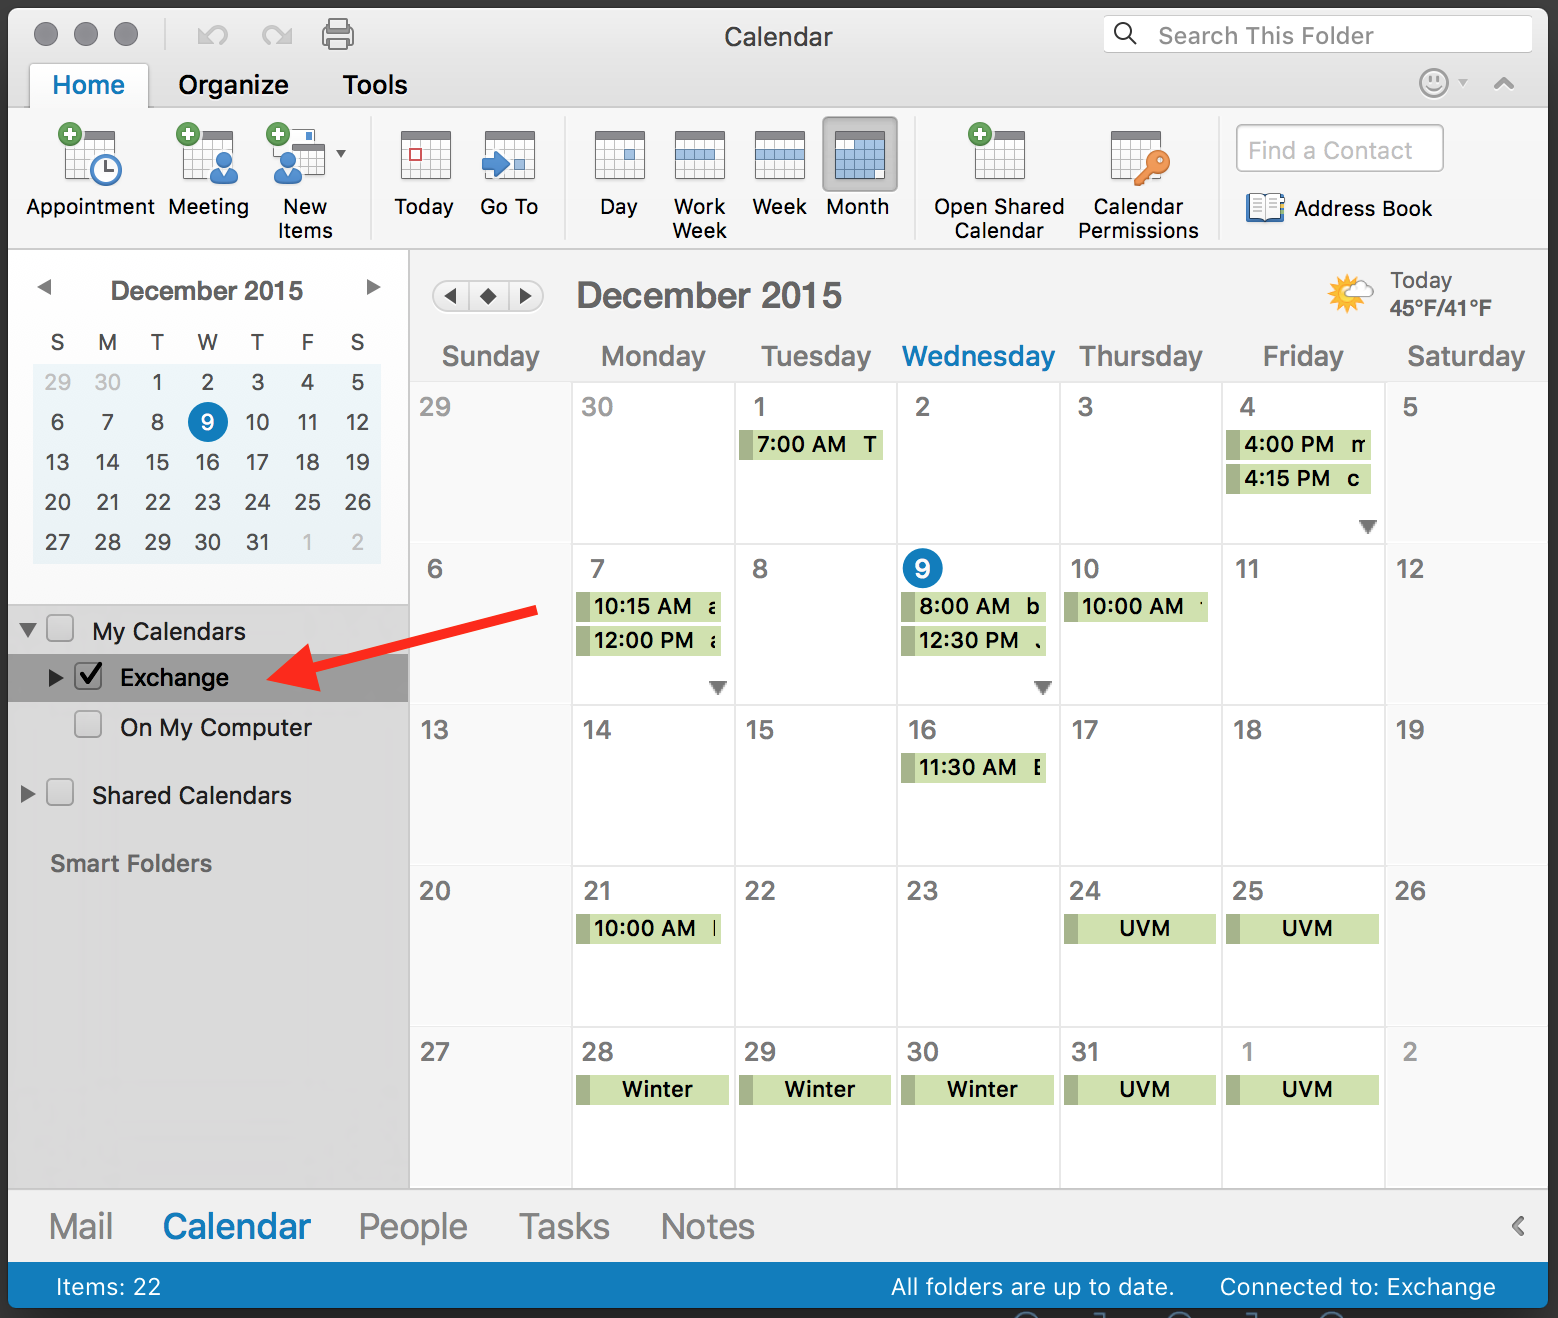
- Switch to your calendar view by clicking Calendar in the lower left corner of the Outlook window. The calendar may also be displayed as a small Calendar icon.
- In the left column under the My Calendars section, you’ll find your default calendar. In our example, this is named Exchange. This name may be different depending on what you named your Exchange profile when adding your account to Outlook.
- From the “Calendar” view, find the “My Calendars” area in the left column. In our example the default calendar is named “Exchange”, this may be different in your case depending on what you named your Exchange profile when adding your account to Outlook.

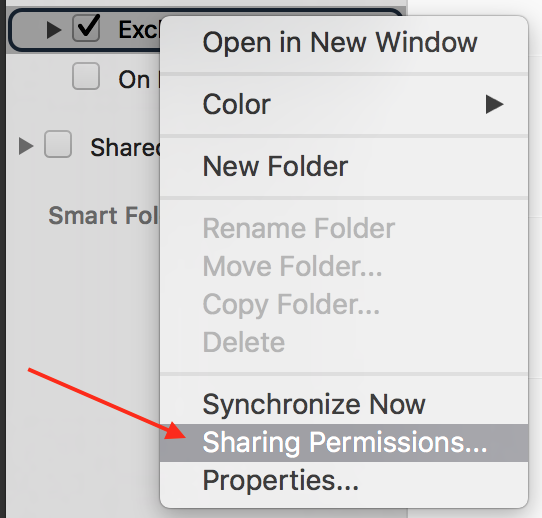
- Right click your calendar, then select Sharing Permissions from the menu.
- In the Calendar Properties window, select the Permissions tab to view your current calendar permissions settings. Select the Default name, then use the Permission Level dropdown to choose your desired permission level. Click OK to finish configuring your calendar permissions.