
Working with partners beyond the formal boundaries of the University is essential to the mission of our Land Grant institution. This guide is intended to help UVM affiliates and our partners use Microsoft cloud services – such as SharePoint and Teams – to collaborate successfully.
Whether you’re working with community organizations, research collaborators, or industry partners, this guide will help you navigate guest access, shared resources, and secure communication across platforms.
We have provided some specific guidance for working with our colleagues at the Larner College of Medicine. Please see that documentation here: Microsoft Teams – Navigating between LCOM and UVM
Video Guides:
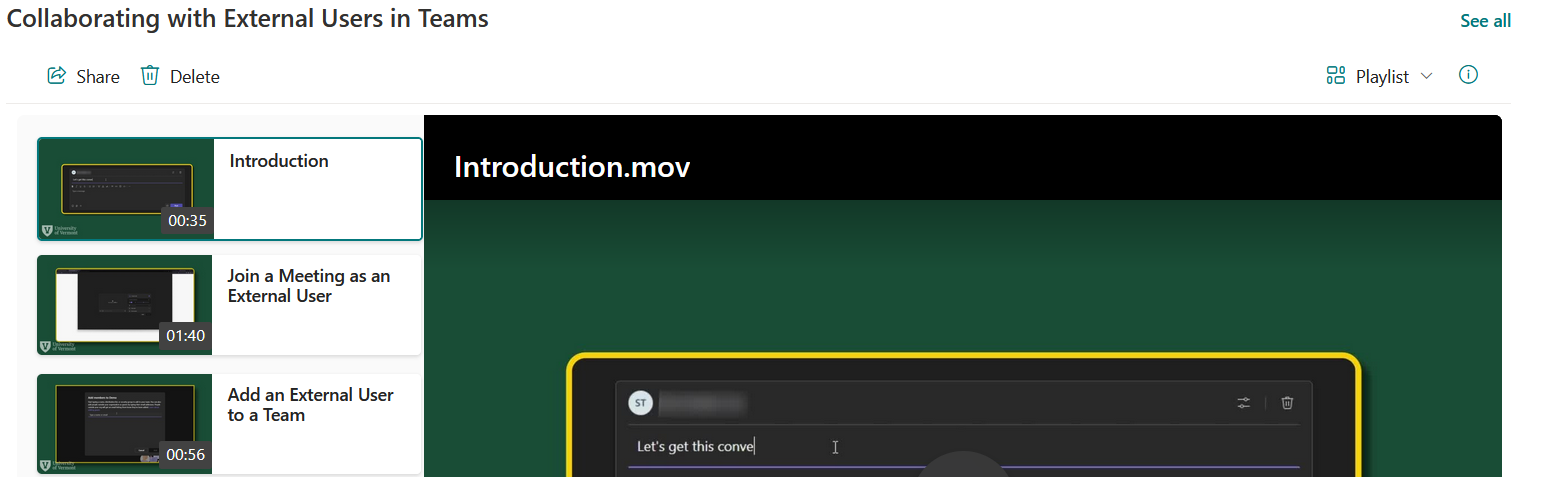
ETS has created a playlist with videos to accompany the documentation below. You can watch the videos on the ETS Info SharePoint here: Collaborating with External Users in Teams
Teams Meetings with External Users
Joining a Meeting as an External User
1. Click on the meeting link provided to you by the meeting organizer
2. From here, you can either Continue on this browser or, if you have the Microsoft Teams app on your computer, click Join on the Teams app
3. You can now join the meeting by entering your name and clicking Join. If you have a Microsoft Account or your organization has its own Microsoft Tenant, we recommend signing in to ensure your account is “authenticated.”
(Assuming default Meeting settings)
Authenticated Users:
- Can use their microphone & camera
- Can share their screen(s)
- Can read chat history and engage in chat.
Unauthenticated Users:
- Use their microphone & camera
- Must be granted permission by a meeting organizer to share their screen
- Can engage in chat and will only see chat content sent during the meeting
Default Settings - Teams Meetings
| Category | Setting | Default Value |
|---|---|---|
| Security | Bypass the Lobby | Everyone |
| Audio & Video | Microphone | Allowed |
| Audio & Video | Camera | Allowed |
| Engagement | Meeting Chat | On |
| Engagement | Q&A | Off |
| Engagement | Allow Reactions | Yes |
| Engagement | Allow Attendance Report | Yes |
| Roles | Announce when people dialing in join or leave | Yes |
| Roles | Assign co-organizers | Unassigned |
| Roles | Who can present | People in my org and guests |
| Roles | Enable language interpretation | Unassigned |
| Recording & Transcript | Requires a Teams Premium License | ~ |
Sharing Files With External Users
Requesting External Access to SharePoint Sites
While Microsoft Teams allows you to add external users as members by default, SharePoint sites that are not connected to a Team require a separate request to enable external sharing.
There are two types of external sharing options available:
- Anyone (Anonymous Access): Allows you to share files or folders with users outside UVM without requiring them to sign in. This is useful for public or low-risk content.
- New and Existing Guests: Requires external users to authenticate using a Microsoft account or a work/school account. This option is more secure and appropriate for ongoing collaboration.
To add an external member to your SharePoint site, invite them to our tenant, then add their guest account to your SharePoint site’s Unified Group. This will create a guest object for them in our tenant.
If you require anonymous access to your site, submit a ticket to the UVM Tech Team requesting anonymous access be enabled with a link to your SharePoint site.
Sharing Individual Files with External Users
- Navigate to your document in OneDrive or SharePoint
- If this document belongs to you as an individual, it’s appropriate to store it in your personal OneDrive space.
- If you’re sharing a document related to work on your team, it’s appropriate to store the file on the Teams SharePoint site that you are all members of.
- Click on the Share icon.
- Enter the email address of the user with whom you would like to share this file.
- Click Send
- If you would instead like to share this link with Anyone, you can click the gear icon next to Copy link and change the sharing permissions to Anyone.
- Enter the email address of the user with whom you would like to share this file.
Ongoing Collaboration with External Users
If you’re collaborating with an external user on a project or will be sharing multiple files with a user, it would be best to create a team or invite the user to an existing team. Adding members (including external users) to a team allows them to access any files stored within the Team.
Invite an External User to a Team:
- In Teams, navigate to the team to which you’re attempting to add an external user.
- Click the More Options ellipses button (…) next to your Team’s name and select Add member.
- Enter the email address for the external user in the Type a name or email box.
- If the user is already a guest in our tenant, they will also be searchable by name.
- Click Add
Reviewing Access/Revoking Access to Files
Review Who has Access to a File
You can review who has access to a shared file by navigating to the file in OneDrive/SharePoint, then:
- Click the ellipses (…) next to the share button.
- Select Manage access from dropdown menu.
- Review the People, Groups, and Links tabs to see who can access the file.
Revoke Access to a File
You can revoke access to a shared file by navigating to the file in OneDrive/SharePoint, then:
- Click the ellipses (…) next to the share button.
- Select Manage access from dropdown menu.
- You can remove a person, group, or link by clicking on the associated security entry and changing the permission from its current state to Remove Direct Access.
To stop sharing a file with everyone, click the Stop Sharing button at the top right of the Manage Access window. This option removes all non-owner people, groups, and links.