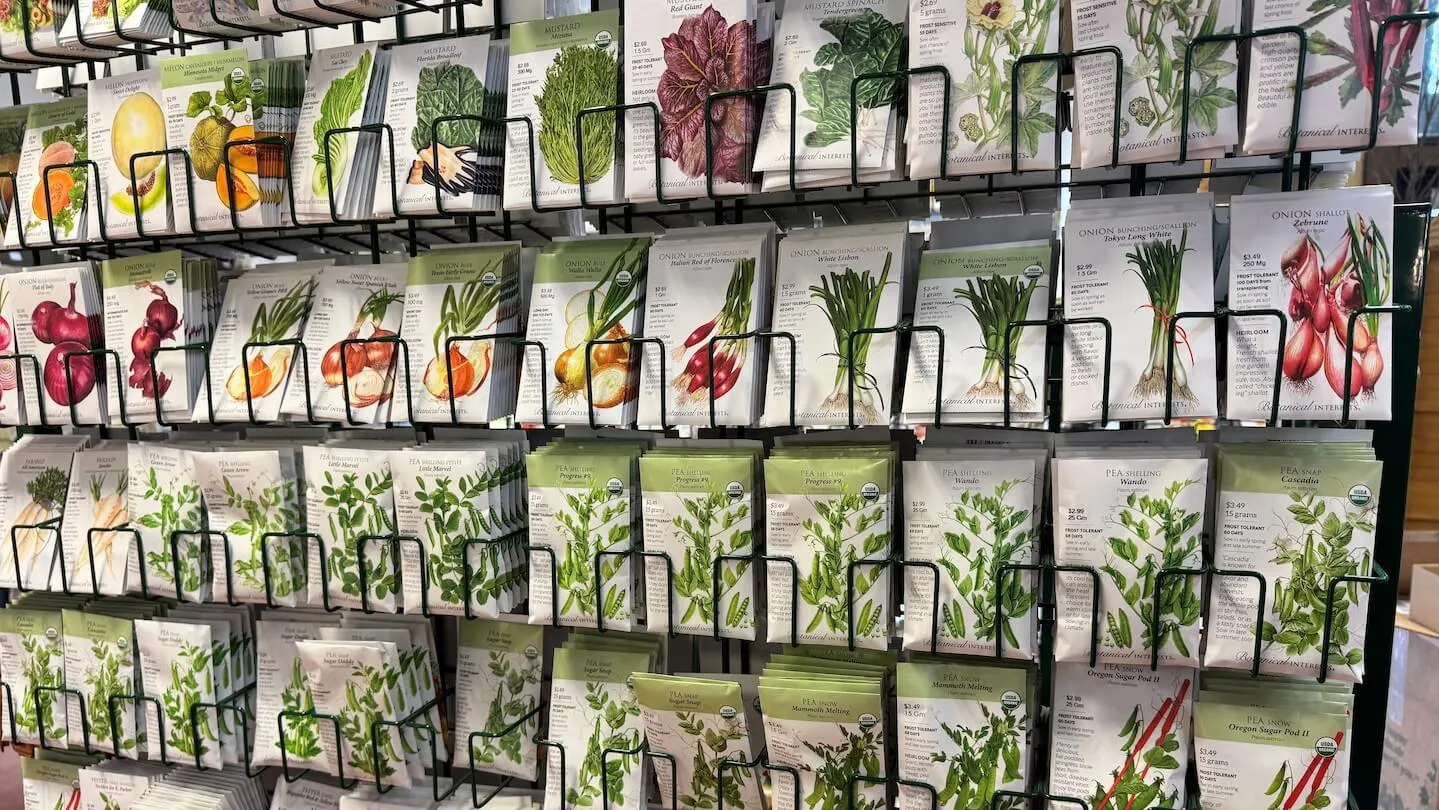
Saving seeds helps preserve heirloom varieties for the future. If you save seeds from your favorite heirloom tomato, you can plant that same tomato next year—for free.
“Heirloom” and “open pollinated” varieties will grow true, meaning they produce a plant that’s the same as its parent. On the other hand, seeds from hybrid varieties may be sterile. If they do germinate, the size, color, taste, and disease resistance are unpredictable. Saving heirloom seeds is the most reliable way to grow the same crop year after year.
Always select a healthy, mature specimen to harvest seeds.
Saving seeds from beans and peas is easy. Leave the pods on the plant after they’ve matured and allow them to dry. The seeds will rattle inside the pod when they’re ready to remove from the plant. Place the beans or peas on a paper plate to finish drying completely.
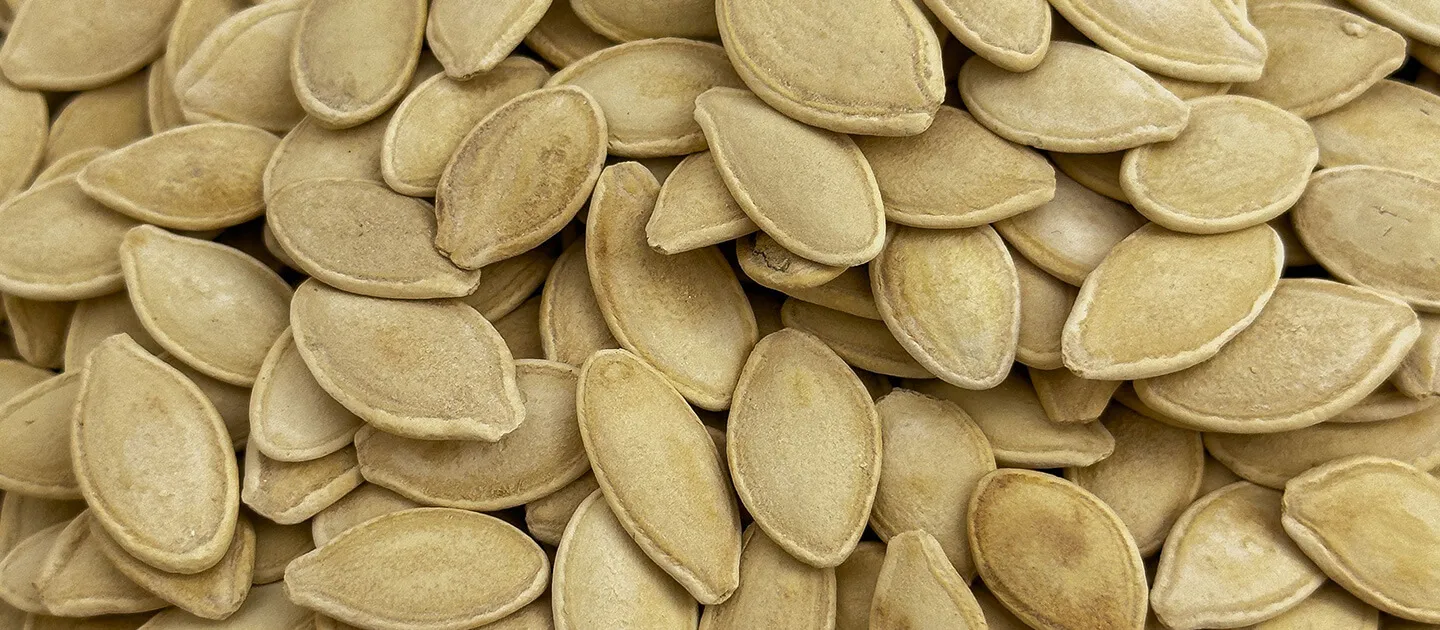
For pumpkin and other types of squash, allow the fruit to fully mature while still on the vine. When ready, cut in half and remove the seeds. Spread the seeds in a single layer on paper and allow them to dry completely.
To produce seeds, greens (such as lettuces and spinach) and root vegetables (such as radishes, carrots, and beets) “bolt” or flower. When the flower turns brown, use a cup to catch the flowerhead as you remove it from the stem. Allow it to dry completely. You can store either the entire seedhead or just the seeds.
Saving tomato seeds is a bit different. Cut a ripe tomato in half, scoop the seeds and surrounding gel into a container, and cover them with water. Stir a few times each day to agitate. Cover the container with a cloth to deter fruit flies. The viable seeds will sink to the bottom. After several days, skim and discard anything that’s floating. Collect seeds from the bottom, rinse, and spread them on paper to dry completely.
Depending on the size of the seeds, drying time can take one to three weeks (or longer for larger seeds in humid conditions). To test dryness, press large seeds with a fingernail. It should leave no mark. Press small seeds against a hard surface with the back of a spoon. The seed should crack or shatter with a crunching sound. If they’re not thoroughly dried, wait longer. Your patience will be rewarded in the spring.
Saving seeds isn’t difficult, but there are some important things to keep in mind. If seeds aren’t completely dry before storing, they may mold, contaminating other seeds in the same container. Label each packet with the type, variety, and date to avoid future mix-ups or confusion. Store packaged seeds in a cool, dark, dry location to help ensure seed viability. Storing paper packets in a large glass jar or metal container with a secure lid can help discourage mice or insects.
Make a list of saved seeds and where they’re stored. Otherwise, when spring arrives, you may have forgotten what “safe place” those packets are in. A list in your garden journal can be handy when planning for spring planting and determining what seeds you may need to purchase.
For gardening questions, contact the University of Vermont Extension Master Gardener Helpline online (go.uvm.edu/gardenhelpline) or by phone at 802-656-5421 between 9 a.m. and 12 p.m. on Thursdays from April to October.