
As an instructor or TA, you can add Video Notes (or choose audio-only) in content, announcements, discussions, feedback, and more to personalize and engage students.
Create a Video (or Audio) Note
Note: There is an alternate way to leave video/audio feedback when grading Assignments, Quizzes, or Discussions described further down on this page.
The first way to add a Video note is using the “Insert Stuff” link in the HTML editor. When would you use this method?
- You might do this to record video for a description area at the top of a module page
- Another way is on it’s own page linked in module:
- Click “Upload/Create” within a module
- choose “Create a File”
- On that page, you’ll see the same HTML editor as exists everywhere in Brightspace.
Follow these steps:
- In the HTML Editor (See Brightspace – Using the HTML Editor),
select the icon for Insert Stuff
- Select Add Video Note from the Insert Stuff options.
- Select Record Webcam Video and then New Recording.
- Toggle Audio only if you don’t want to use your camera
- Select Stop Recording when you are finished.
- Select Next.
- Type in a Title, Description (optional), select language, and Automatically generate captions.
- Select Insert to insert the video in the topic.
- Select Save
ReUse
If you want the reuse a video/audio file in this course or even in a different section, you can use the Media Library which collects all the media you’ve created your courses:
- Go to the Content & Activities and the Module
- Select Existing Activities and Media Library.
- Scan videos listed or put in the title of the video and select Search.
- Select the video once you have found it.
Captioning
Important: Captioning is mandatory for all videos and audio (ADA Title II Accessibility Rule). While the instructions below include how to have your video auto-captioned by Brightspace, auto-generated and AI captions are not considered accessible under the ADA as they have not been reviewed by a human.
You can request captioning assistance from the Office of Accessibility Services.
When have recorded your Video Note, click the Next button, you’ll be able to select the language and check “Automatically generate captions from audio.”
If you want to edit the captions,
- Go to the cog by your name at the top right.
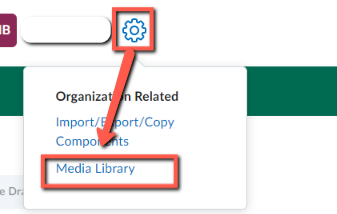
- Select Media Library
- Navigate to the video, select the 3 dots (…), select Edit.
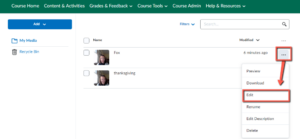
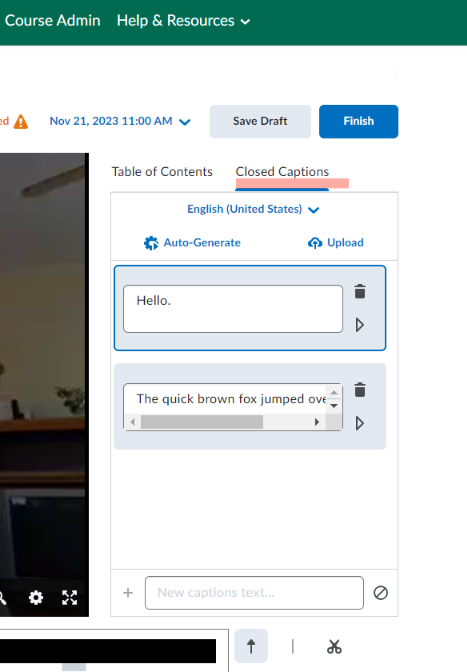
- Make changes
- Save Draft
- Finish
Leave Video/Audio Feedback while Grading
When grading Assignments, Discussions, or Quizzes you will see a camera icon and a mic icon under the “Overall Feedback” box which represent video and audio. Just click these icons and follow the steps above to leave the feedback in this format.