The file servers for Shared (S:) folders and Netfiles shares take several snapshots of their contents each day. You can access these snapshots and revert to them through the Previous Versions tab in the Properties window for a file or folder. These snapshots are kept for a couple of weeks, so if you notice missing or corrupted files in that time frame, you can sometimes recover them with this feature.
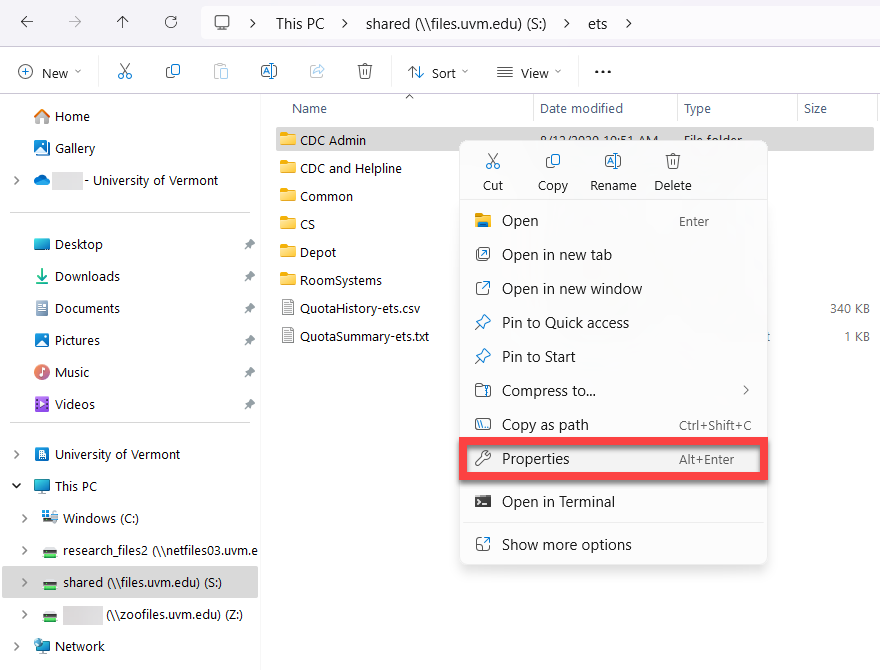
- Right-click the folder that contains the damaged or deleted file. In the menu that appears, select Properties.
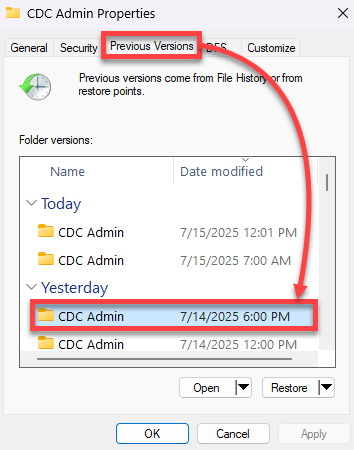
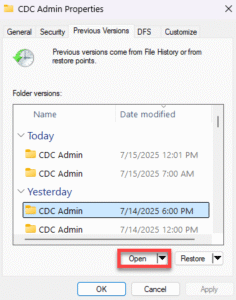
- In the window that appears, select the Previous Versions tab and then select the version of the folder that would have contained the version of the file you want. For example, if the file was deleted this morning, select the snapshot from last night (or very early this morning).

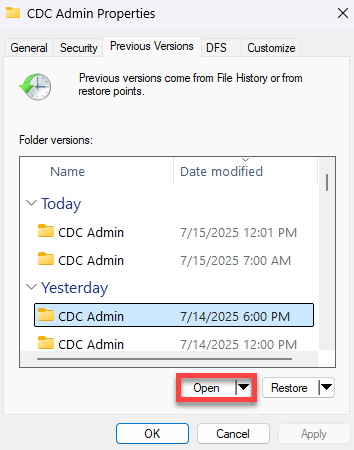
- Click the Open button to open a read-only window containing a version of the folder as it existed at that time.
- Find the deleted file in the read-only window (identified by the time stamp in the window title) and copy it to the desired location.