
This article contains instructions for using the network share management tool at https://research-storage.uvm.edu. This tool allows users to provision new shares and to view existing ones. Network storage is accessible from a variety of operating systems and is automatically backed up once a day.
Who Is Eligible
Currently only faculty are eligible to provision 10 TB of free storage. Grad students should speak to their faculty sponsor about provisioning storage. If you are not a grad student or faculty and would like to provision storage, please consult this article.
Provision a Share
Provisioning a share for the first time
1. Go to https://research-storage.uvm.edu.
2. Log in with your NetID and password.
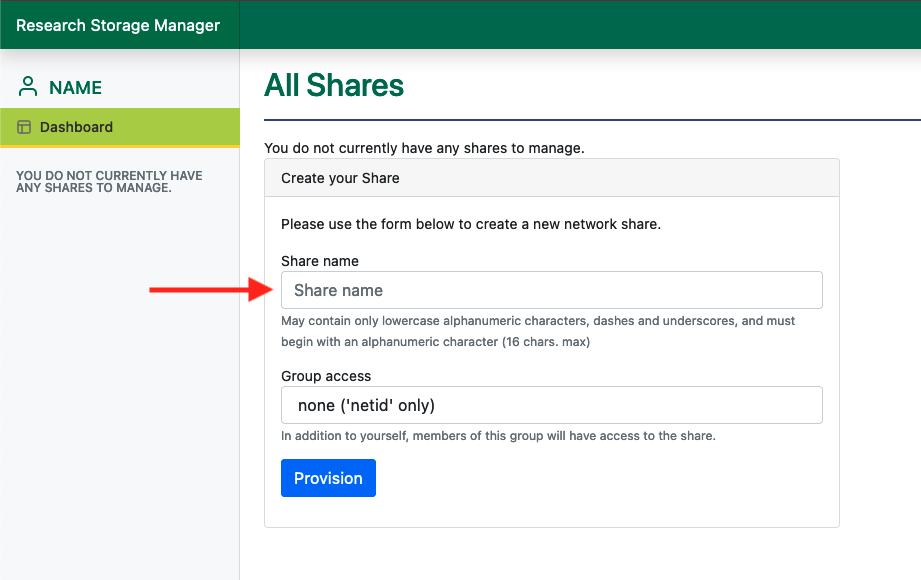
3. You will automatically be shown the form to provision a 10TB share. Enter a name for your share. Choose carefully, this cannot be changed in settings.
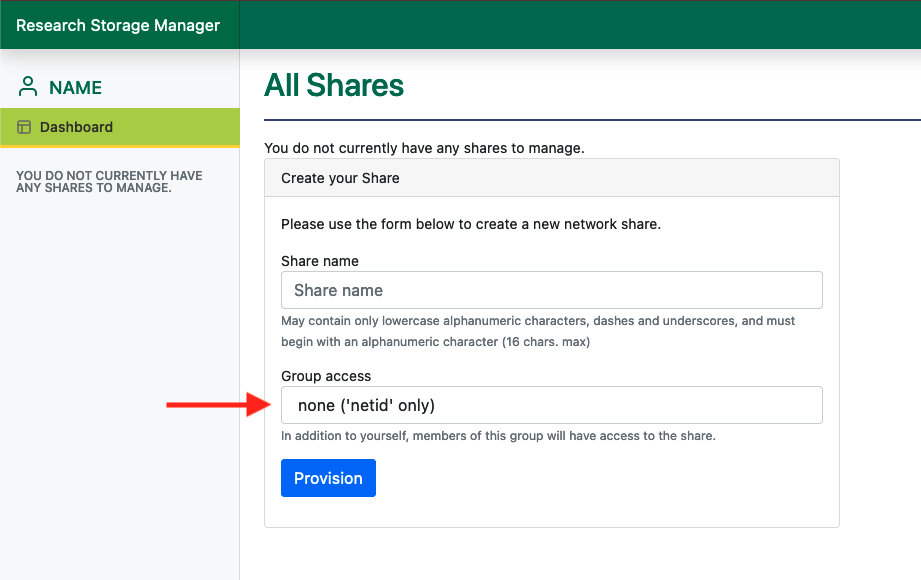
4. If you are the owner of any groups, you can assign this share to a specific group. This will allow members of that group to connect to your share. If you do not own any groups, it will default to the “none” group which means only you will have access. To make this share accessible to others, please request a new group here.
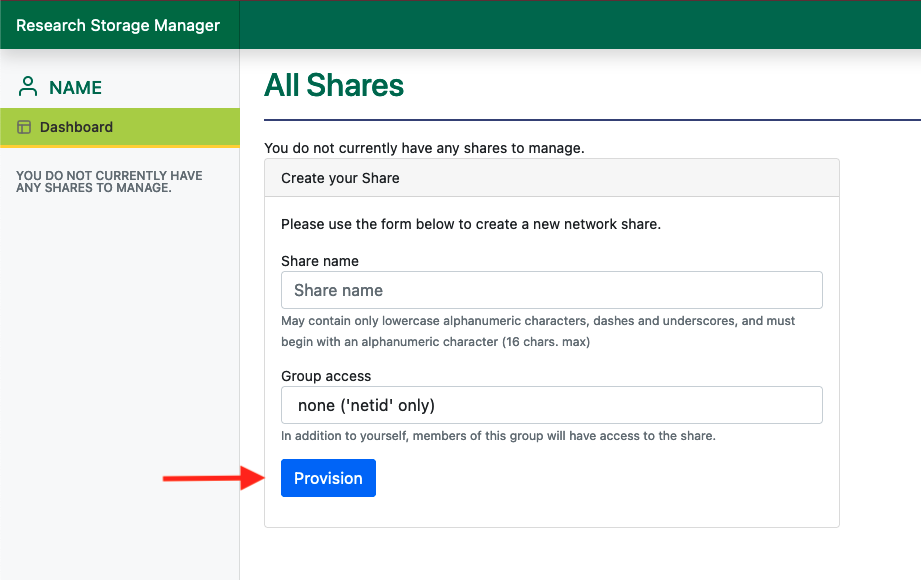
5. Click provision.
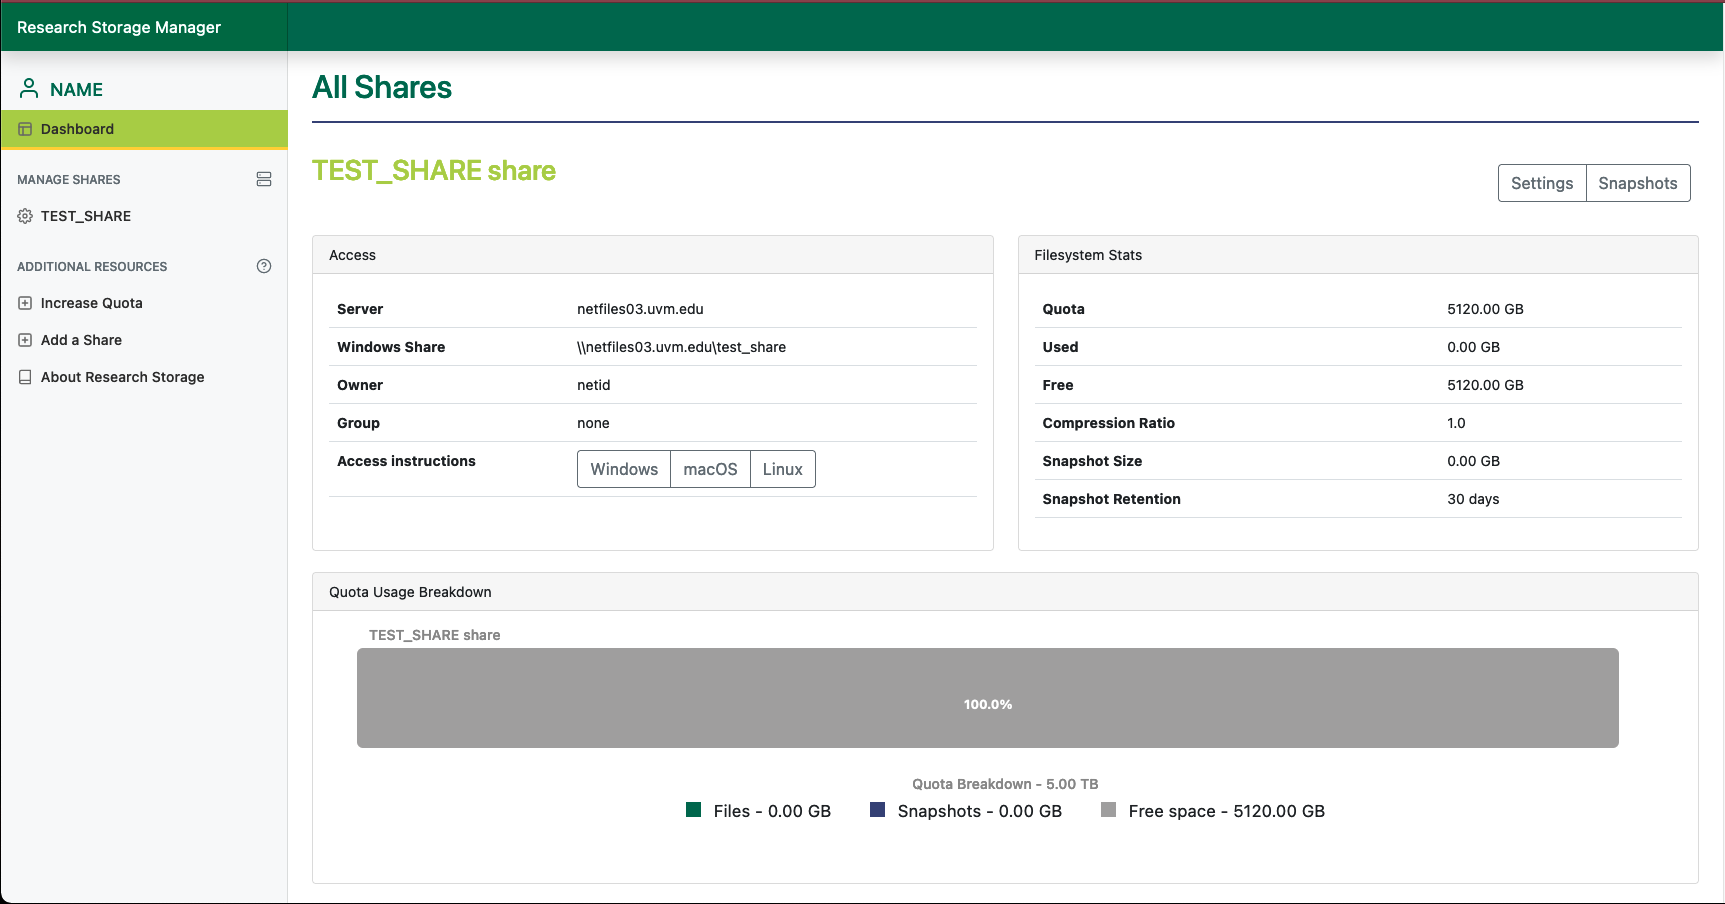
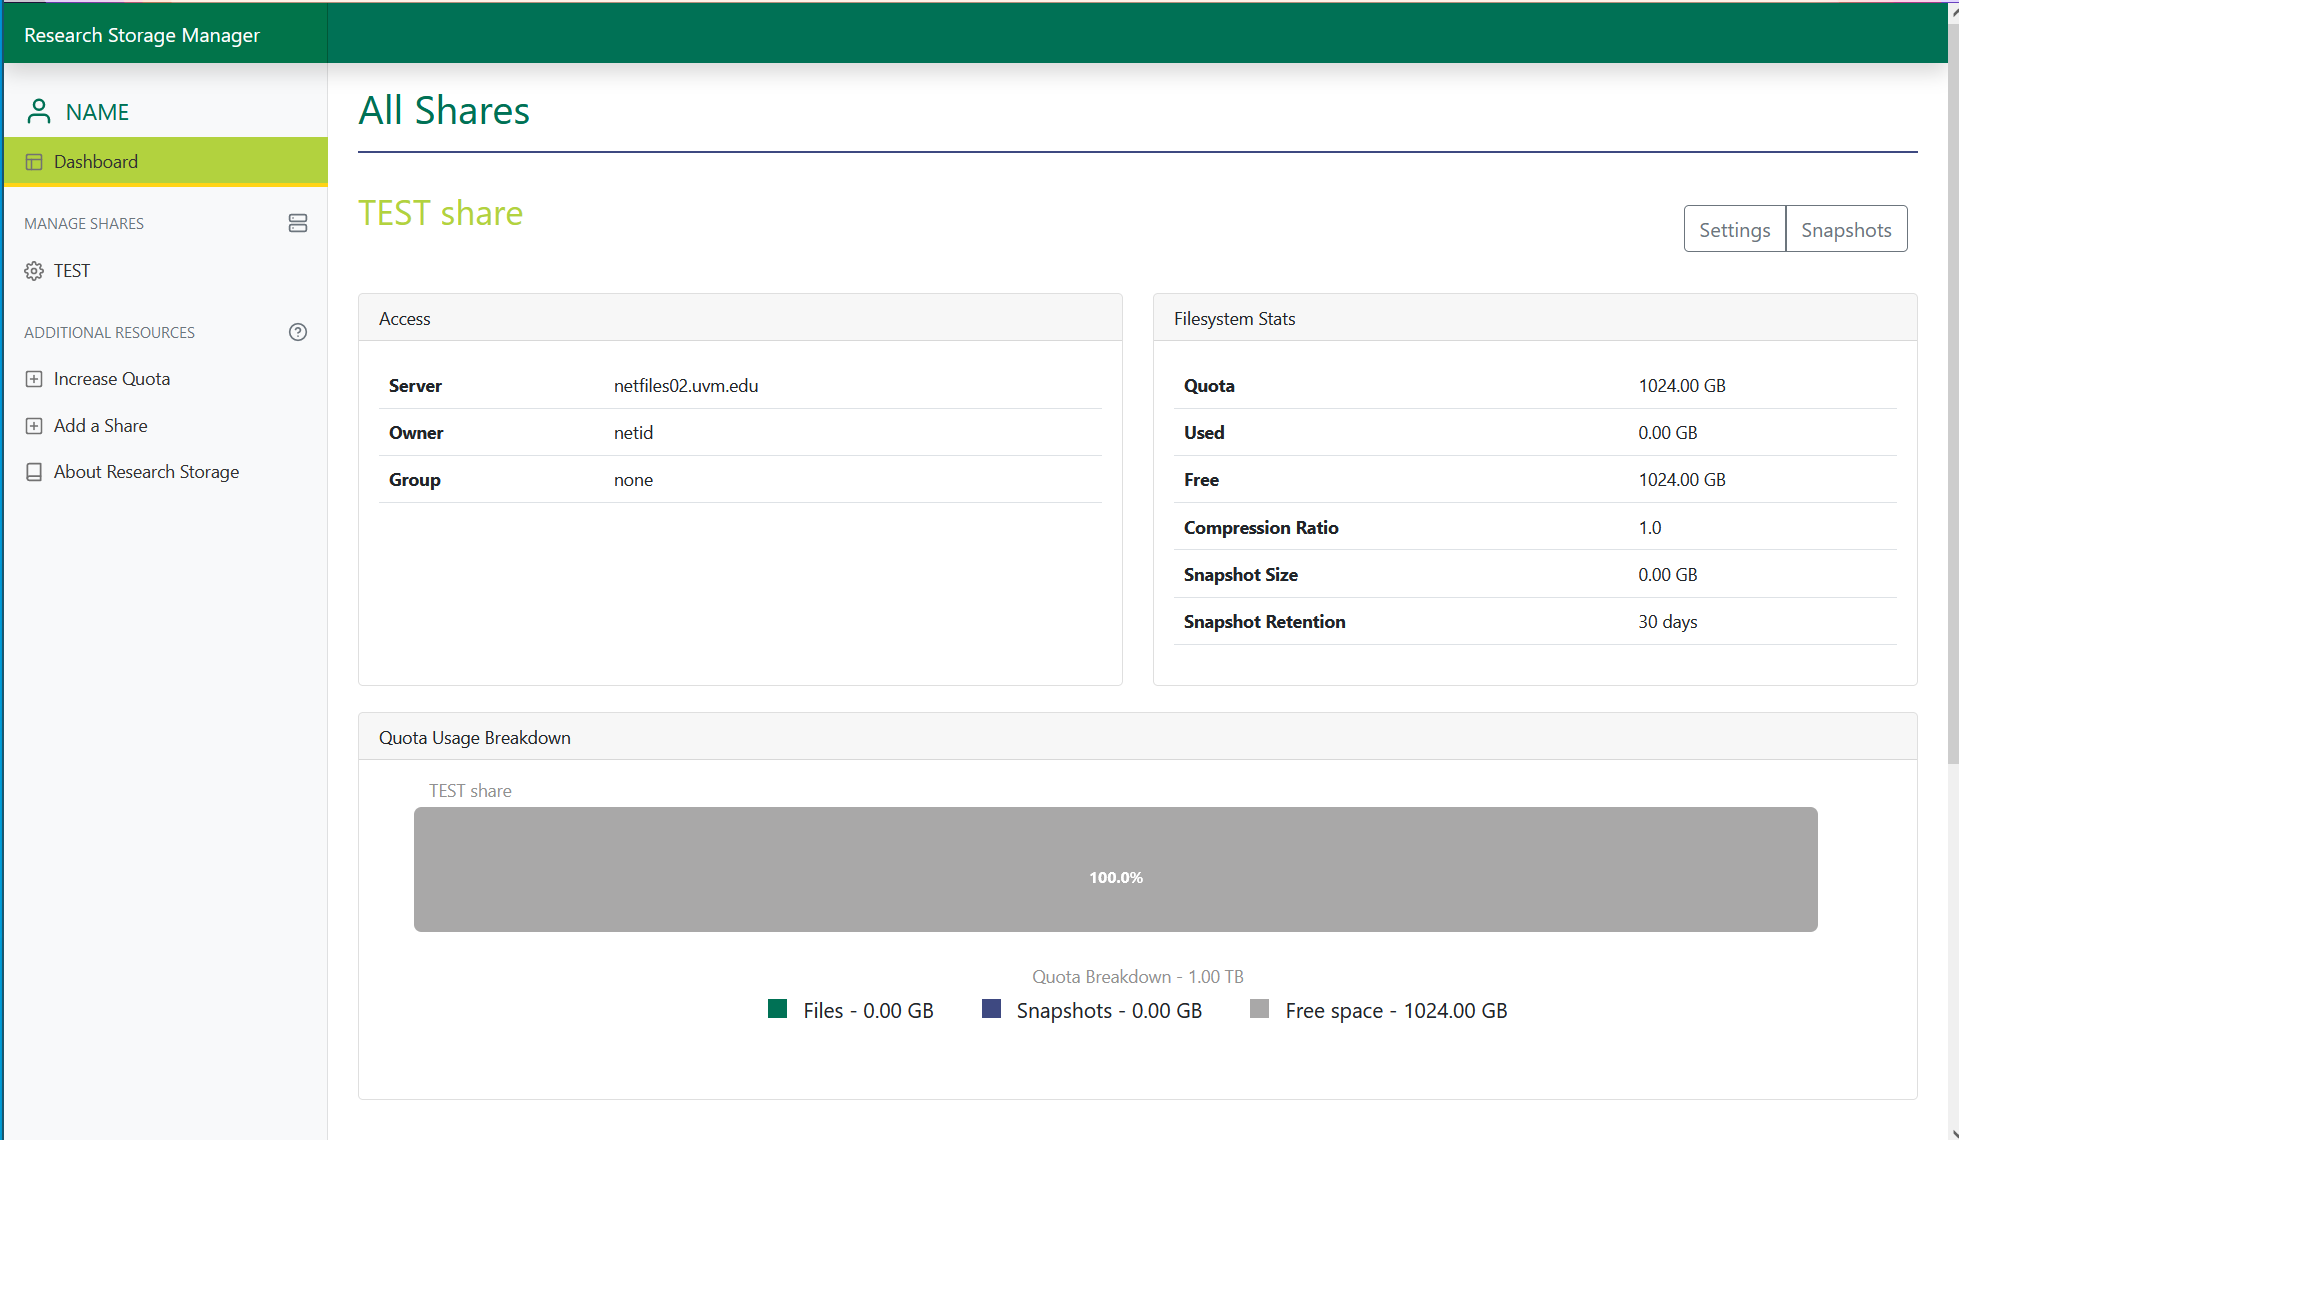
6. After a few minutes refresh the page and your dashboard will come up displaying information about your new share.
If you have previously provisioned a 10TB share
1. Go to https://research-storage.uvm.edu.
2. Log in with your NetID and password.
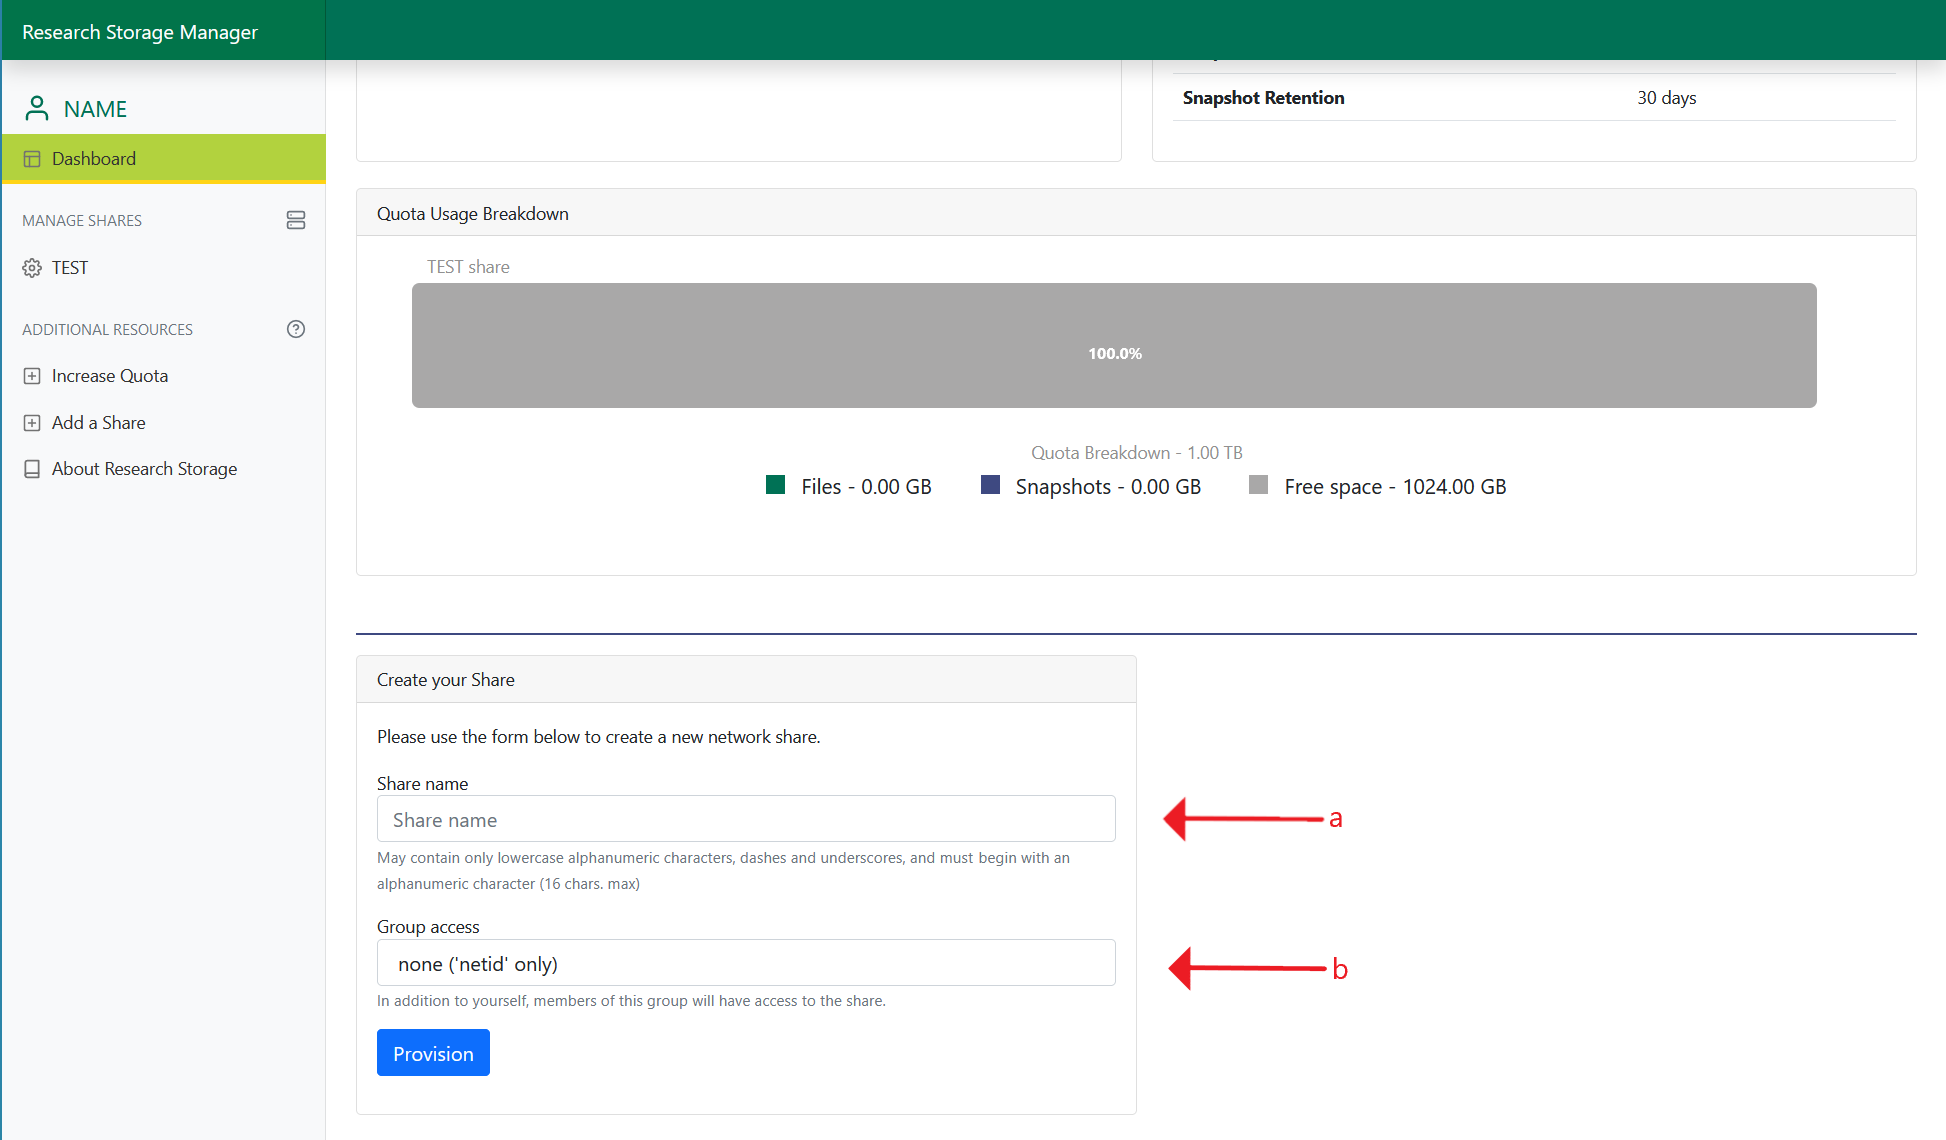
3. Your dashboard will appear with information about your Netfiles share(s). To provision a 10TB share, scroll to the bottom of the page.
 4. Enter a name for your share (a) and select what group has access to it (b). Choose the name carefully, this cannot be changed in settings. Only groups that you are the owner of will appear in this menu. If you do not own any groups, it will default to the “none” group which means only you will have access. To make this share accessible to others, please request a new group here.
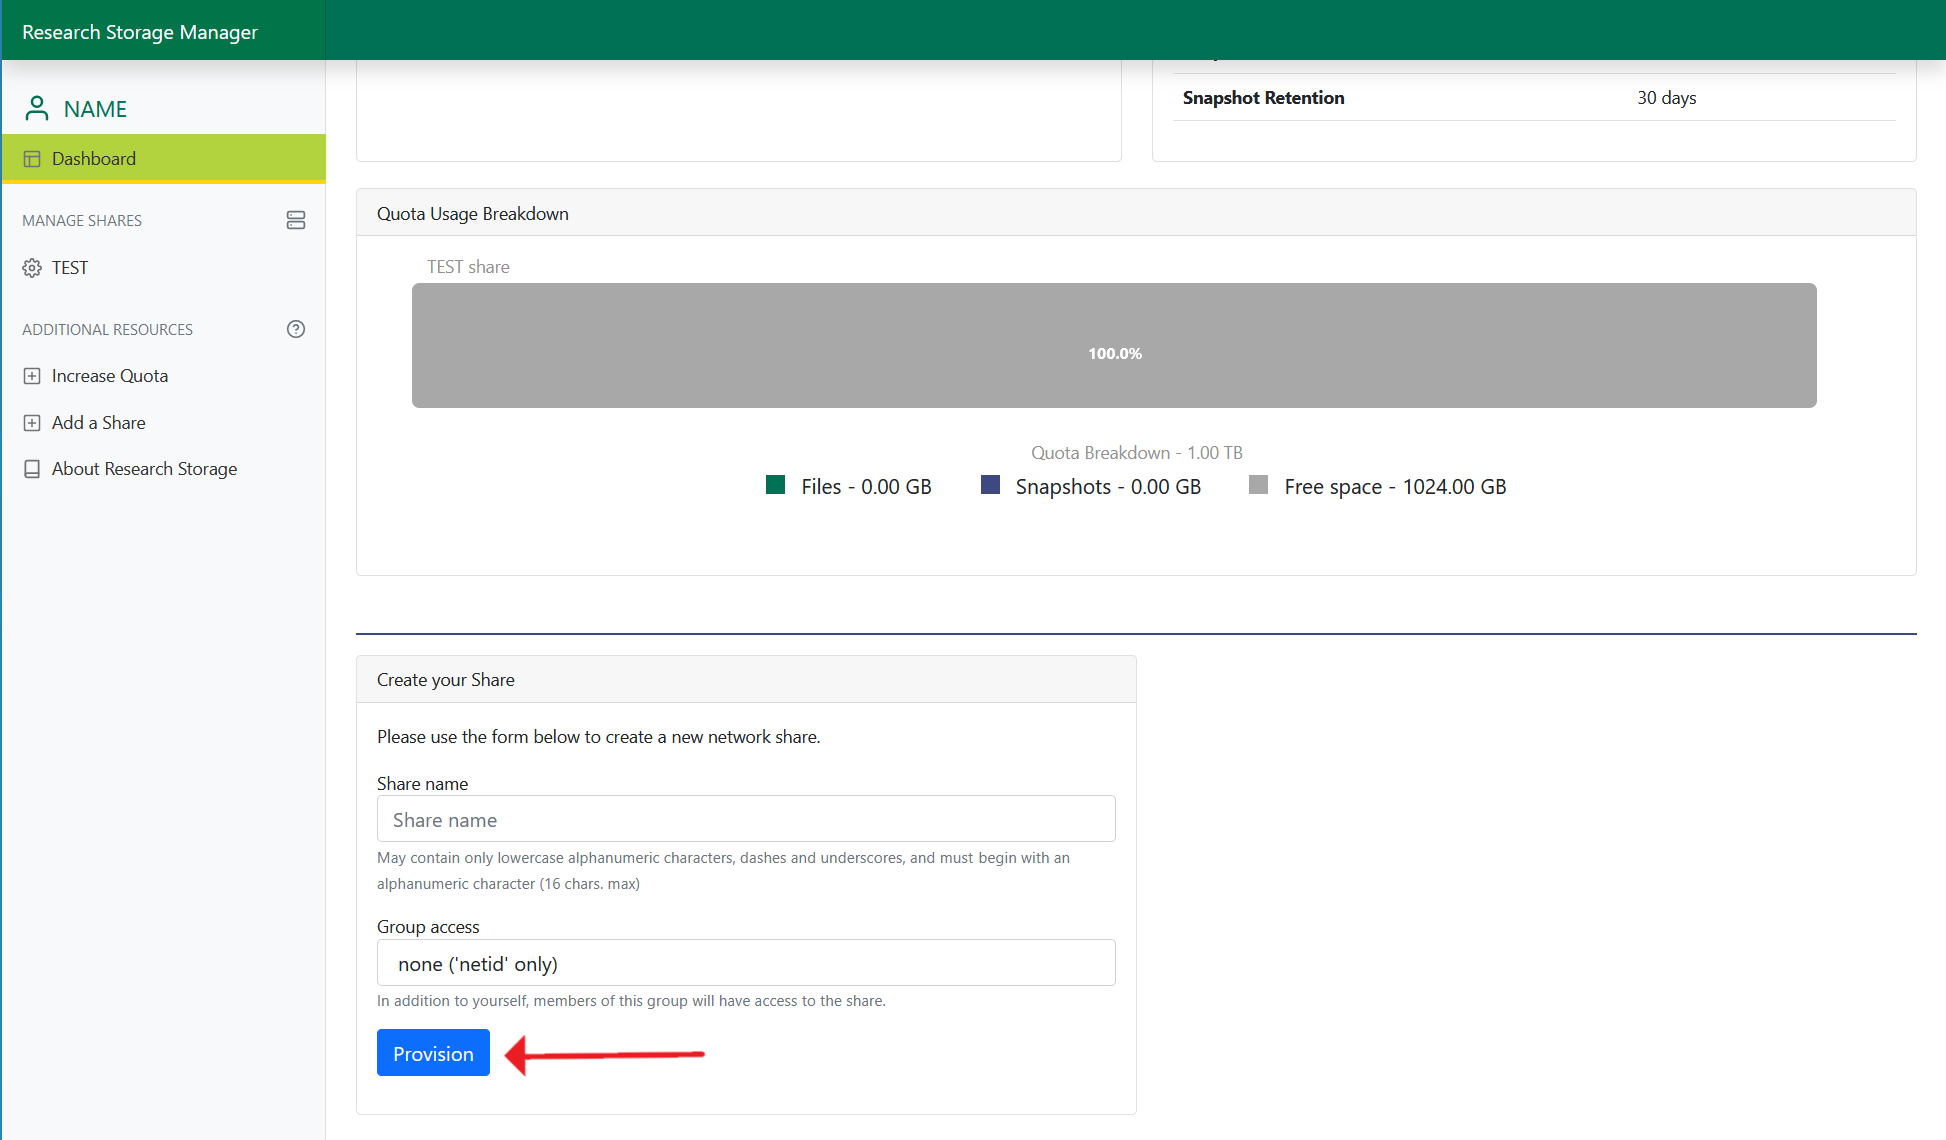
5. Click provision.
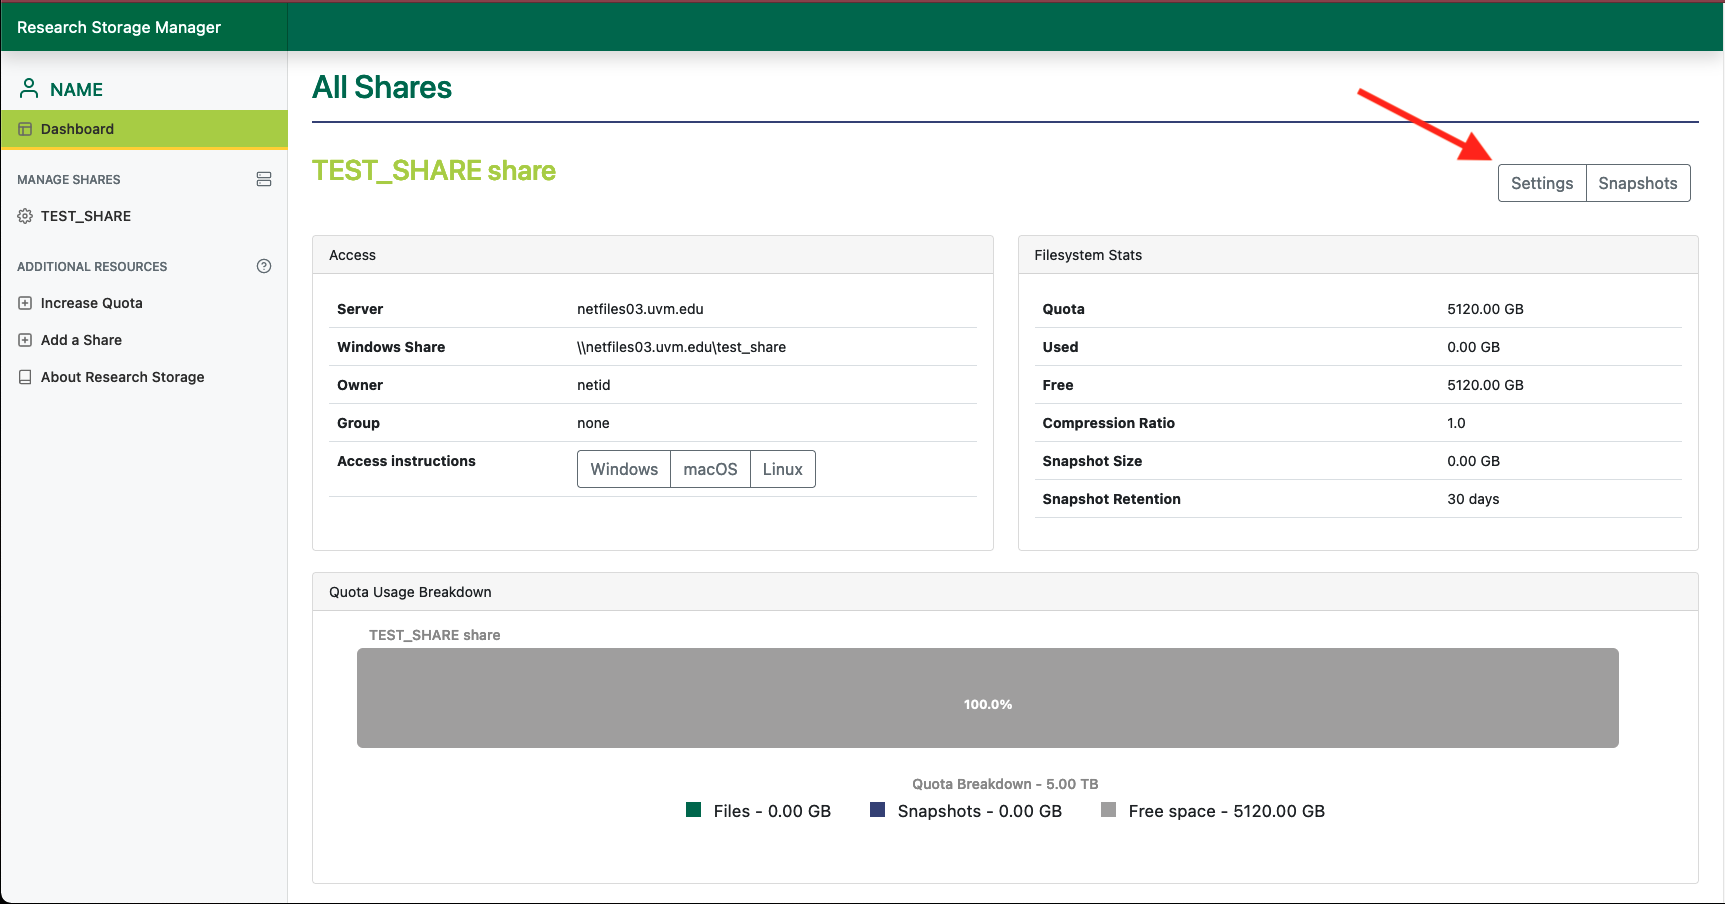
6. After a few minutes, refresh the page. Details about your new share will display beneath your previous share.
Change Share Settings
Accessing settings
While viewing your dashboard, click the settings button in the top right corner.
Group settings
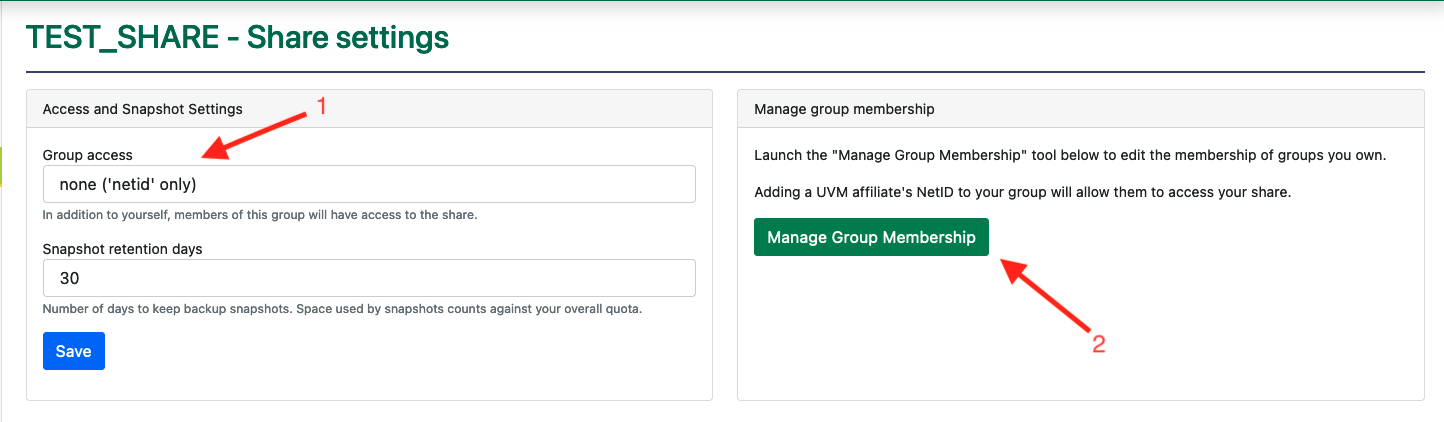 Click on the Group access bar to change which group can access your share. Only groups that you own will be visible here.
You can manage members in a group you own at account.uvm.edu/manage-groups. You can request a new group with the form at uvm.edu/it/kb/research-storage-request.
Snapshot retention
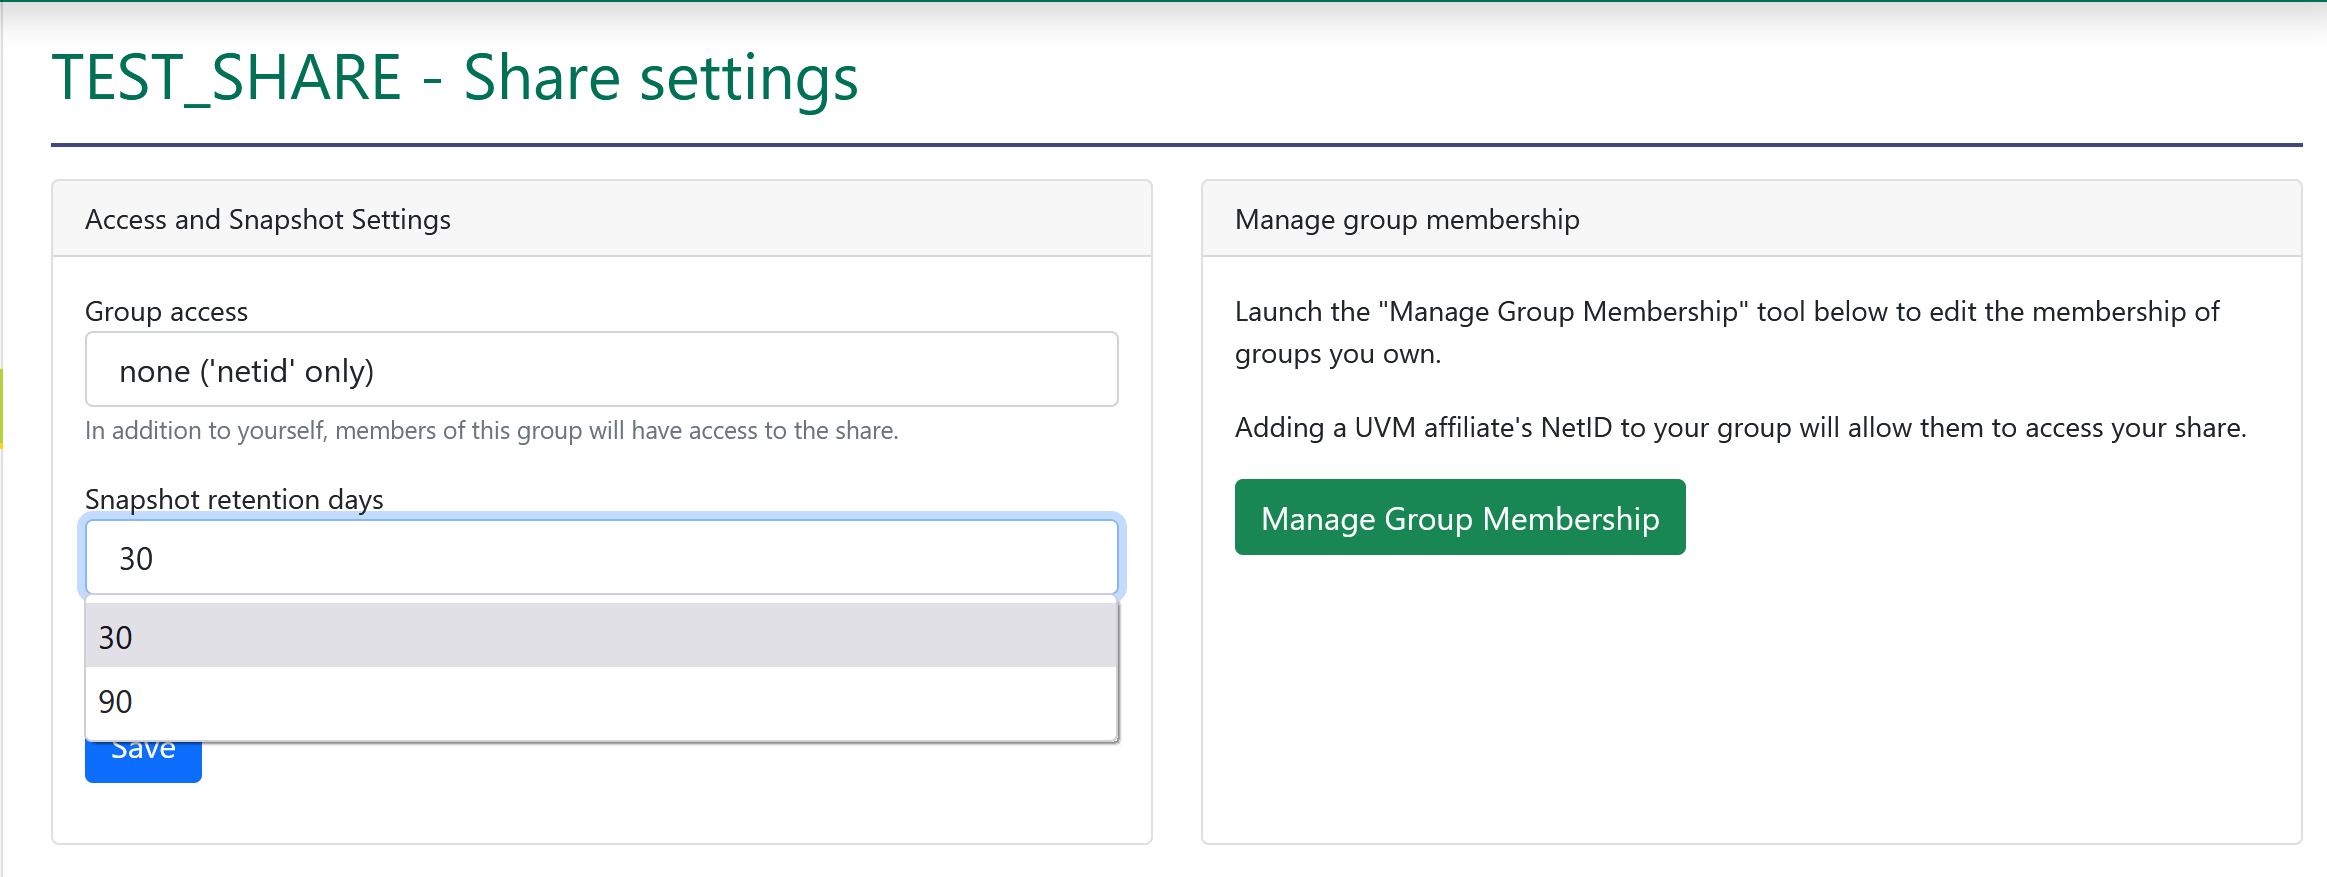 Click on the snapshot retention bar. You can choose either 30 days or 90 days. If you would like to use this share as “scratch space” and do not want backups, please contact vacchelp@uvm.edu.
When you are done making changes, click Save to return to the dashboard.
How to Connect
To connect to a Netfiles share, please see our instructions on accessing network folders.
FAQ
How do I request new shares?
While on the dashboard page click on the link that says “Add a Share” on the left side of the page under additional resources. This will bring you to a form for requesting additional shares.
How do I request a new group?
You can use this form to request a new group be created to manage access to your share.
How do I increase my quota?
While viewing the dashboard page click on the link that says “Increase Quota“. This will bring you to a form for requesting quota increases or adding additional shares. Please consult this page for information on pricing.
How do I change my share name?
If you need to change the name of your share please contact vacchelp@uvm.edu.
What are snapshots?
Snapshots are point in time backups of your files. They are taken every morning around 12 AM. Snapshots are counted towards your total quota, however a 20% buffer is automatically added to your quota to account for these. By default they are kept for 30 days, however you can change the duration in the share settings menu.
I deleted a bunch of files to clear up space. Why is my share still full?
Netfiles does incremental backups of your files. When you make changes to a file, those changes are stored in the nightly snapshots. If you then delete a file, the entire contents of the file are saved in the next nightly backup. We give all users a 20% buffer for snapshots, but if you delete many terabytes of data, the snapshots will grow accordingly beyond the 20% buffer and consume your usable Netfiles space. Contact vacchelp@uvm.edu for assistance if you have deleted large quantities of data and your share is still full.
Can I change the interval at which snapshots are taken?
Currently users are not able to change the backup interval.
How do I restore files from a snapshot?
If you are a Windows user and only need to restore a single file, follow these steps:
- Right-click the damaged file or the folder that contained a deleted file. From the menu that appears, select Properties.

- From the window that appears, select the Previous Versions tab.
- Select the folder that would have contained the deleted file. (e.g., if the file was deleted this morning, select the spanshot from last night (very early this morning)).
- Click the Open button to open a version of the folder as it existed at that time. (Avoid the Restore button, which will overwrite your current folder with the folder as it existed at the selected time.)
- Find the deleted file in the read-only window (identified by the time stamp in the window title), and copy it to the desired location.

The selected file should now be restored.