
With the Start Before Login (SBL) module for Cisco Secure Client, users on domain-joined Windows computers are able to configure the app to connect to the UVM VPN prior to logging in. This feature can be a convenience for remote users, and it is especially useful in cases where configurations for UVM computers are only applied as part of logging in, such as when you’ve changed your NetID password but your Windows machine hasn’t had a chance to fetch the updated password yet.
Installing the Start Before Login module
The Start Before Login module comes bundled with the Cisco Secure Client in Company Portal. If you don’t seem to have the feature, please ensure that you’ve installed all updates available in Company Portal and then restart your computer.
If you installed Cisco Secure Client from software.uvm.edu, you may not have the Start Before Login module. Installing it through Company Portal should fix this.
Signing into VPN before login
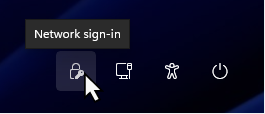
- While fully logged out of Windows, click the leftmost button in the bottom right corner with Network sign-in as the hover-text.
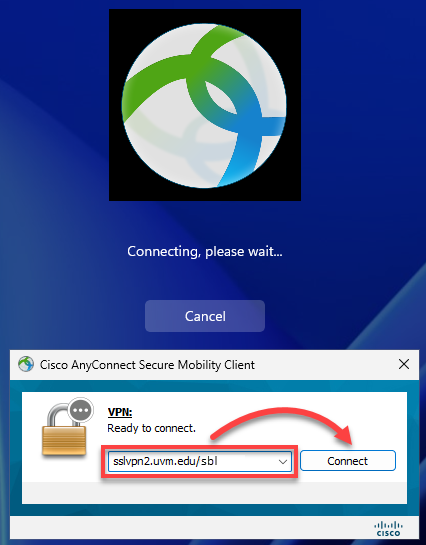
- Change the URL to sslvpn2.uvm.edu/sbl (or sslvpn2.uvm.edu/nosaml) and click Connect.
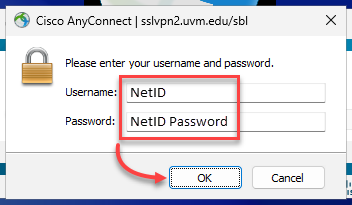
- Enter your UVM NetID in the Username field and your NetID password in the Password field, and click OK.
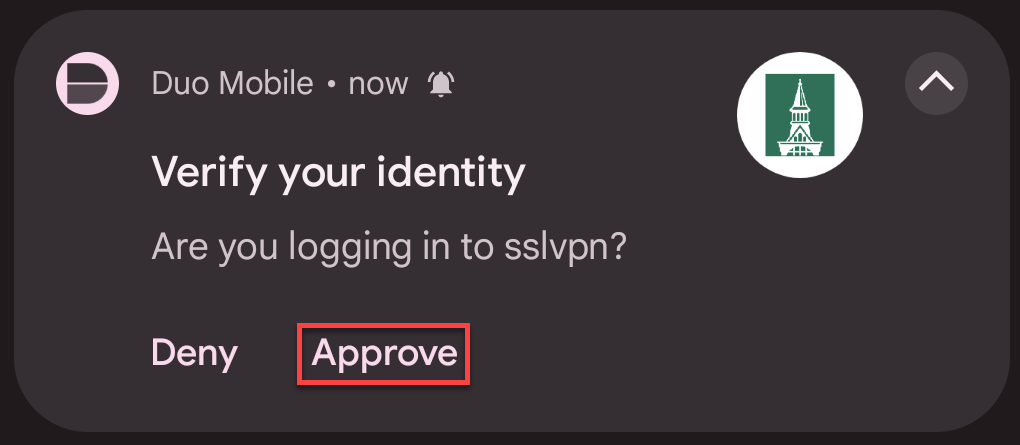
Optionally, specify the DUO method you’d like to use by adding a comma (“,“) and then the chosen method after your NetID password in the Password field:- none (preferred): This method sends a push notification to your cell phone or tablet where you must tap Approve, and is achieved by entering your NetID and password with nothing following it.
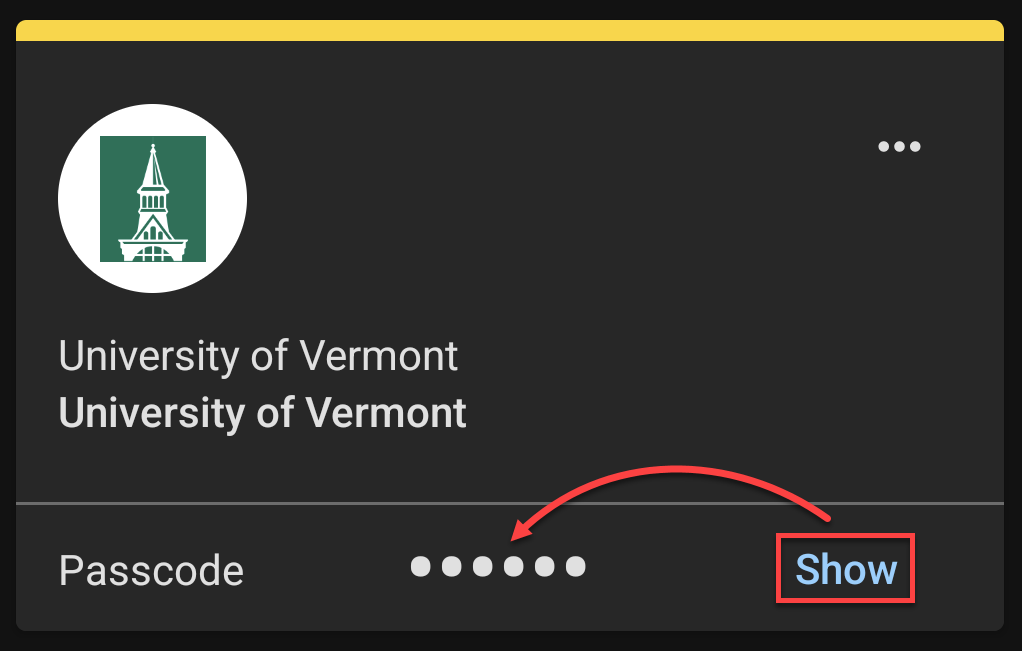
- Passcode from app (ex. “<password>,123456“): For this method, open the Duo Mobile app on your cell phone or tablet, tap the Show button within the University of Vermont account box, and type the six digit code shown into the Password field after your password and a comma (“,“).
- none (preferred): This method sends a push notification to your cell phone or tablet where you must tap Approve, and is achieved by entering your NetID and password with nothing following it.
- If required, proceed through the Duo MFA prompts.
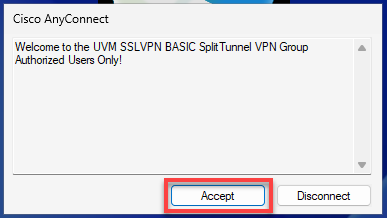
- Click Accept. If you do not see this screen, it’s possible you entered your username or password incorrectly, your Multi-Factor Authentication method failed, or you don’t have access to the VPN and must request it at go.uvm.edu/vpnrequest.
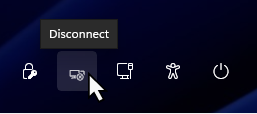
- To verify you are successfully connected, you will see the option to Disconnect when you hover over this icon in the bottom right corner. Don’t click it.
- Sign in to your computer as usual and you will find the VPN already connected.