UVM’s Virtual Private Network service allows remote users with UVM credentials to securely access resources that are normally only available to on-campus users.
Additionally, you must set up a Multi-Factor Authentication device to access UVM’s VPN. See here for information and guides on available MFA methods.
Windows
- Download the most recent version of Cisco Secure Client UVM Software Portal.
- Locate the file on your machine and double click it to launch the installer.
- After installation is complete, open the “Cisco Secure Client” from your Start menu.
- For login instructions, please see our guide for using the Cisco Secure Client app.
- Open Company Portal, click on your Start Menu (or press the key on your keyboard), type “Company Portal” and then hit Enter.
- Click on the Search bar at the top of the window and enter “Cisco” or “Cisco Secure Client”, then hit enter
- Select “Cisco Secure Client” from the among the boxes shown
- Click Install
- After installation is complete, open the “Cisco Secure Client” from your Start menu.
- For login instructions, please see our guide for using the Cisco Secure Client app.
macOS
- Download the most recent version of Cisco Secure Client from the UVM Software Portal.
- Locate the downloaded .pkg file on your machine and double-click it. An install wizard will launch. Proceed through the installer.
- After installation is complete, open the Cisco Secure Client from your Applications folder.
- For login instructions, please see our guide for using the Cisco Secure Client app.
- Open Managed Software Center, Navigate to your Applications folder and open the Managed Software Center app.
- Click on the Search bar in the top left corner of the window and enter “Cisco” or “Cisco Secure Client”, then hit enter
- Click Install on the “Cisco Secure Client (VPN)”box
- After installation is complete, open the “Cisco Secure Client” from your Applications Folder or using Spotlight search.
- For login instructions, please see our guide for using the Cisco Secure Client app.
Android
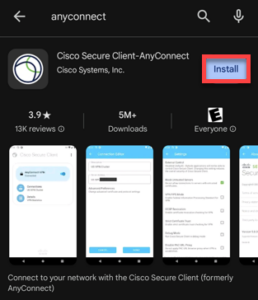
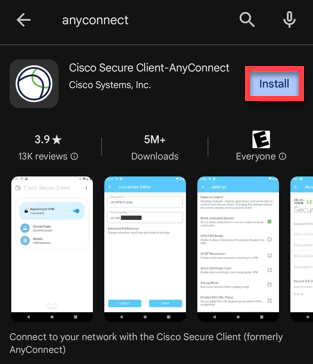
- Install the Cisco Secure Client-AnyConnect app from the Google Play Store.
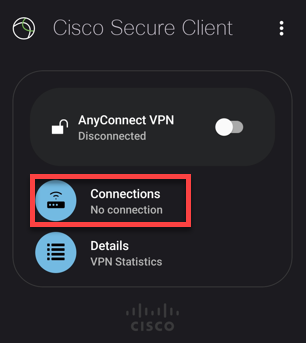
- Open the AnyConnect app, and then tap on the Connections menu.
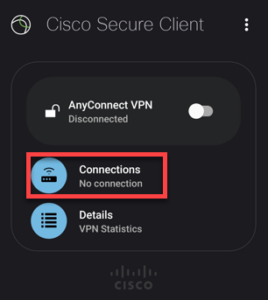
- Tap the + (plus) icon in the bottom-right corner to add a new VPN connection.

- Enter the following connection settings, and then tap Done:
Description: UVM
Server Address: sslvpn.uvm.edu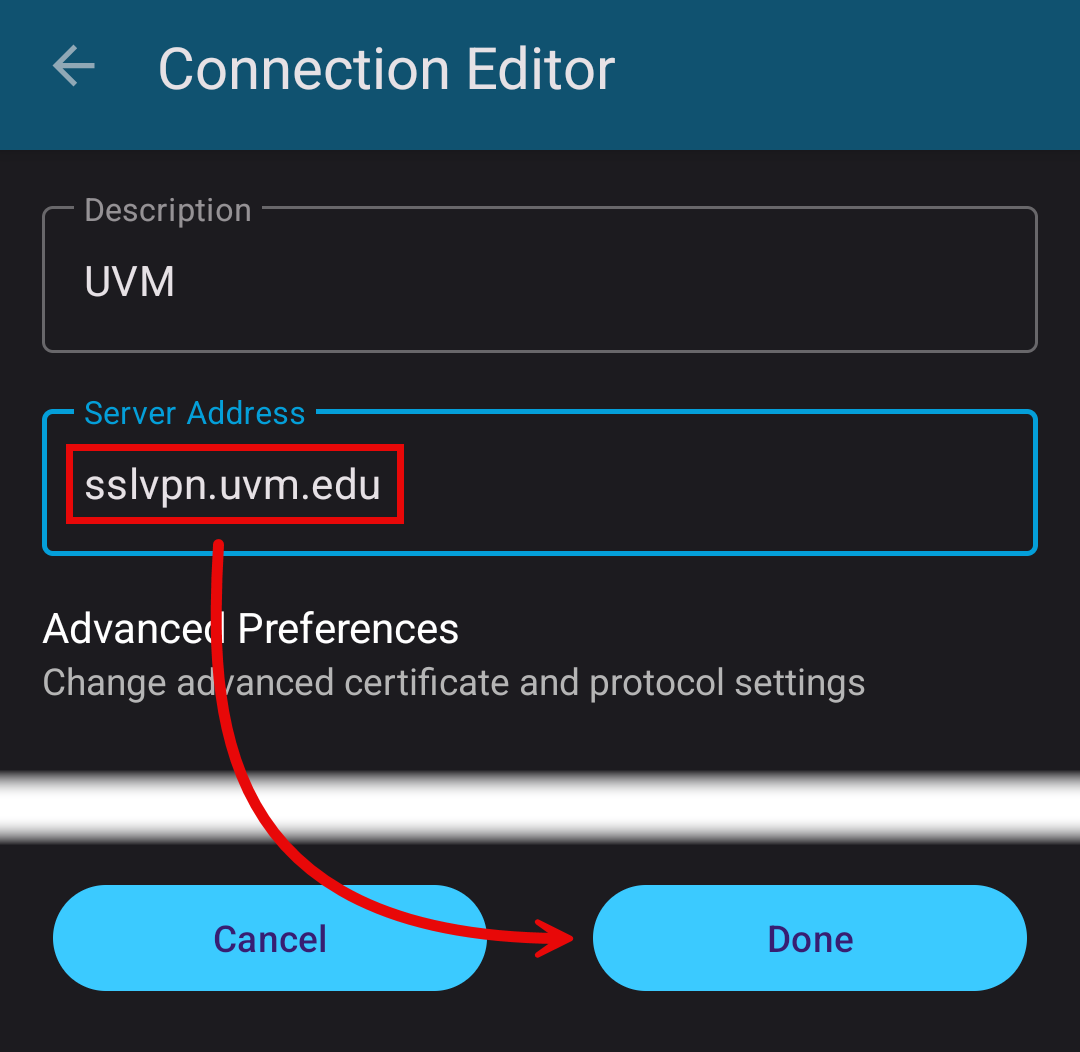
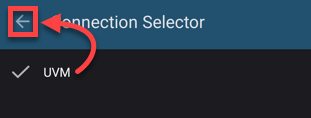
- Ensure that your newly created UVM connection is selected, and then tap the back button to return to the main menu of the AnyConnect app.
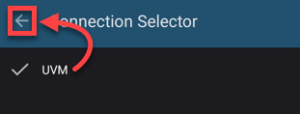
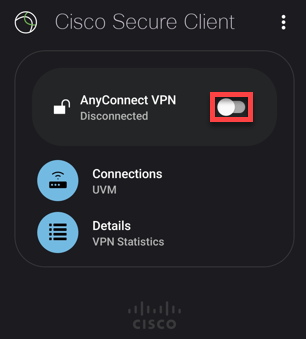
- To connect, toggle the AnyConnect VPN switch to ON.

- Sign in with your NetID and password, proceeding through Duo when prompted.
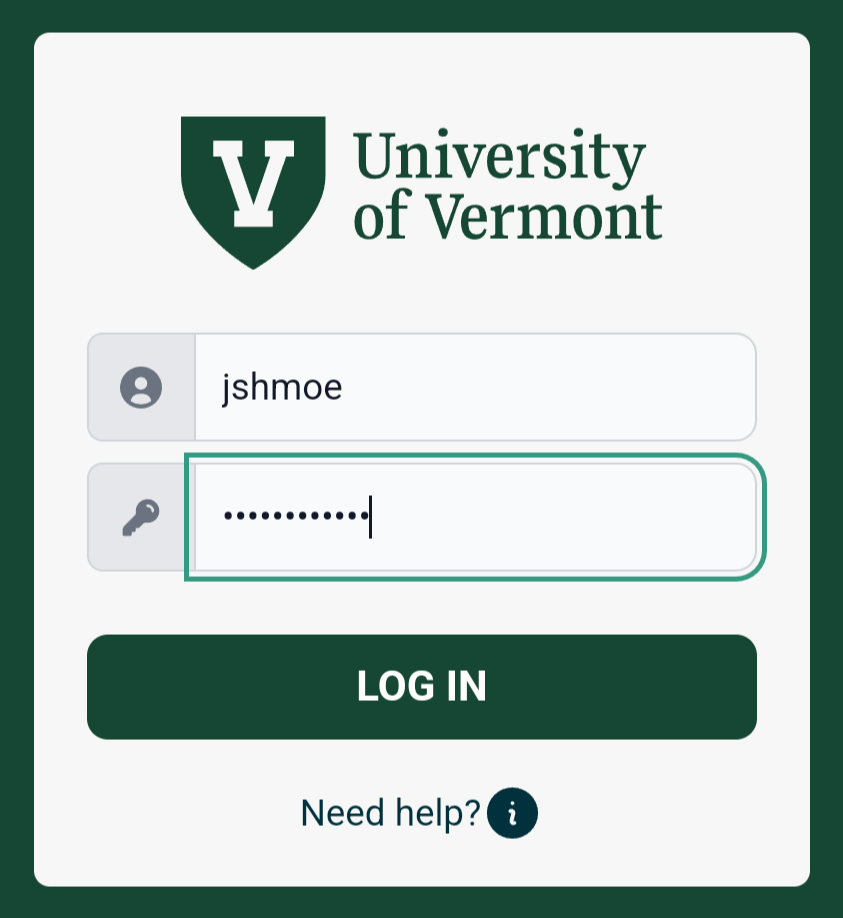
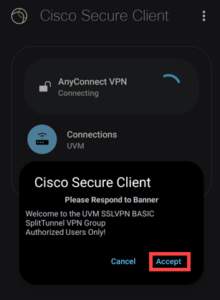
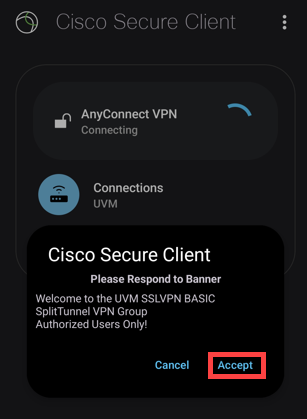
- Click Accept in the banner that pops up. If your device asks if you want to allow Cisco Secure Client to set up a VPN connection, you will have to allow it for the app to work.
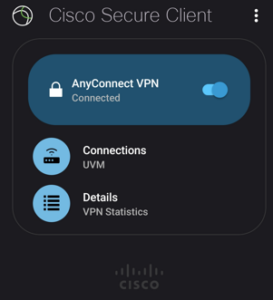
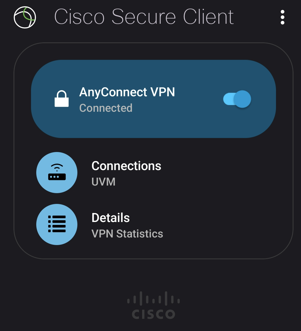
- When you see “Connected” under AnyConnect VPN, you’re all set!

iOS
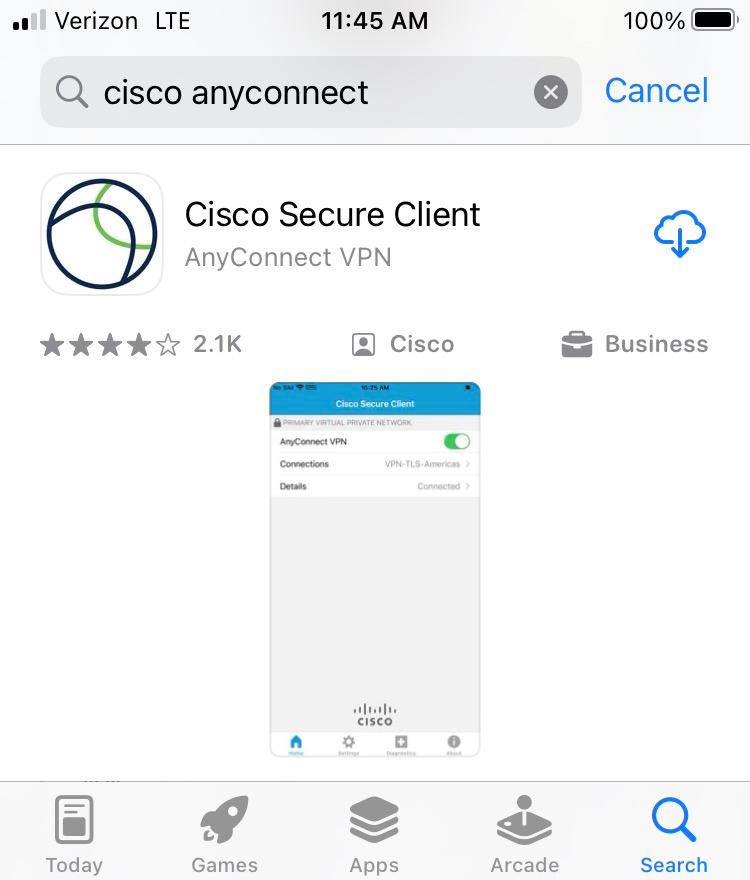
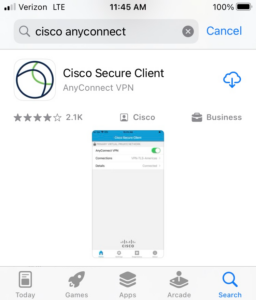
- Install the Cisco Secure Client app from the App Store.
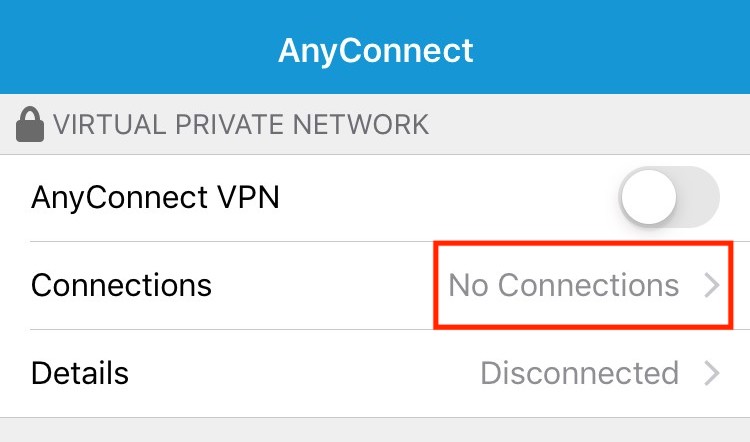
- Open the AnyConnect app, and then tap on the Connections menu.
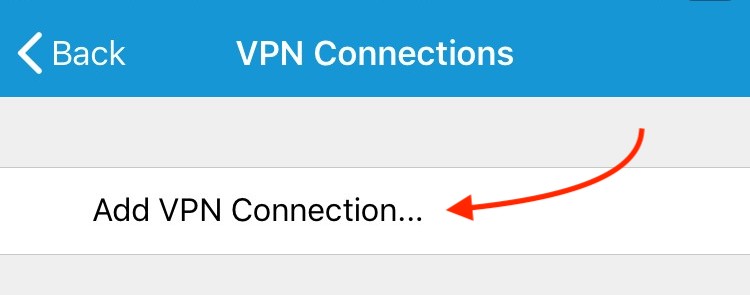
- Tap on Add VPN Connection
- Enter the UVM connection settings as follows, and then tap Save in the upper-right corner:
Description: UVM
Server Address: sslvpn.uvm.edu
- Press Allow at the prompt.

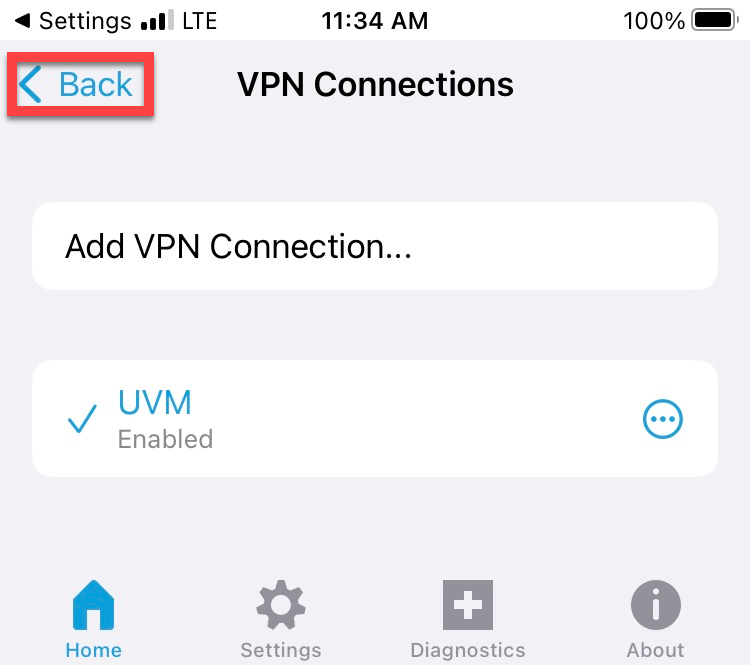
- When you can see the UVM connection added and enabled, tap the Back button in the upper-left corner.
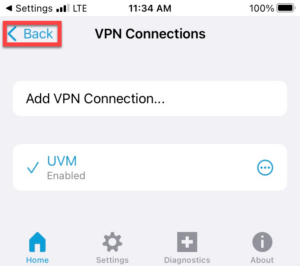
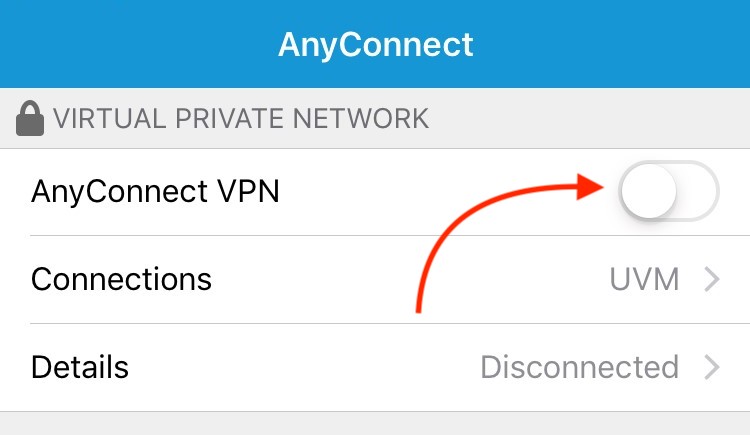
- Make sure the UVM connection is selected, and then toggle the AnyConnect VPN switch to ON.