The steps below will show you how you join a Teams meeting from your iPad and share the Microsoft Whiteboard app.
- Open the Teams app on your iPad and select the Calendar. Locate the meeting for your desired lecture, tap it, and then tap the Join button.
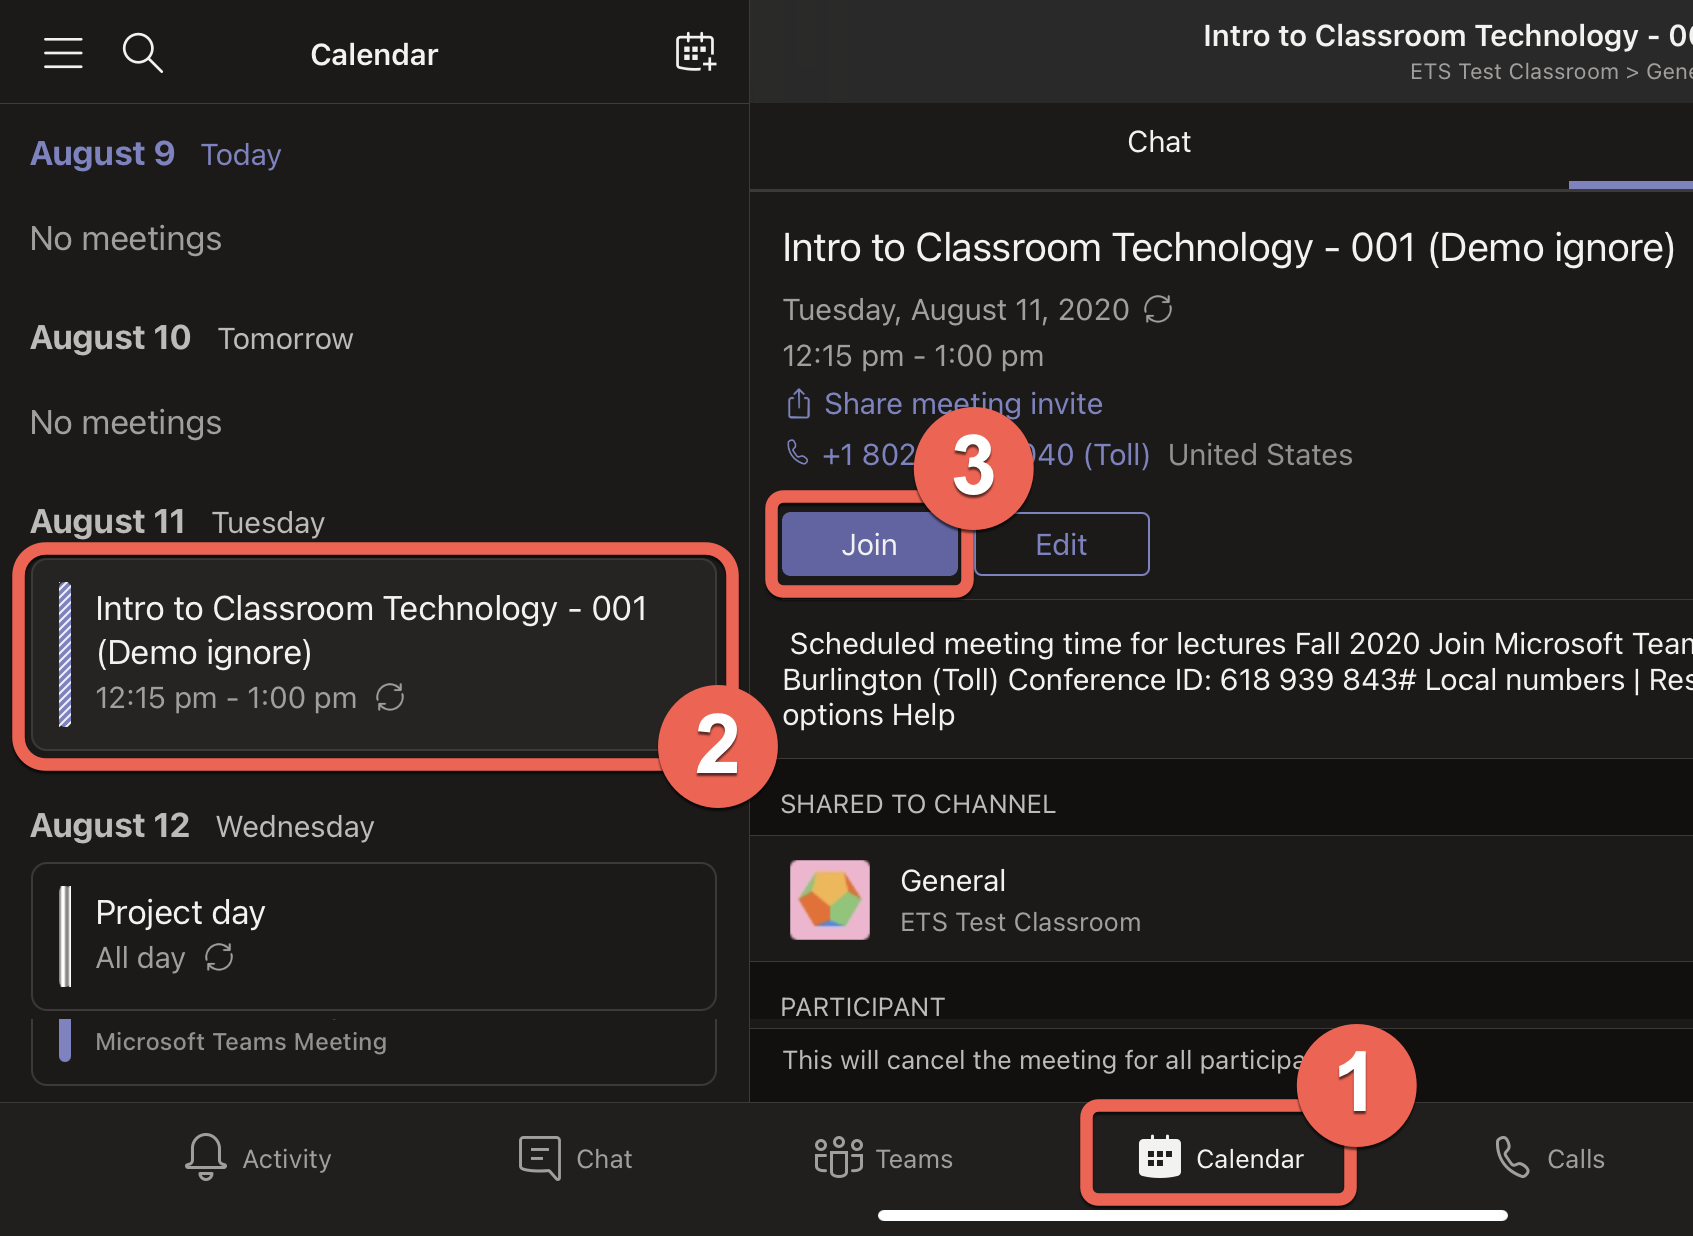
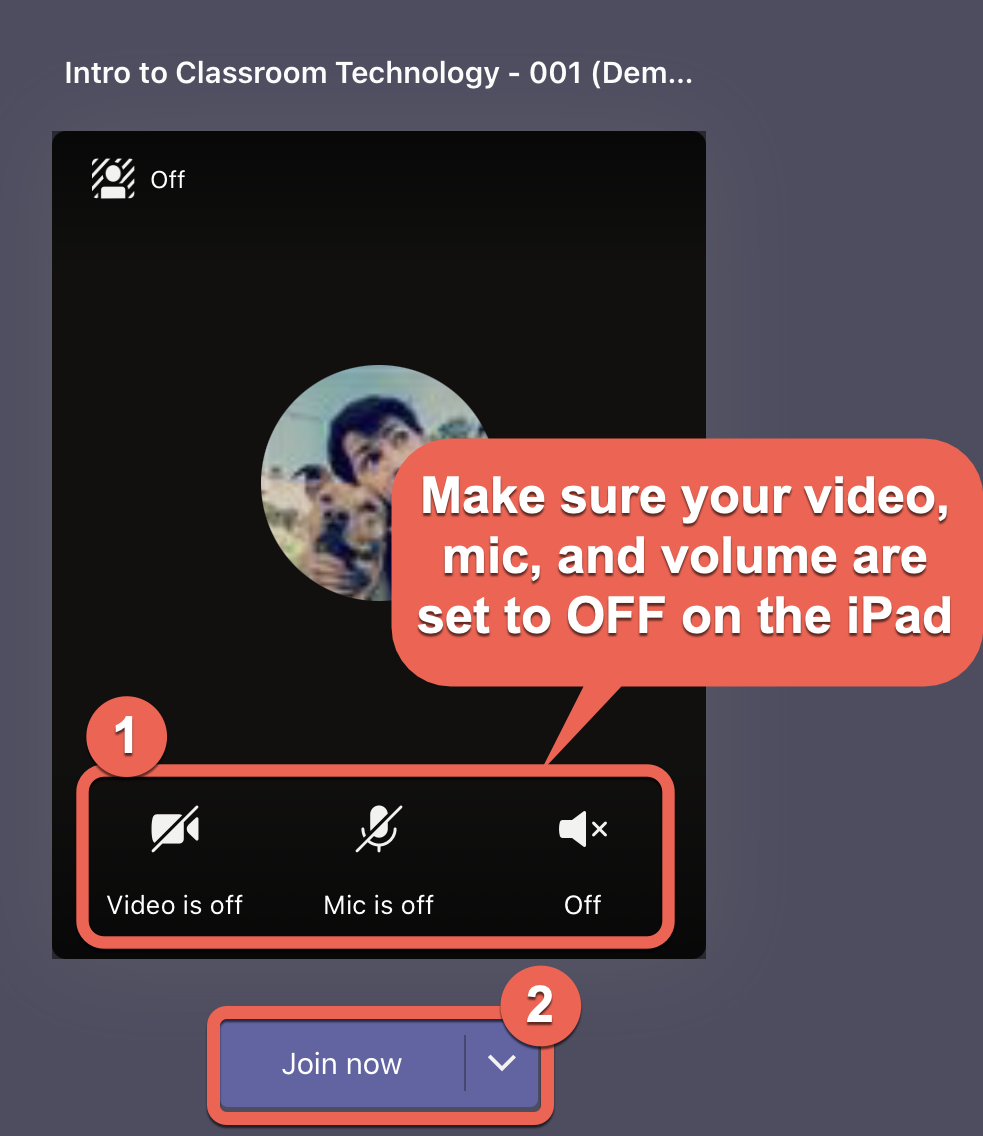
- When joining the meeting from your iPad, make sure that the video, mic, and sound have been turned Off. (tap each option to turn on/off). You will still be heard and seen through your laptop computer – turning these options off on your iPad will prevent feedback. When you’re ready, click the Join button to enter the meeting from your iPad.
- Tap the More Options menu (three dots), the select Share.
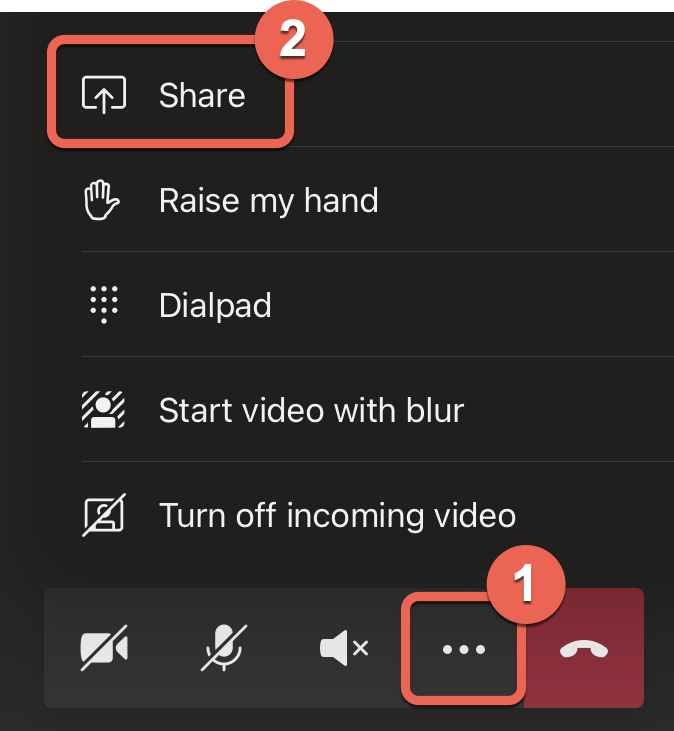
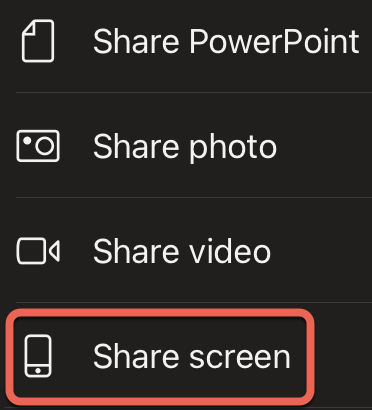
- From the sharing options menu, select Share Screen
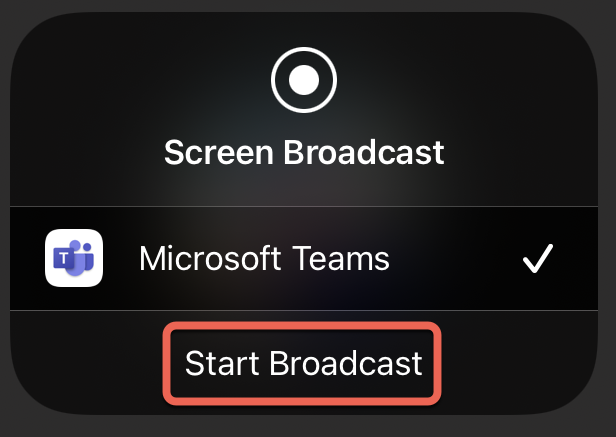
- Confirm screen sharing by tapping Start Broadcast – after a 3 second countdown your iPad screen will be shared with the meeting.
- Navigate back to the iPad’s home screen, then open the Microsoft Whiteboard app.
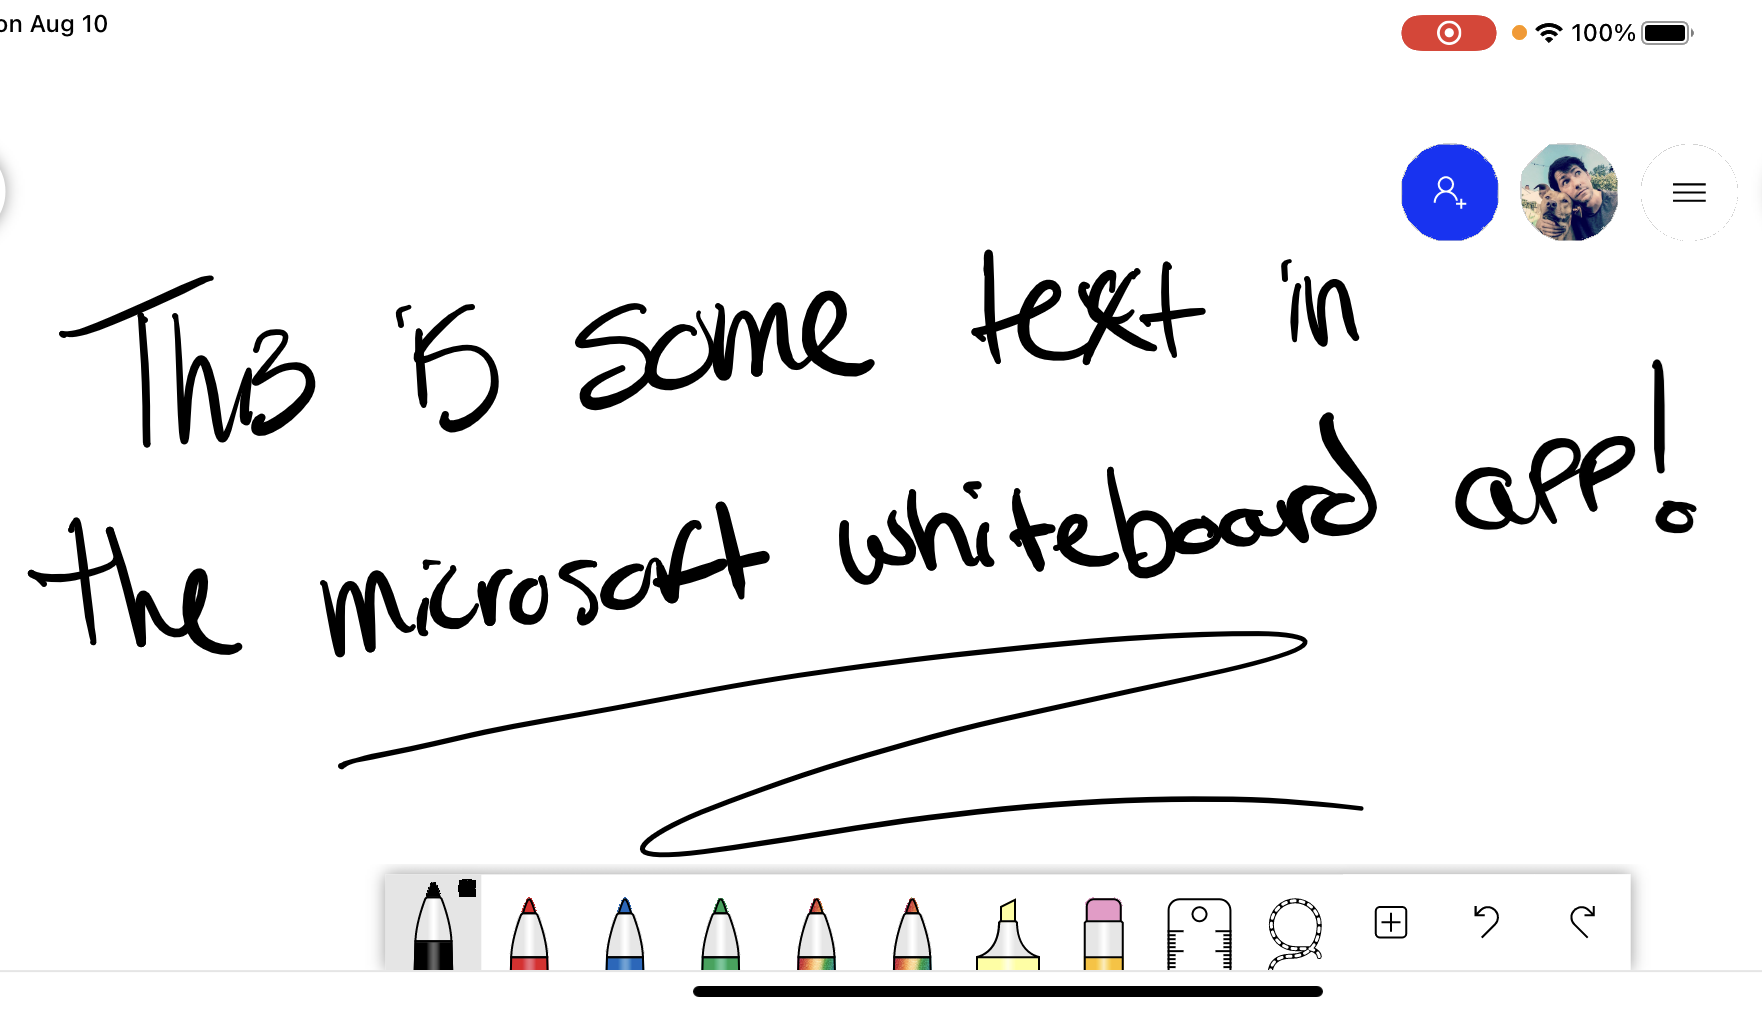
- The whiteboard app will open, create a new board, or use an existing one.
- When you’re ready to stop sharing your iPad’s screen, swap back to the Teams app, then tap Stop Presenting.