

Microsoft Office has many different versions (Office 365 and Office 2021 among them), and different features become available depending on how the product is licensed. This guide is intended to provide clarification on the differences between these versions, as well as steps for switching from one version to another.
| Microsoft 365 apps | Office 2021 – Volume License | |
|---|---|---|
| Included Applications | Outlook, Word, PowerPoint, Excel, OneNote | |
| Collaboration Features | Includes full access to collaboration features like simultaneous editing of documents and integration with OneDrive, Office Online, and Microsoft Teams. | Limited integration with Microsoft web apps like OneDrive or access to Office Online web apps. |
| Licensing | All students, faculty and staff members can install and activate Microsoft 365 apps on up to 5 different devices at a time. | Can be installed on any UVM owned computer. |
| Feature updates | Receives the latest features and updates as well as security updates and bug fixes. | Receives security updates and bug fixes only. |
| Use cases |
|
|
A thorough list of differences between Microsoft 365 apps, Office 2019, and Office 2021 is available here.
Find your current Office version
Locate your version of Office for macOS
- Open any Office application (Outlook, Word, Excel, PowerPoint). In this example, we’ll be using Outlook.
- In the top-left corner, select the Outlook menu. Then click “About Outlook“.
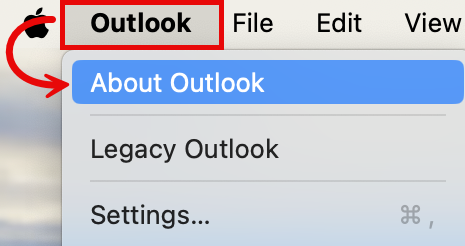
- Your version of MS Office will appear in the “License:” info.
Microsoft 365 apps Office 2019 – Volume License Office 2021 – Volume License 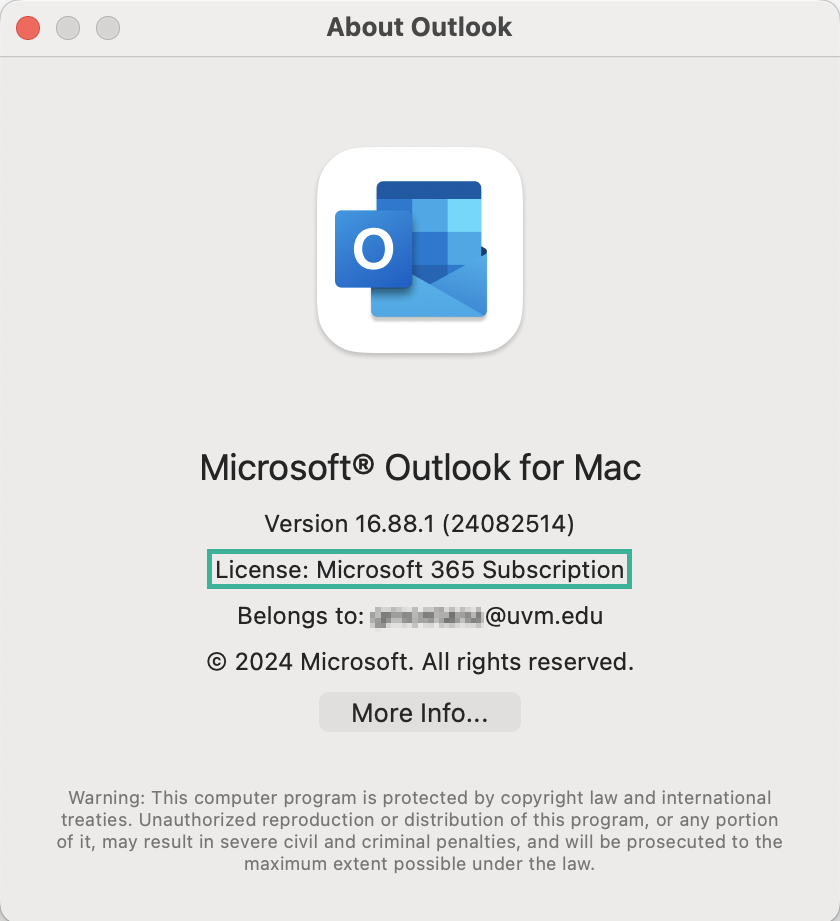 “Microsoft 365 Subscription”
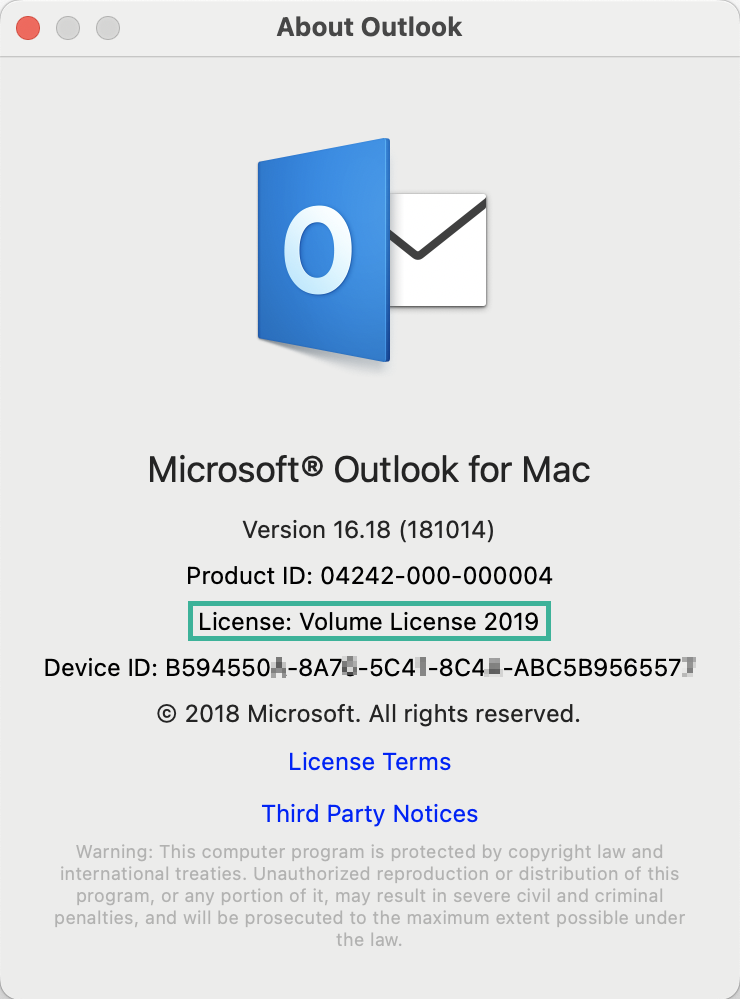 “Volume License 2019”
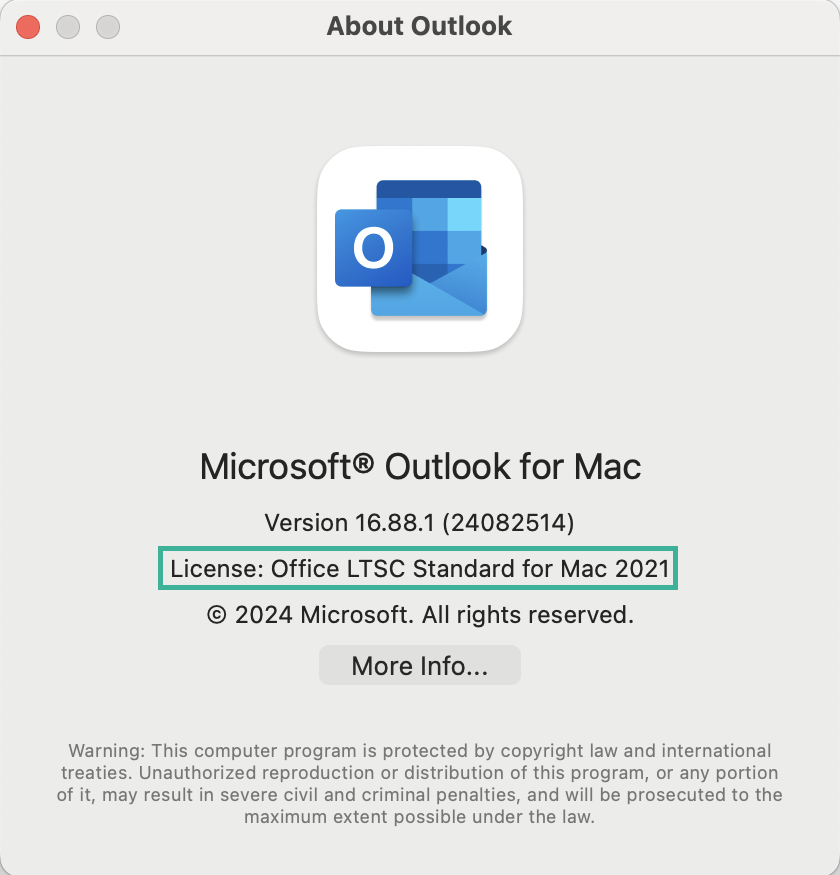 “Office LTSC Standard for Mac 2021”
If you’d like to switch your version of MS Office, please see the “Switch your Office version” section of this guide.
Switch your Office version
Switch to a different version of Microsoft Office for macOS (UVM-owned machines)
- Quit any Office applications that are currently running (Outlook, Word, Excel, PowerPoint).
- From the Applications folder () or a Spotlight Search (), locate and launch the Managed Software Center app.

- From the Software tab, use the Categories drop-down menu to select Productivity.
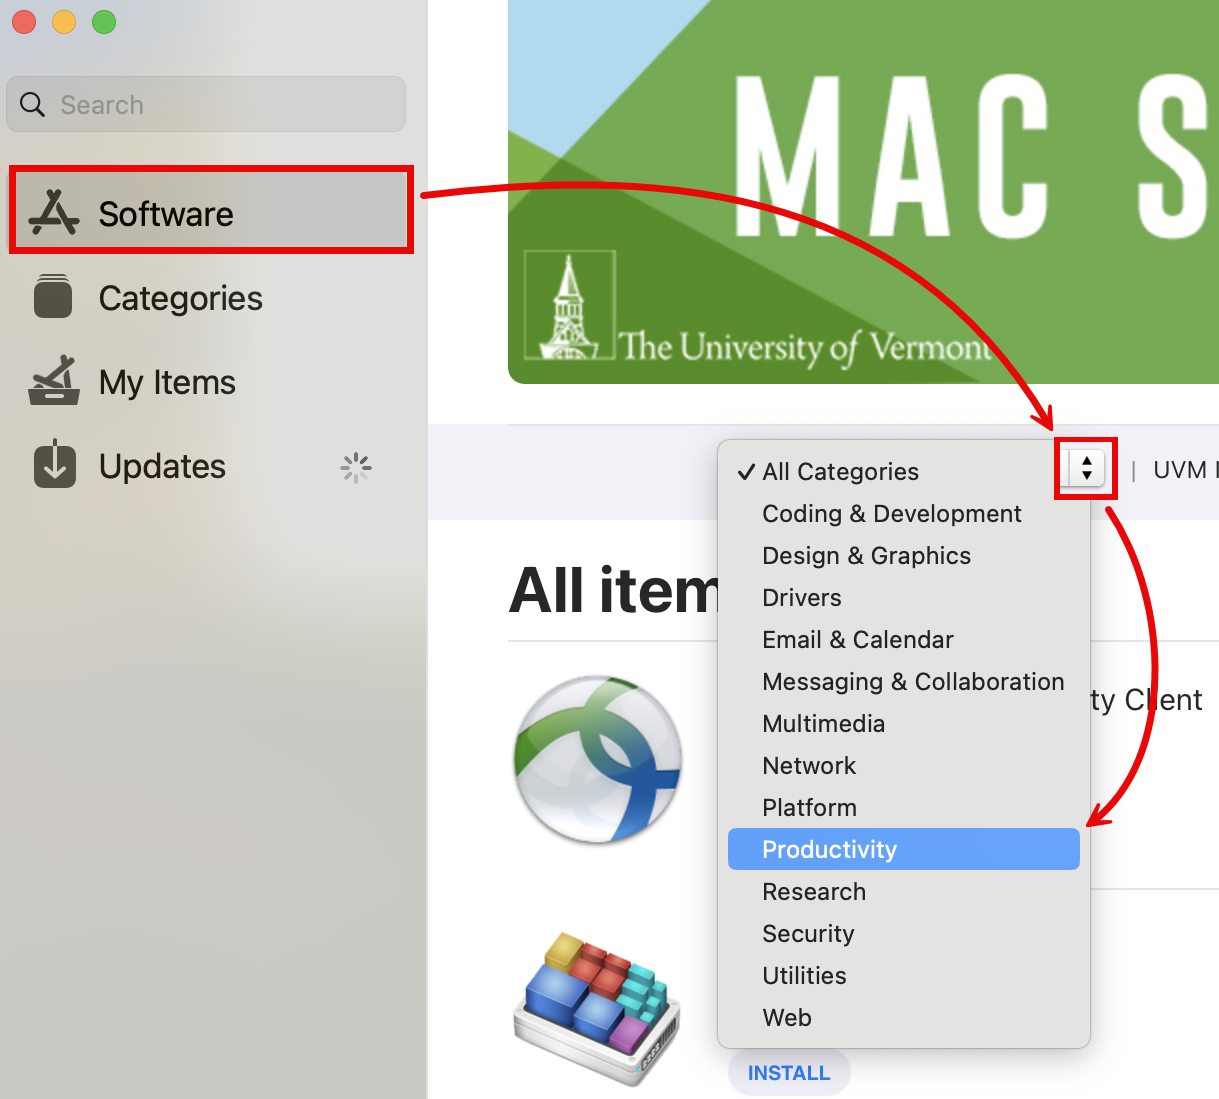
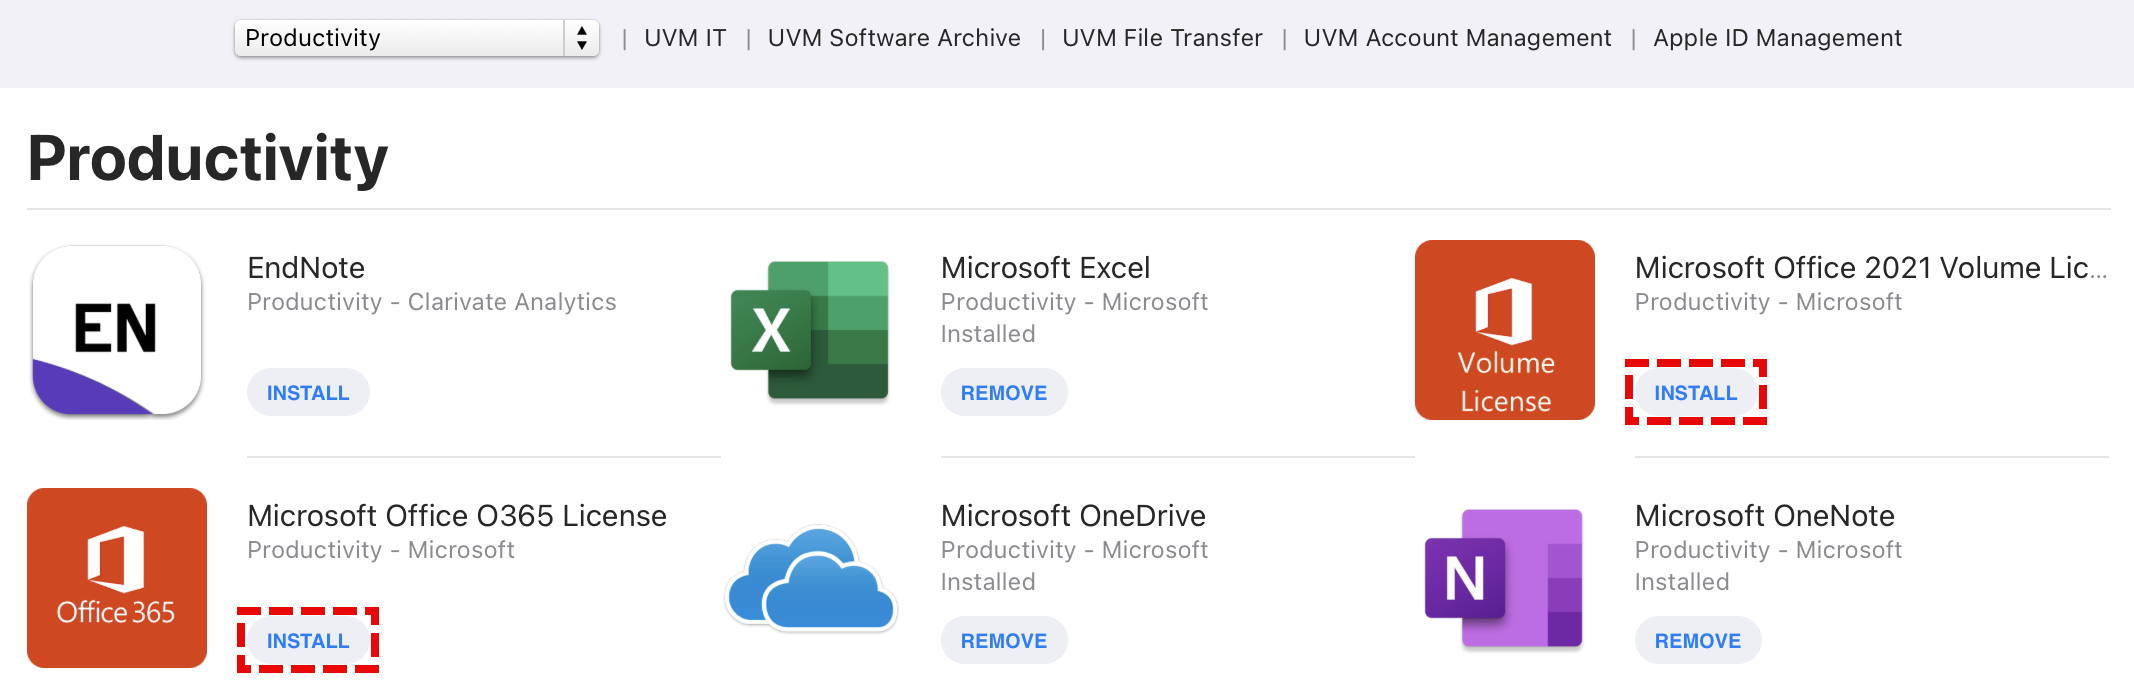
- From here you can choose to INSTALL the Microsoft Office O365 License or Microsoft Office 2021 Volume License versions of Office. Choose whichever makes the most sense for your desired use case.
- Restart your computer to complete the install. This may take about 10 minutes.
Install Microsoft 365 apps (personally-owned machines)
FAQs and Troubleshooting
How do I activate my Microsoft 365 applications?
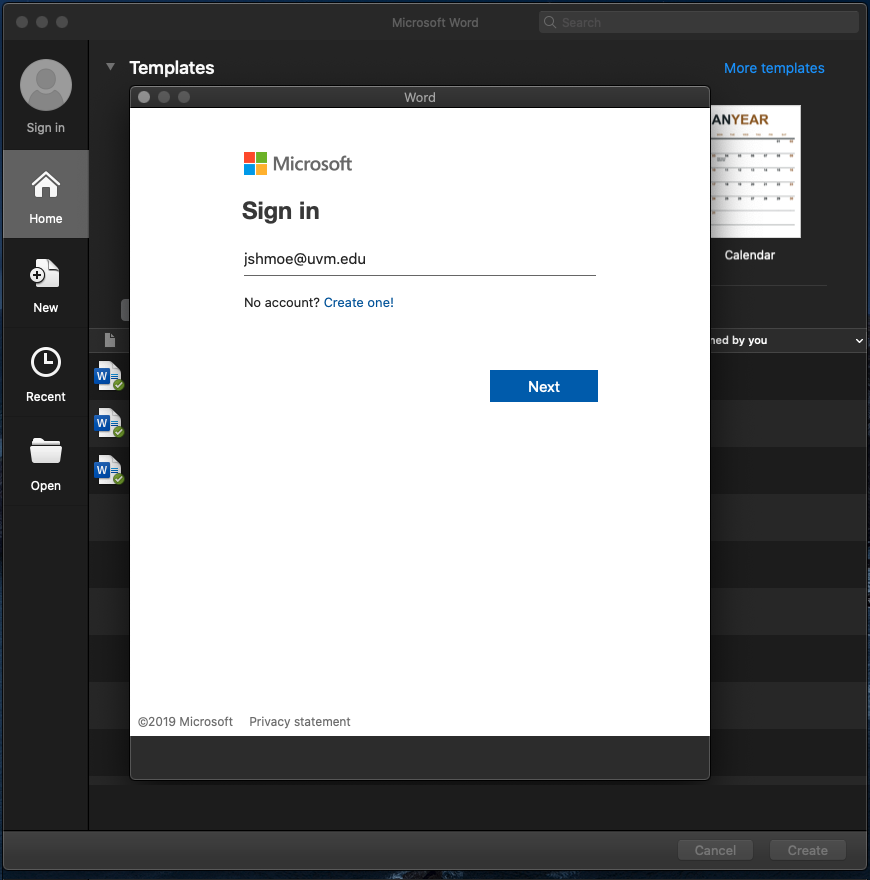
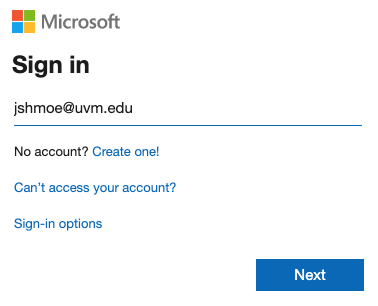
The first time you launch a Microsoft 365 app (Word, Outlook, Excel, PowerPoint), you’ll receive a prompt to sign in to activate.
- Enter your UVM email address (example: jshmoe@uvm.edu), then click “Next”
- Enter your UVM NetID credentials
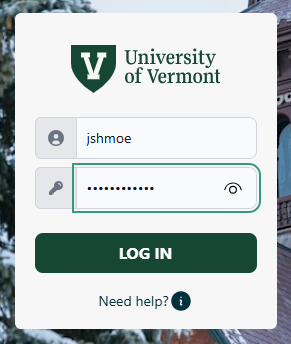
- Upon successfully entering your credentials, the Microsoft 365 apps will activate!
How do I install the Managed Software Center application?
Requirements:
- An active Internet connection
- If off-campus, you need to connect using the Cisco Secure Client VPN app.
- Part of the installation process will require you to reboot your Mac. Please save your work, then quit any applications you have open before proceeding.
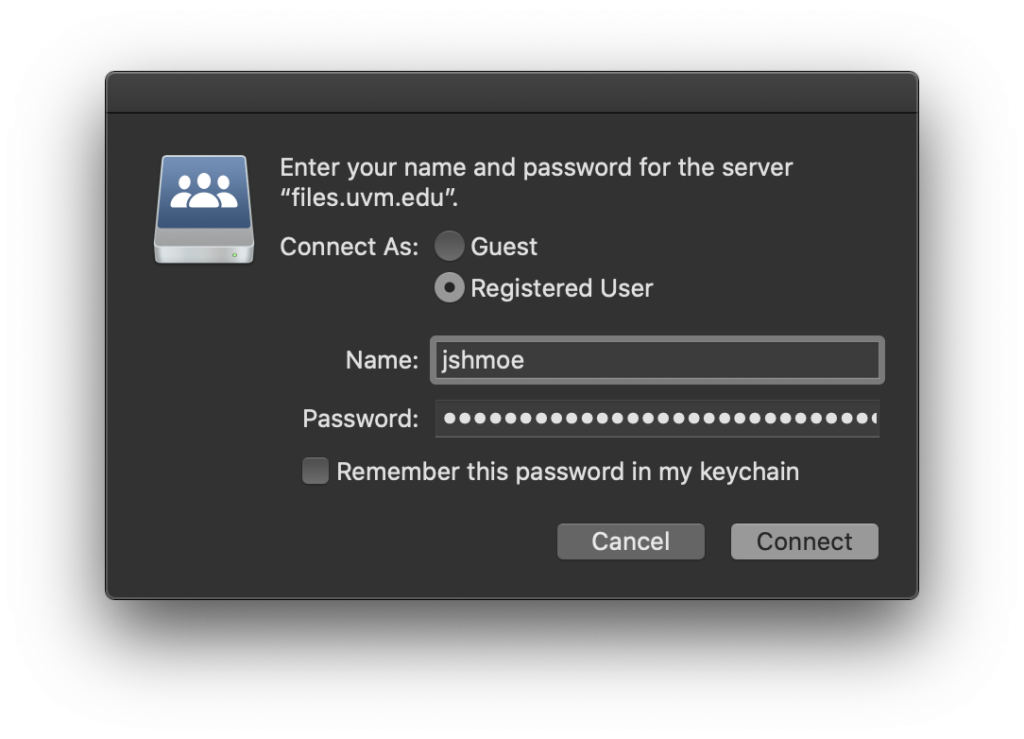
- Click the link below, then select “Open in Finder” to connect to the software share. You will need to enter your NetID and password to connect: smb://files.uvm.edu/shared/software/Deploy/munki/
- Click-and-drag the UVM-Munki-Client.pkg file to the Desktop of your computer.
- Double-click the UVM-Munki-Client.pkg to start the installation process.
- Click “Continue“
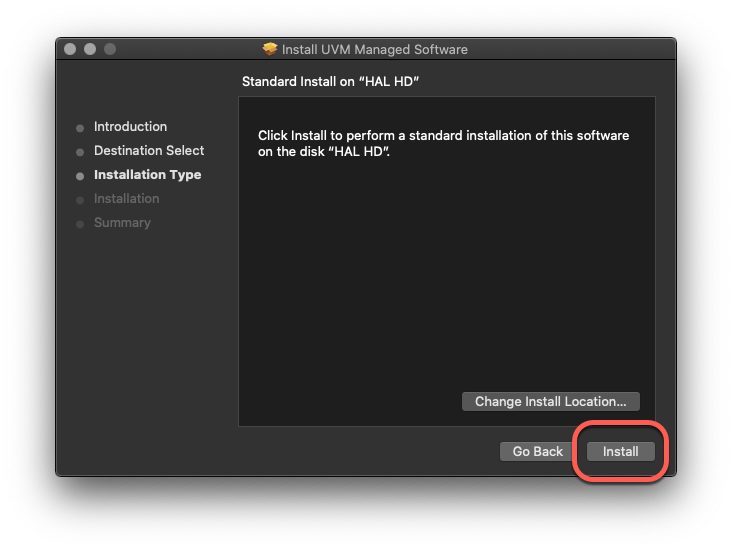
- Click “Install“, you will receive a prompt to enter the password to your computer.
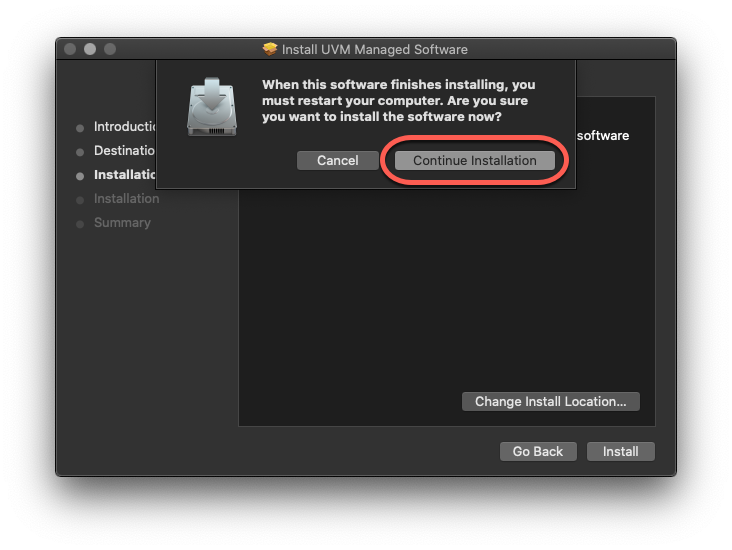
- The installer will remind you that a restart is required to complete the installation. Click “Continue Installation“.

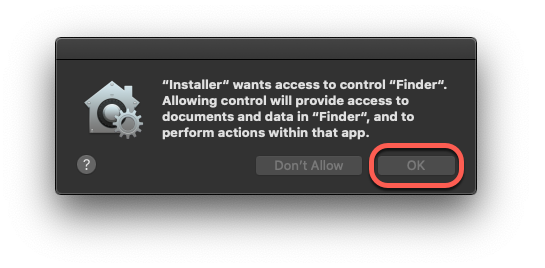
- Recent versions of macOS will prompt for additional permissions. Click “OK“.
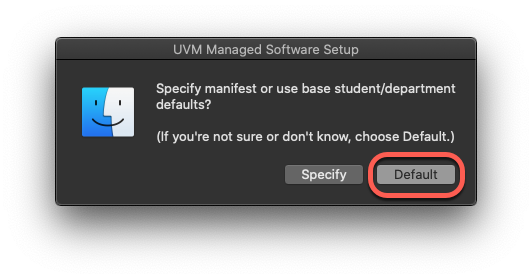
- The installer will prompt for a preferred software manifest. Choose “Default“.
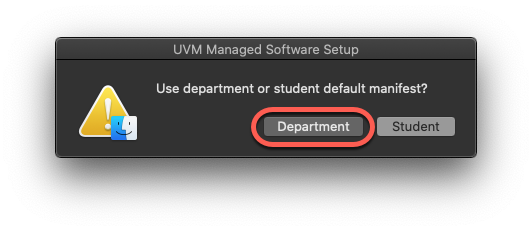
- Choose the “Department” manifest.

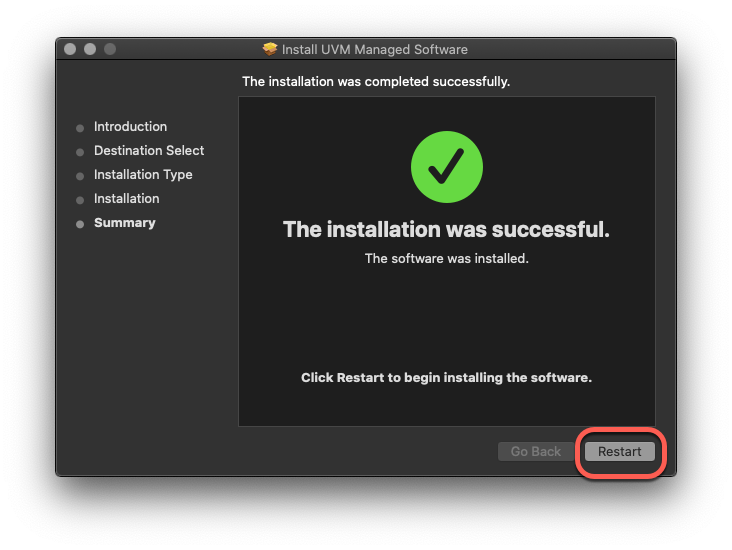
- Click “Restart” to complete the installation.


How do I manage my Office 365 device licenses?
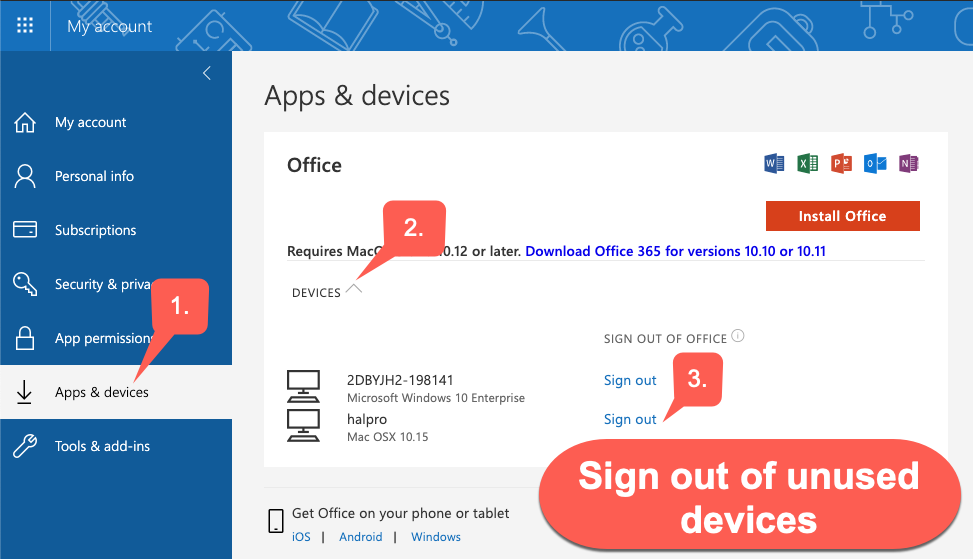
Microsoft 3665 apps become licensed and activated when you sign into the application with your NetID credentials. In the event that you’ve installed and activated Microsoft 365 apps on more than five computers, you can sign-out of unused systems to free up a license for a different device.
- Navigate to https://portal.office.com/account/
- Enter your UVM email address (example: jshmoe@uvm.edu)
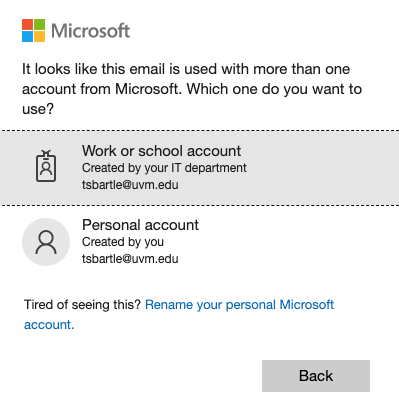
- If prompted, choose “Work or school account”
- Select the “Apps & devices” menu, then expand the “DEVICES” toggle. You will see a list of devices that are currently activated. Click the “Sign out” link to remove a license from devices that are no longer in use.

- You can now activate Microsoft 365 apps on a new device.


The Teams button is missing from Outlook Calendar on macOS
If the Teams meeting button is missing from Outlook for macOS, please see our Missing Teams meeting Button in Outlook for macOS guide.