UVM affiliates with access to virtual machines at UVM can connect to them using the Horizon Client desktop app, or via desktop.uvm.edu in-browser. Instructions for each method can be found below.
Desktop Client
Installation - Windows
- Navigate to desktop.uvm.edu in a browser (Firefox, Chrome, Edge, etc.)

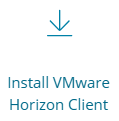
- Click on the Install icon. This will take you to the Omnissa All Downloads site.
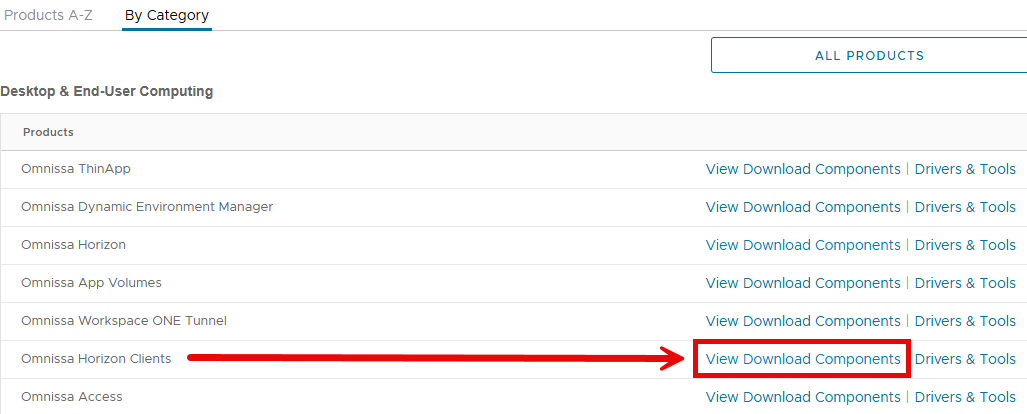
- Select View Download Components to the right of Omnissa Horizon Clients.
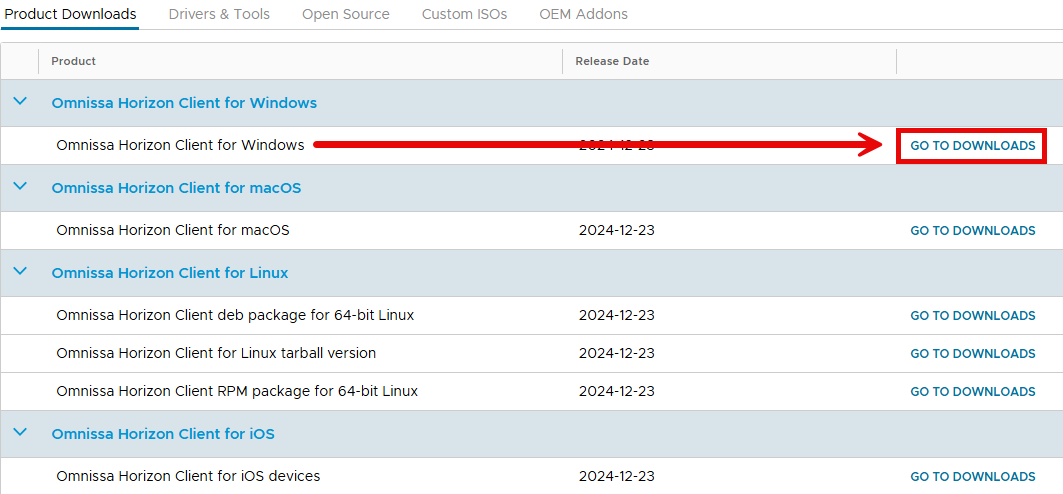
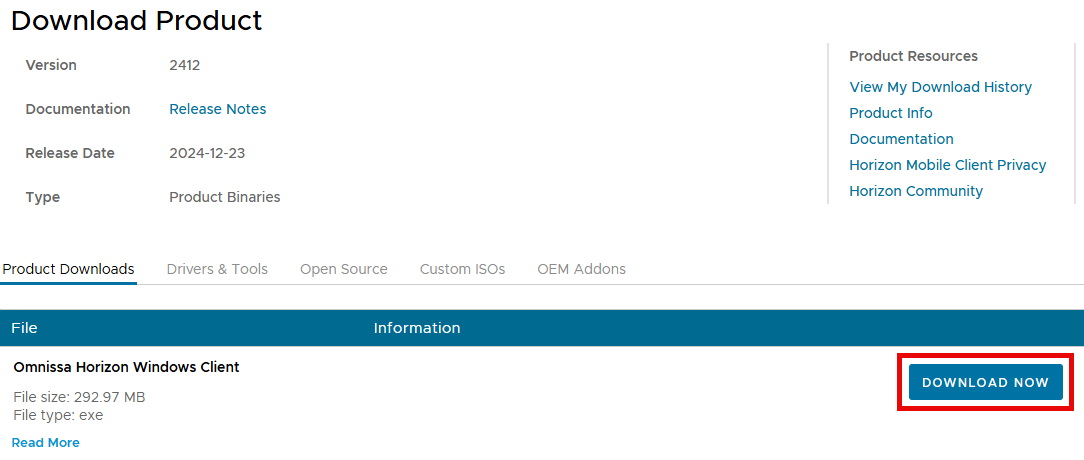
- Click Go to Downloads to the right of Omnissa Horizon Client for Windows.
- Click the Download Now button, and Save the installer to your computer if prompted.
- Open the downloaded file, and respond to the User Account Control window if prompted.
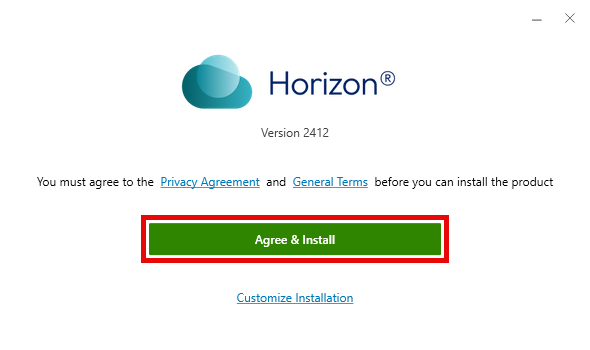
- Click Agree & Install or Repair.
- Follow any steps required to complete installation. This may require a restart of your computer.
Installation - Mac
- Navigate to desktop.uvm.edu in a browser (Firefox, Chrome, Safari, etc.)
- Click on the Install Client icon. This will take you to the Omnissa All Downloads site.
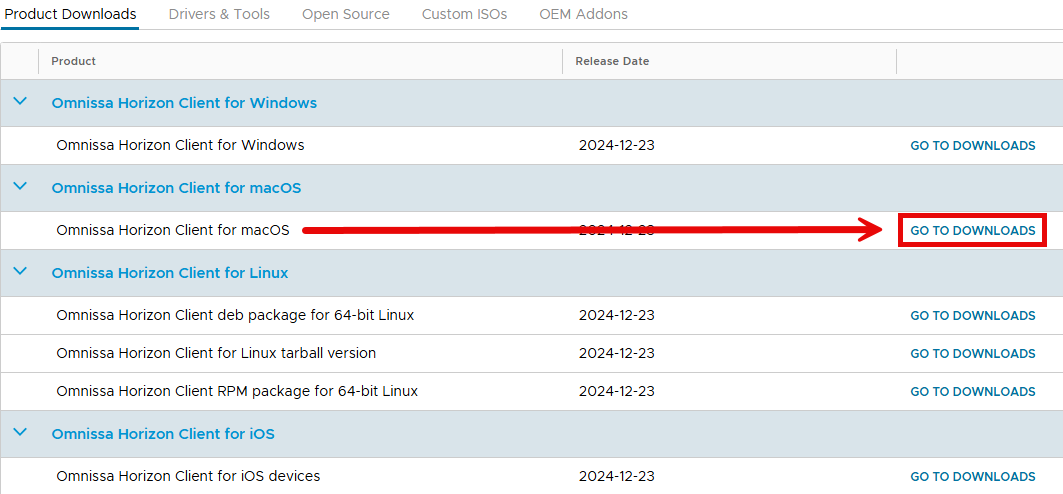
- Select View Download Components to the right of Omnissa Horizon Clients.
- Select Go to Downloads to the right of VMware Horizon Client for macOS.
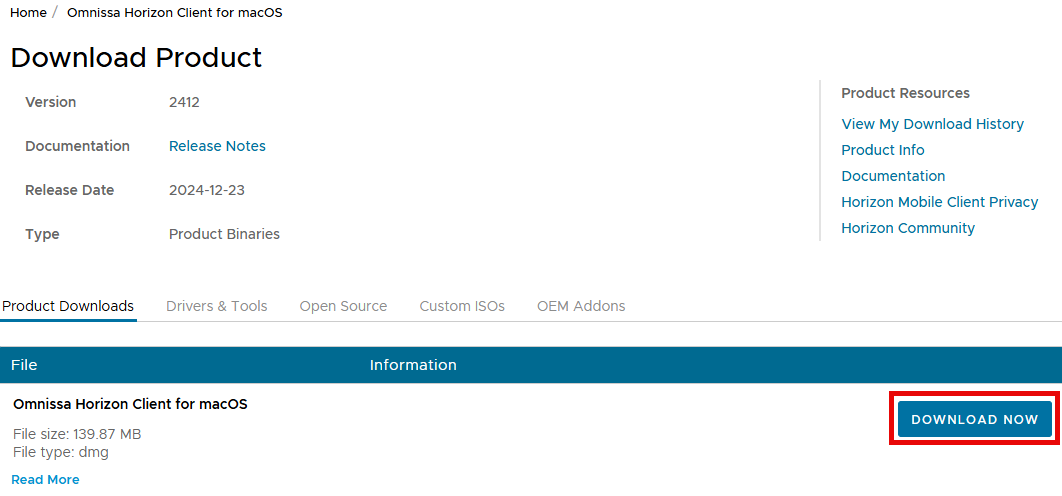
- Click Download Now. Then, if prompted, Allow downloads and Save the file to your computer.
- Open the downloaded file and then double-click Omnissa Horizon Client.pkg ().
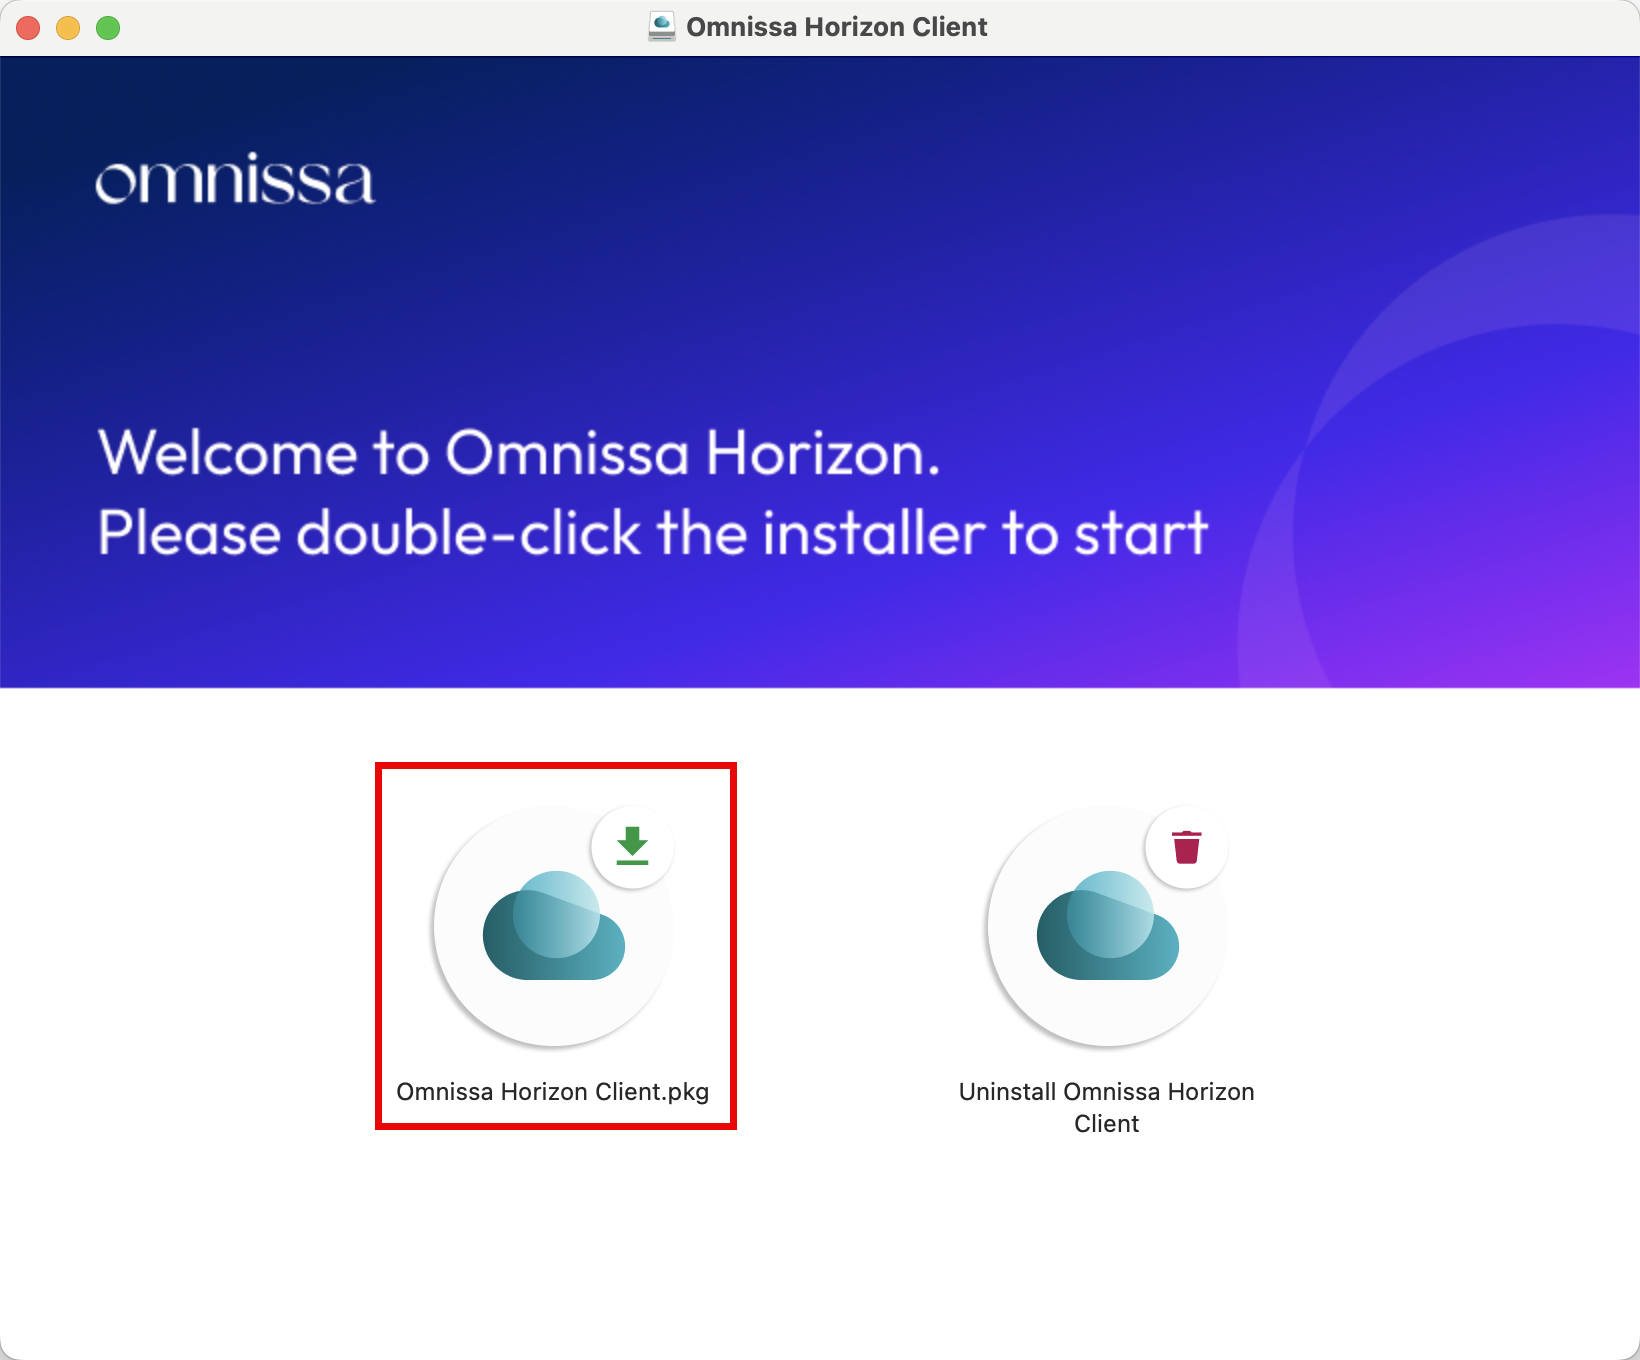
- Follow any steps required to complete installation. You may click Move to Trash if prompted.
Connecting with desktop client
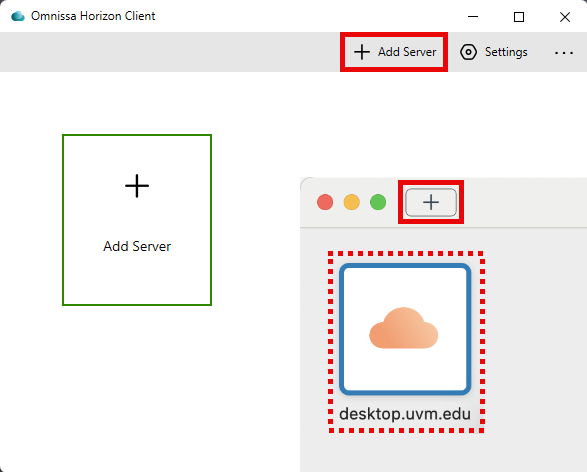
- Open the Horizon Client application. If a login window appears, skip to step 4.

- If no servers appear, Click the plus sign button () to add a New Server. Or, double-click the existing server (should be desktop.uvm.edu) and continue to step 4.
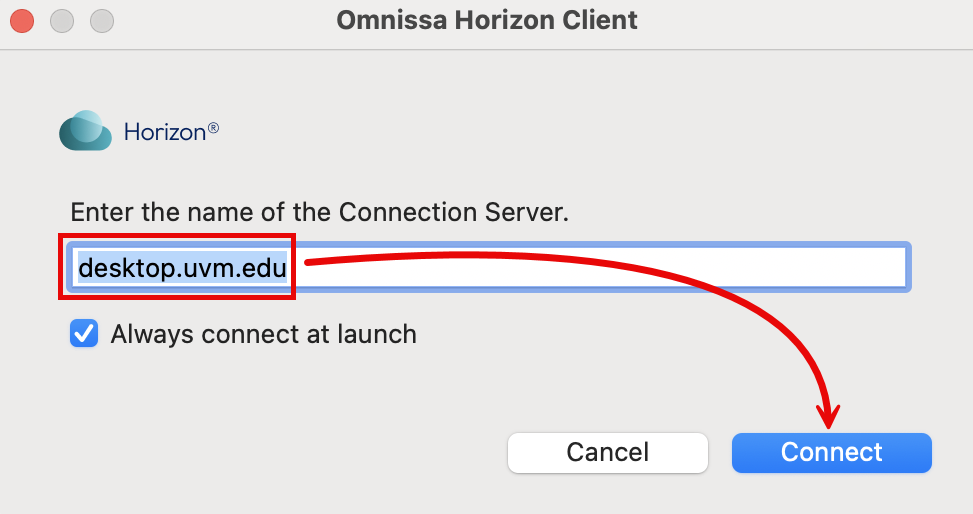
- Enter desktop.uvm.edu for the Connection Server, then click Connect. Leave the Always connect box checked to skip steps 2 and 3 next time.
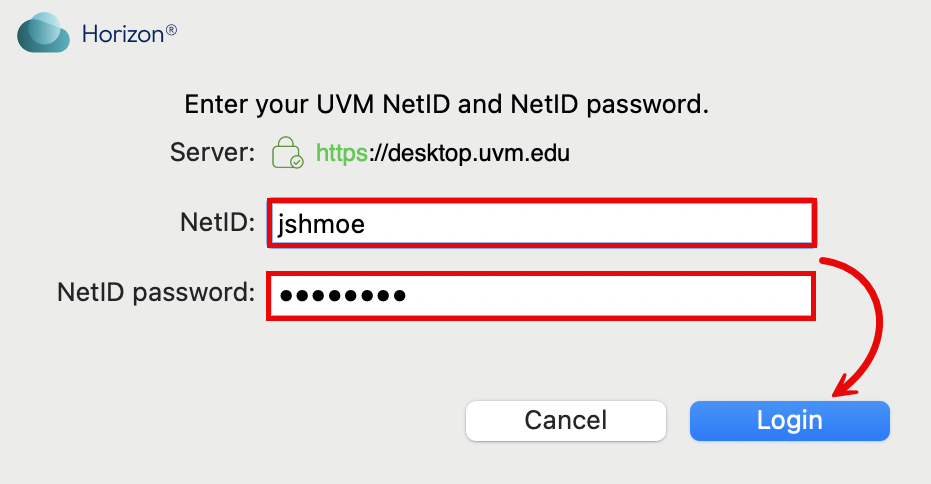
- Enter your NetID and password. Click Login once you have done so.
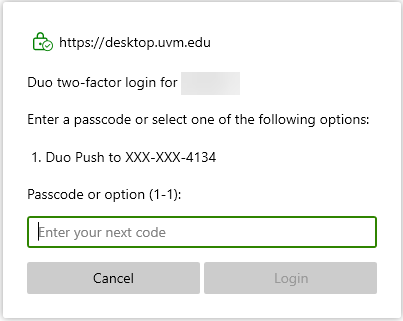
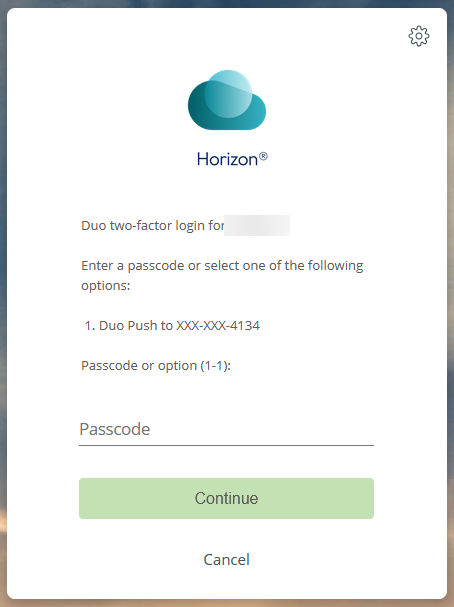
- You should now be prompted to authenticate using Duo two-factor authentication. In the Next Code box enter either the number of the MFA option you would like to use, or an existing code (generated online, with the Duo Mobile app or a hardware token) in the Passcode field. Then click Login.
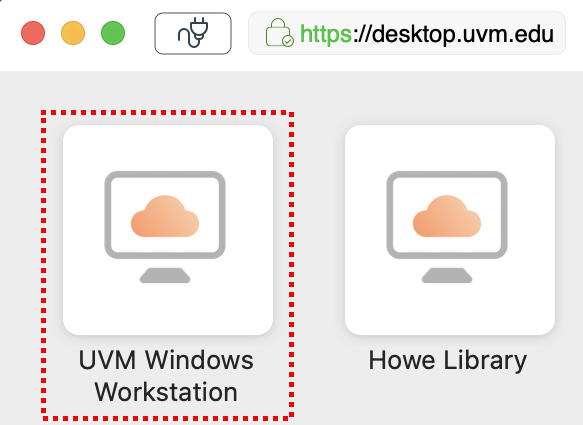
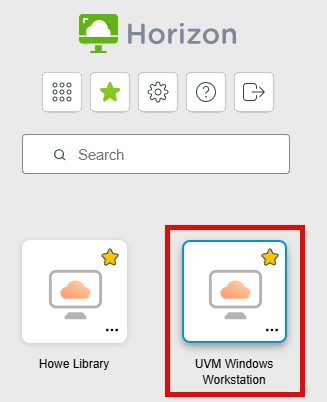
- After successfully signing in, double-click which ever Virtual Desktop group you were looking for. (In the below example, UVM Windows Workstation and Howe Library are the only ones available to this user).
In-Browser
Connecting in-browser
- Navigate to desktop.uvm.edu in a browser (Firefox, Chrome, Safari, etc.).
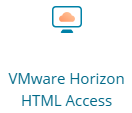
- Click on the HTML Access icon:
- Log in with UVM NetID and Password when prompted.
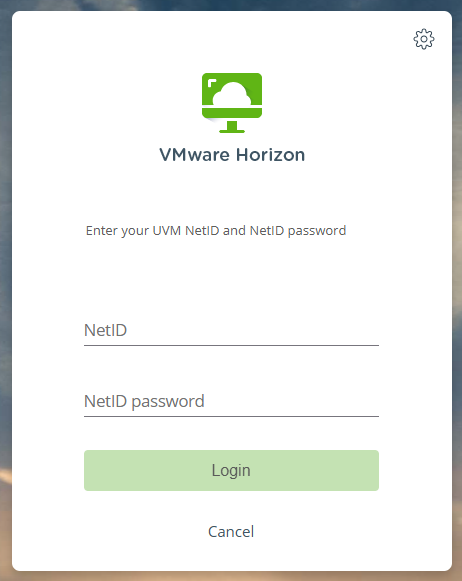
- In the Passcode box enter either the number of the MFA option you would like to use, or an existing code (generated online, with the Duo Mobile app or a hardware token).
- Once authenticated, click on the VDI pool you wish to access.
Troubleshooting
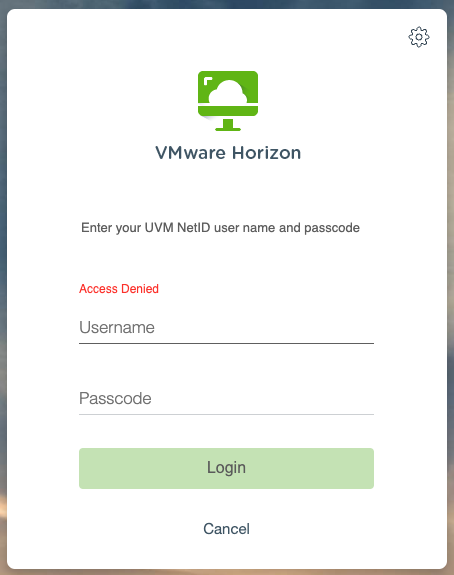
Access Denied
If you receive an Access Denied error, please check that you have added a Duo MFA device and that you are following the proper steps for using your MFA device as described in the sections above.