
The UVM Secure Enclave environment was designed to protect sensitive data that may be subject to a variety of regulatory or policy requirements. The enclave imposes technical and policy restrictions on how data may be accessed, transmitted, or stored. If you do not already have access to a secure enclave instance and believe that it might be the right solution for your data protection needs, please reach out to the Office of the Vice President for Research or the Information Security Office. If you are ready to request the creation of an enclave instance, you can do so by completing the Secure Enclave Access Form.
Using Your Secure Enclave Instance for the First Time
Once you have access to a Secure Enclave instance, you can access a virtual desktop in the environment via the Omnissa Horizon desktop client. To do so, you’ll need to know the name of your instance and the ability to log in with your NetID and Duo multifactor authentication.
The following steps will guide you through connecting to the enclave for the first time, preparing it for use, and transferring data into your instance.
Connect to the VPN
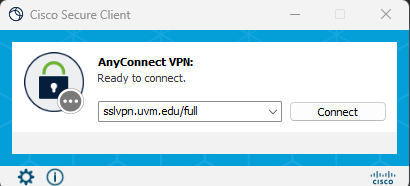
To access the virtual desktop environment, first connect to the UVM VPN using the Cisco Secure Client using the address “sslvpn.uvm.edu/full”:
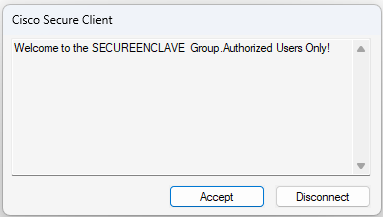
Once you’ve connected, you should be presented with a banner acknowledging that the SECUREENCLAVE VPN group profile has been applied to your NetID:
Access the Virtual Desktop
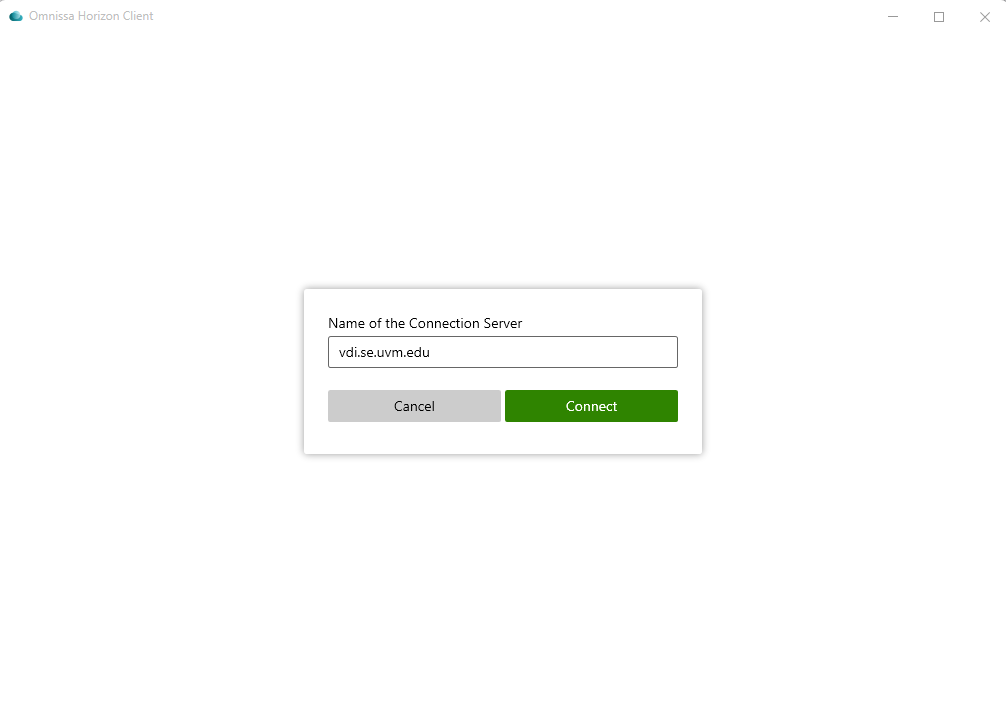
Once you’ve made your VPN connection, open the Omnissa Horizon client. Click “Add Server”, enter “vdi.se.uvm.edu”, and then click “Connect”.
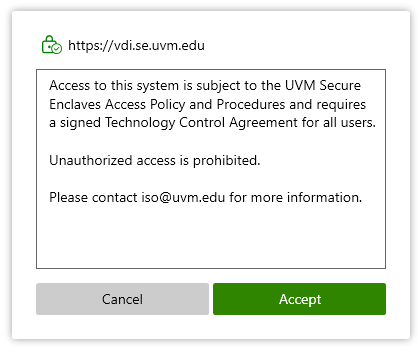
At this point you should accept a banner describing the terms of access to the secure enclave environment.
You’ll be prompted for your NetID and password, then be presented with a list of the secure enclave instances to which you have access:
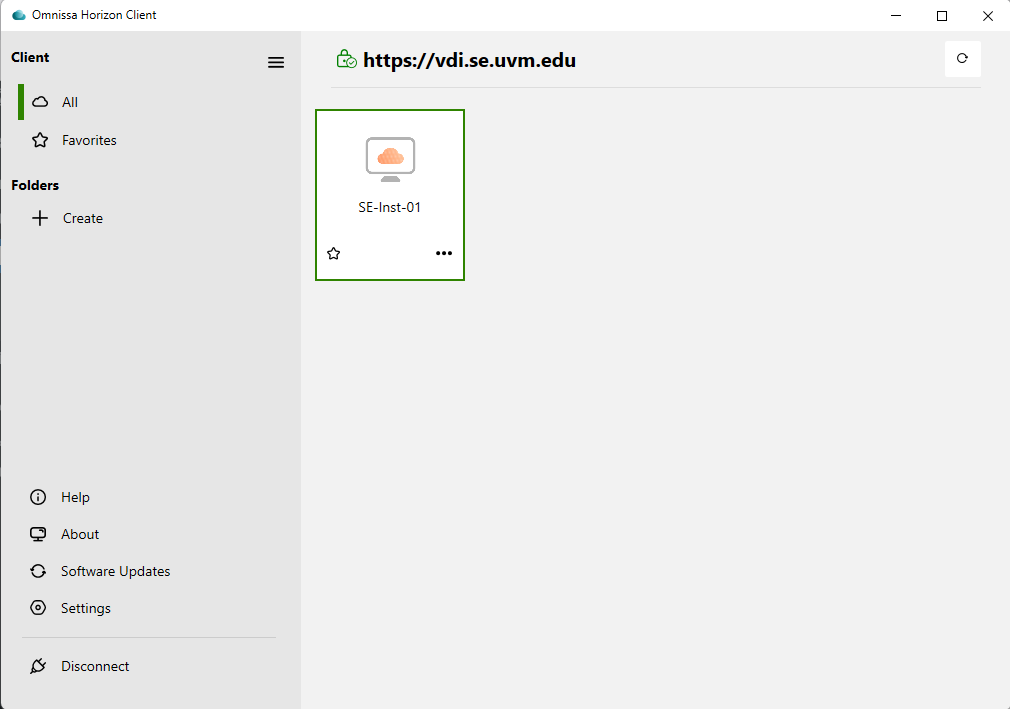
Double-click the tile with your instance name (or click the three-dots menu and then “Launch”). This will open a new window, which may take up to several minutes the first time you launch it. At this point you should see a Microsoft Windows desktop.
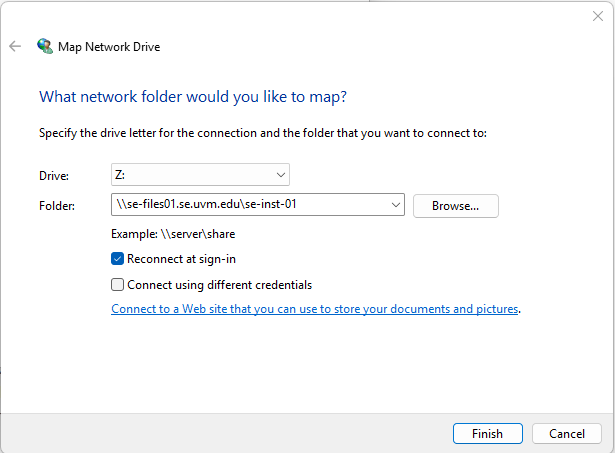
Access your File Share
Your first task will be to mount your secure enclave storage as a drive so that you can move data to and from it from the desktop and access it with the applications in your enclave instance. To do this, follow the instructions in the “Accessing Network Folders” KB article. At Step 4, enter “\\se-files01.se.uvm.edu\your_instance_name” rather than “\\files.uvm.edu\shared”, e.g.
Move Data into the Enclave
After you’ve mounted your file share, you’re ready to move data into the enclave. The secure enclave carefully restricts the flow of data in and out of the environment by design. This means that you will not be able to copy files (or text or images) to and from your local machine (including USB or DVD drives) by the normal means. You will not be able to take screenshots of the enclave desktop or share your screen in a Teams meeting, nor will you have access to your system clipboard for copying and pasting.
You can use the Globus data transfer service to move your data into the enclave. Instructions for logging into Globus and then transferring data into the enclave collection can be found in the Globus KB article.
Secure Enclave file shares can be found in the UVM SE Files Collection.
Because of the data flow restrictions in the enclave, you will need to upload from another Globus collection (such as UVM OneDrive, UVM Netfiles, or UVM VACC) or install the Globus Connect Personal app.