This article will walk you through setting and configuring your Automatic Reply (Out-of-office Message) in Outlook.
Outlook Online
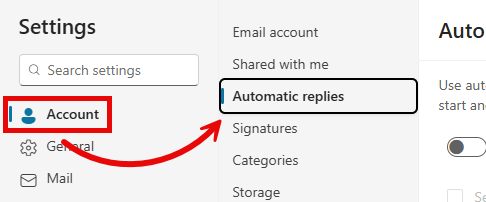
- Log in to Outlook Online.
- Click the Gear icon near the upper-right corner to open the Settings menu.

- Under Mail, click Automatic replies.
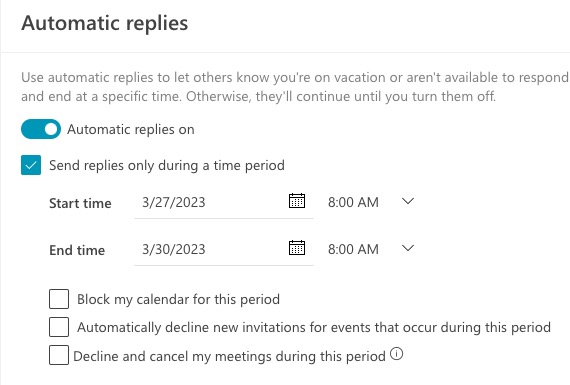
- Toggle Automatic replies on, then optionally set the time period, checking the boxes beneath as desired.
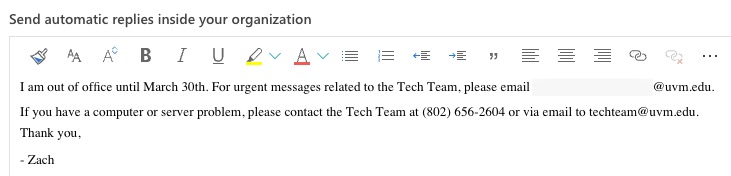
- Enter your automatic reply for those inside your organization.
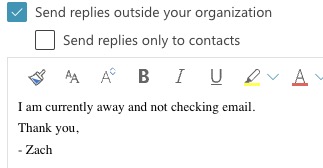
- Optionally, check the box to Send replies outside your organization and enter another automatic reply.
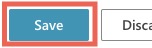
- Click Save.
You should now have an automatic reply configured for this email account. To make changes, edit your messages, then click Save again.
(new) Outlook for Windows
- Open Outlook. One way to do this is to open the Start Menu (), click All >, and then scroll down to Outlook.
- Click the Settings icon () in the upper-right corner of the window.
- Under Mail, click Automatic replies.
- Toggle Automatic replies on, then optionally set the time period, checking the boxes beneath as desired.
- Enter your automatic reply for those inside your organization.
- Optionally, check the box to Send replies outside your organization and enter another automatic reply.
- Click Save.
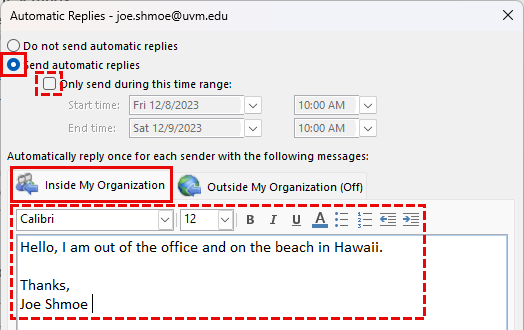
Outlook (classic) for Windows
- Open Outlook (classic). One way to do this is to open the Start Menu (), click All >, and then scroll down to Outlook (classic).

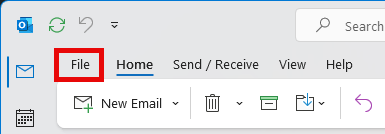
- Open the File menu from the Outlook Ribbon.
- Click Automatic Replies.

- Toggle Send automatic replies on. Optionally, choose Only send during this time range and choose the dates you’ll be away. Compose your reply for Inside My Organization in the provided box.
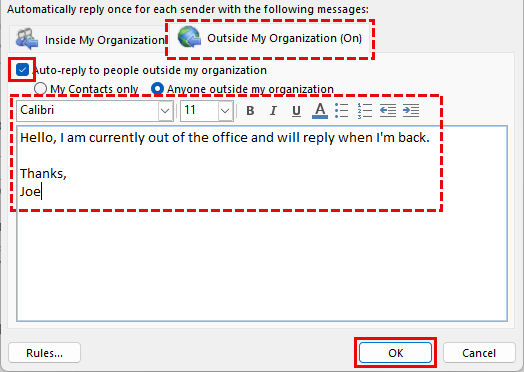
- Optionally, select Outside My Organization, check the box to Auto-reply to people outside my organization, compose a new or the same reply in the box provided, and click OK.
(new) Microsoft Outlook for macOS
-
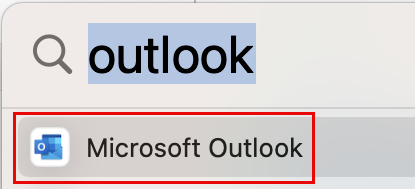
- Open Microsoft Outlook.
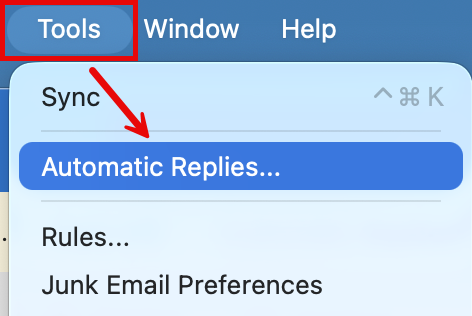
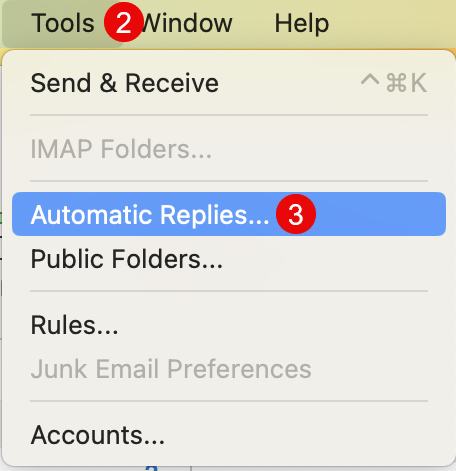
- Expand the Tools menu at the top of the screen and select Automatic Replies….
- Open Microsoft Outlook.
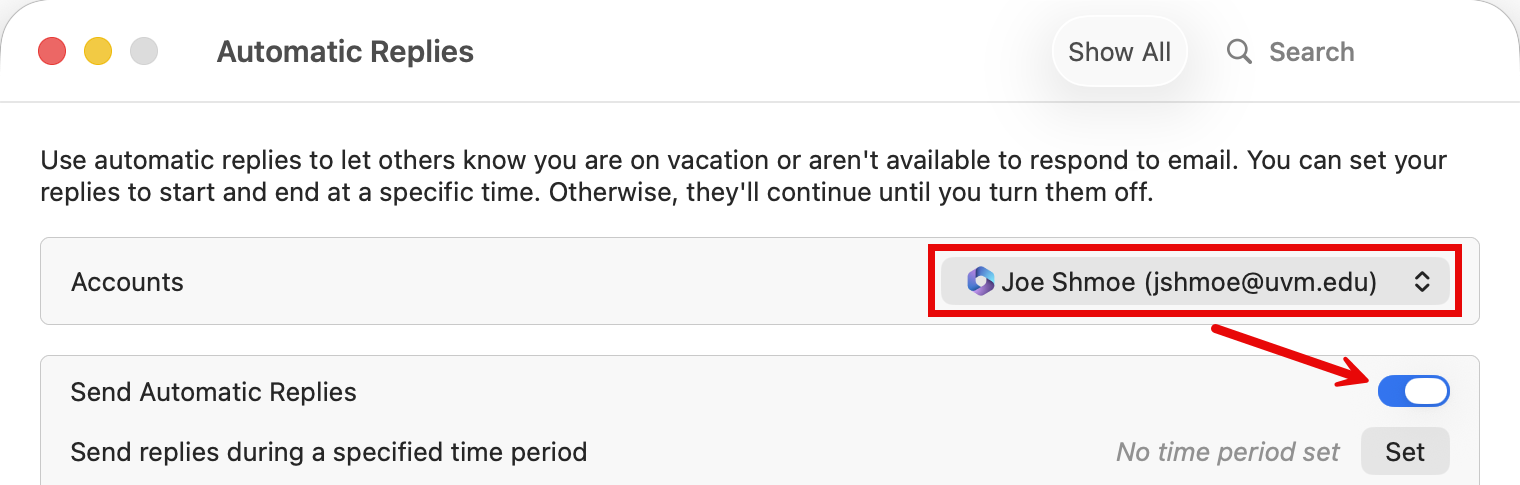
- Ensure the account that needs to send automatic replies is selected to the right of Accounts and toggle the Send Automatic Replies switch on.
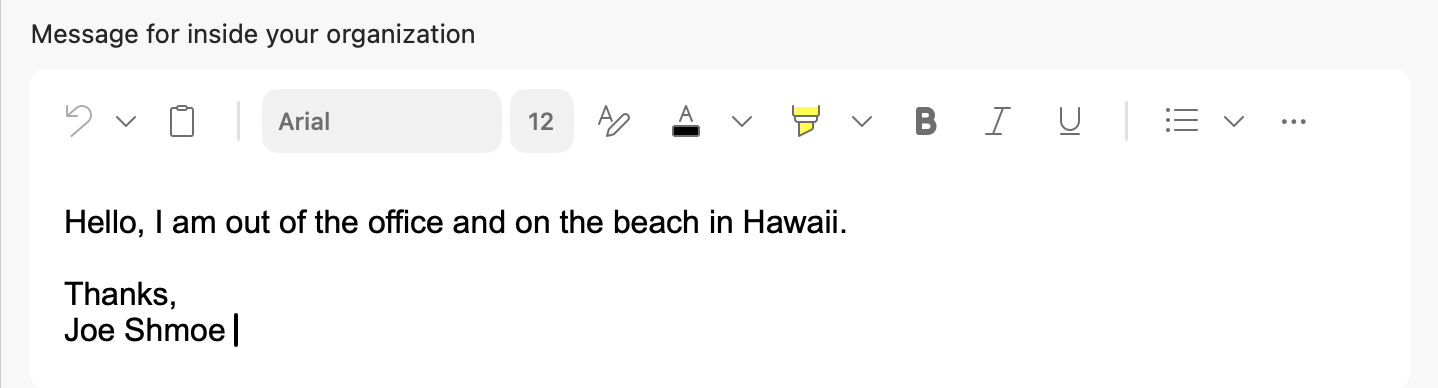
- Select your preferred font settings and compose your automatic reply Message for inside your organization in the text box.
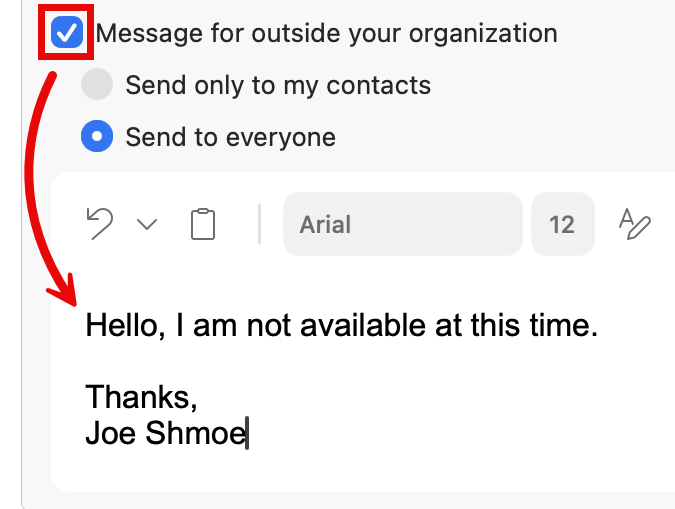
- Optionally, check the box to the left of Message for outside your organization and compose an additional message below.
- Close the Automatic Replies window (there is no “save” button).
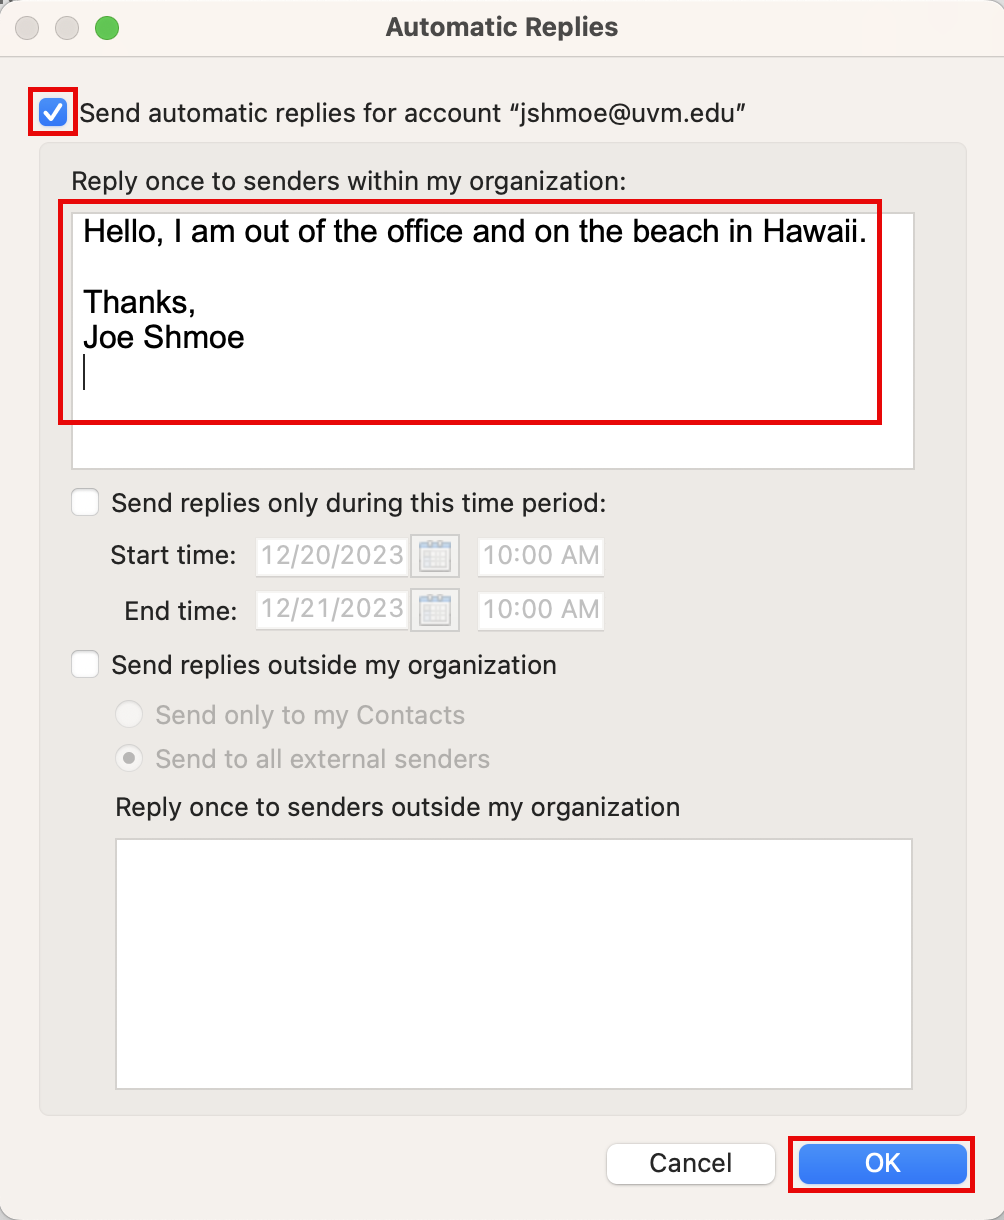
(legacy) Microsoft Outlook for macOS
- Open Microsoft Outlook.
- Expand the Tools menu from the top of the screen.
- Select Automatic Replies….
- Check the box to Send automatic replies for account “youremail@uvm.edu”.
- Compose your reply for senders within my organization, optionally select the time period and outside my organization options, compose your reply for senders outside my organization, and click OK.