
The instructions below detail the process of setting your Microsoft profile picture. This changes your picture in a number of areas, including Microsoft Teams.
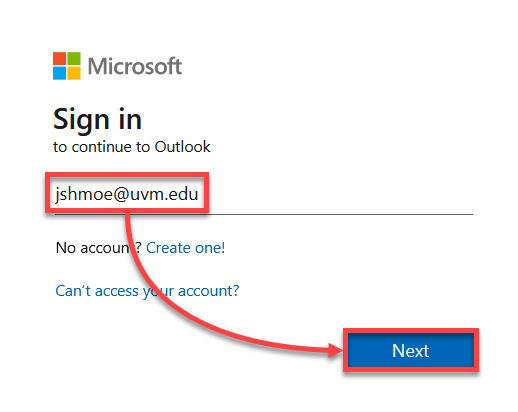
- Navigate to myaccount.microsoft.com and enter your UVM email address, and then click Next.

- Log in with your UVM NetID and password. If prompted, proceed through Duo.
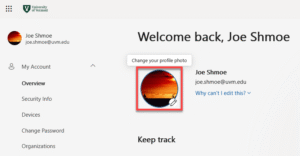
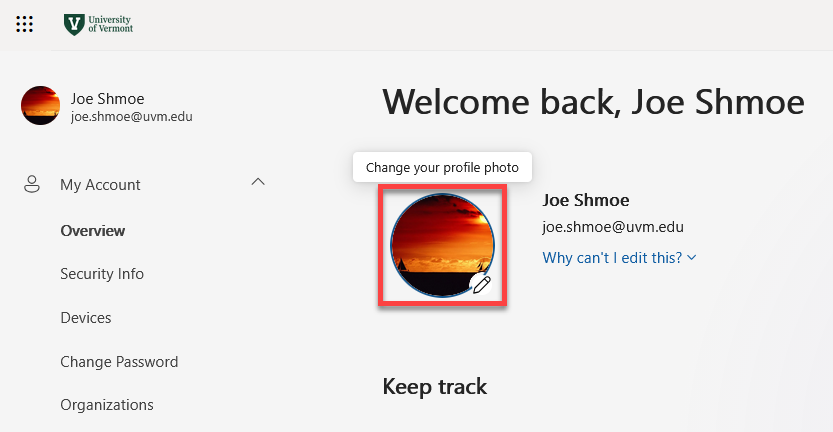
- After logging in, click your profile picture near the center of the screen.
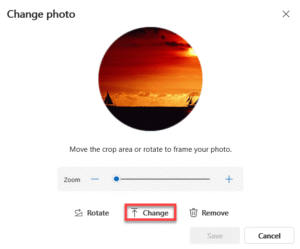
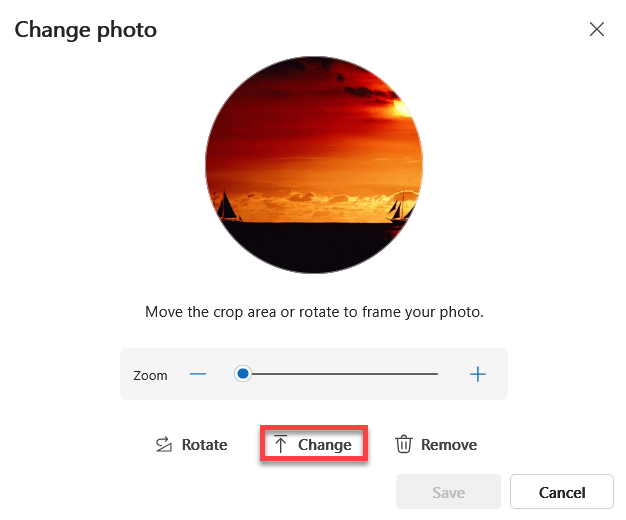
- Click Change.
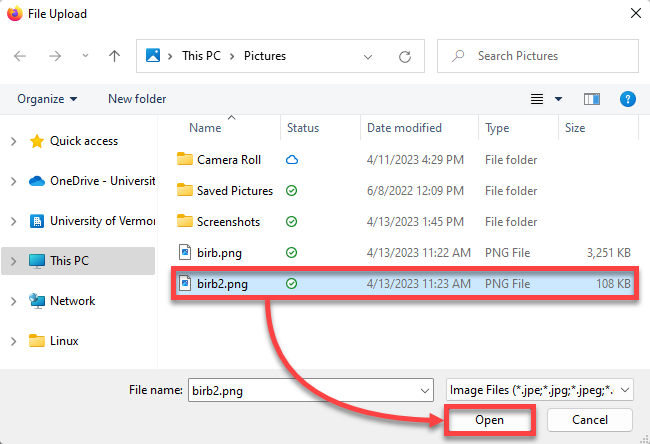
- Browse your computer for an image to upload, click the file to select it, and then click Open to upload the selected image.

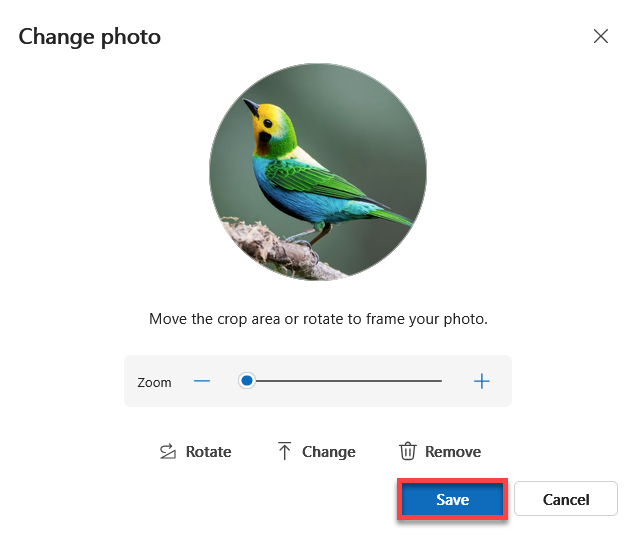
- Click and drag the image to center it, and use the slider below to set your desired zoom level. When you’re happy, click Save.

You should be all set! If you do not yet see your new profile picture, try reloading the page.