UVM’s File Transfer Service is available for sharing files and folders that are too large to send as email attachments or are in a file format not accepted by UVM’s email servers for security reasons.
Anyone can use this service to transfer up to 100GB of files and folders, as long as a UVM affiliate is among the senders or recipients of a transfer.
Sending Files
Sending as a UVM Affiliate
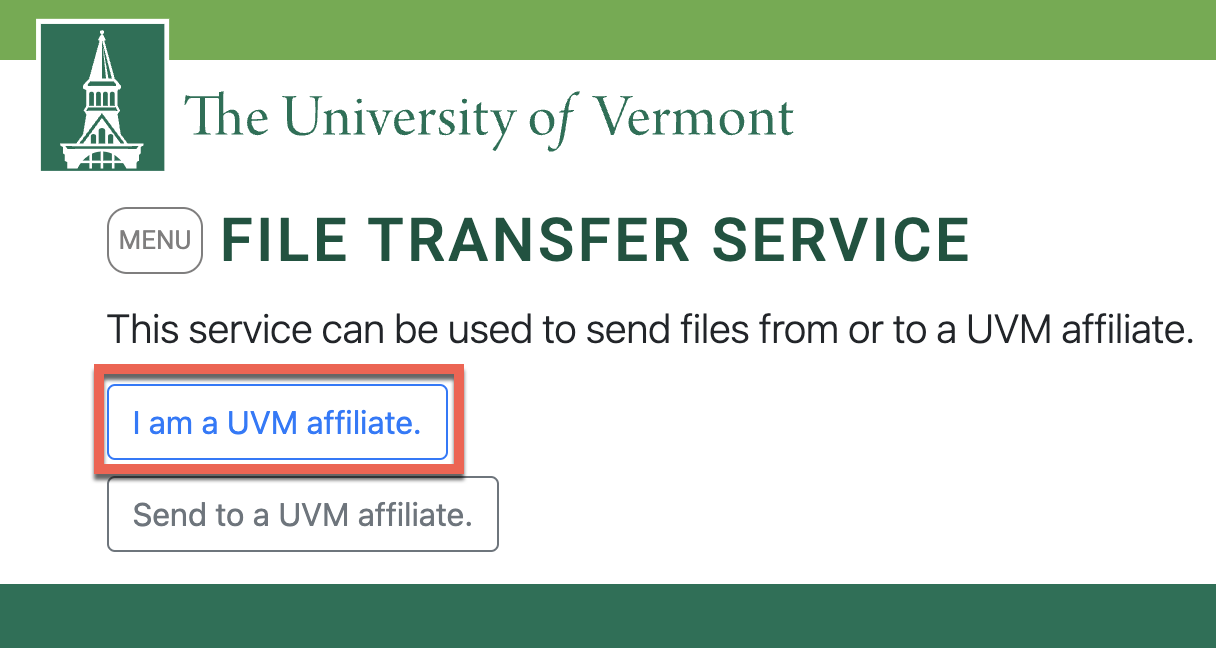
- Open a web browser and go to filetransfer.uvm.edu, then click I am a UVM Affiliate and, if prompted, sign in with your NetID credentials
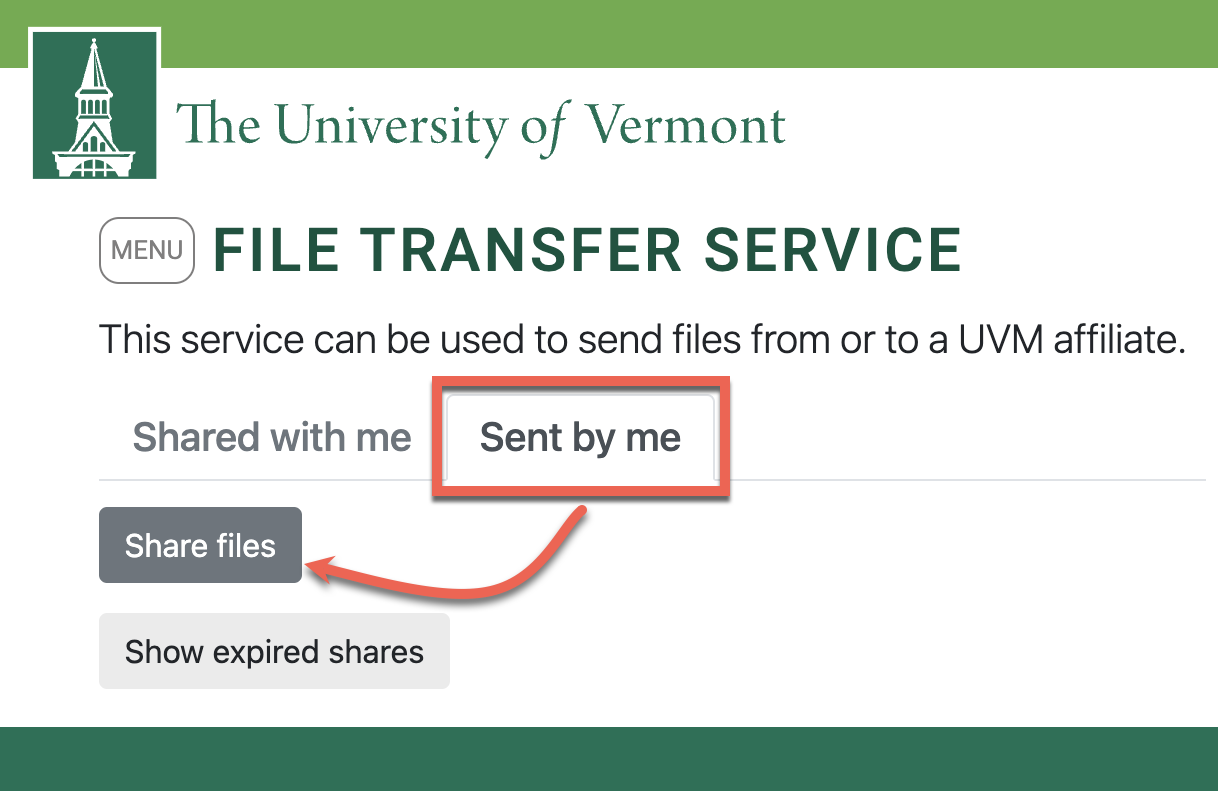
- Click the Sent by me tab, then click Share files to send a file or a set of files in a compressed (.zip) folder.
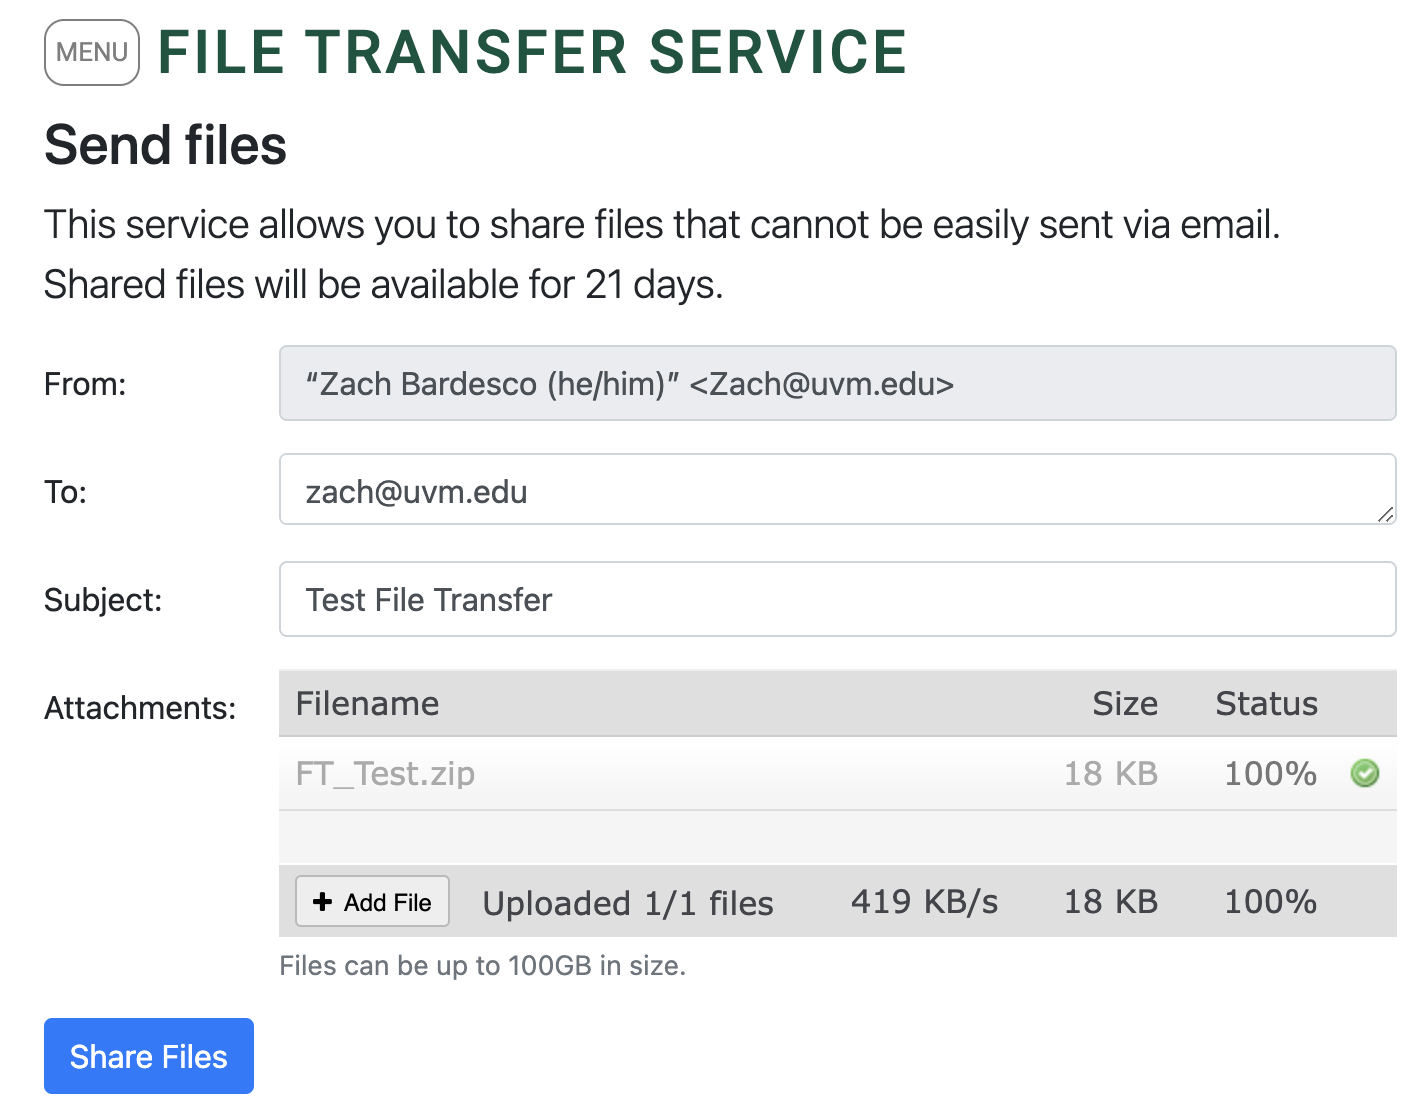
- Fill out the form, separating additional email addresses with a comma. Ensure all information is accurate and everything fully uploaded, then click Share Files in the bottom left corner.
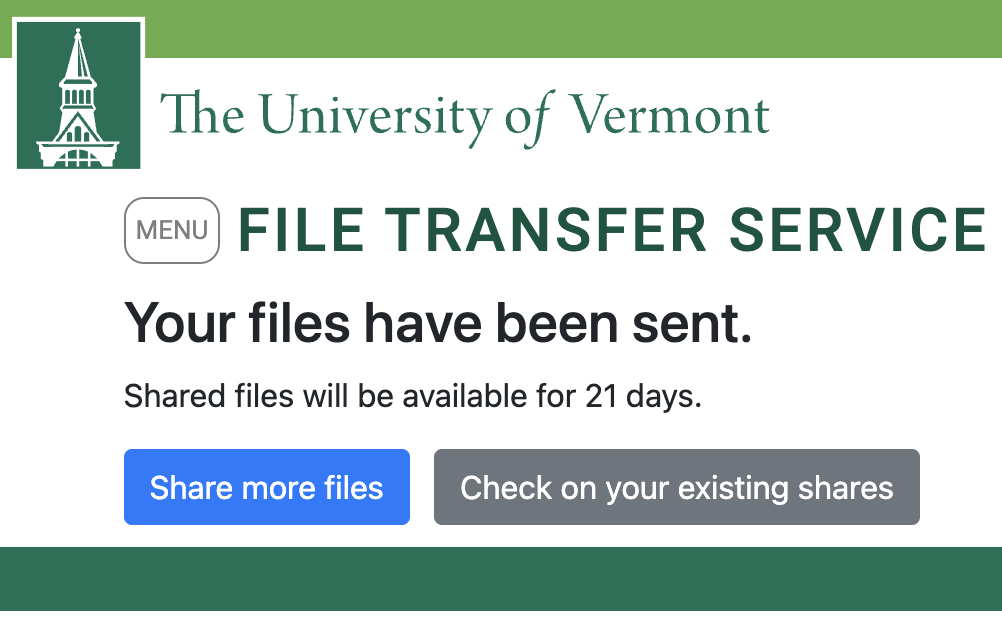
- You should see the following page, noting that your files are ready to be picked up by the recipient(s).
Sending as a non-UVM Affiliate
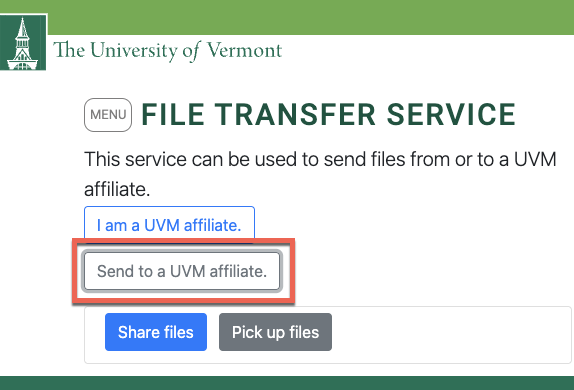
- Visit filetransfer.uvm.edu, then click the Send to a UVM Affiliate radio button and choose Share files.
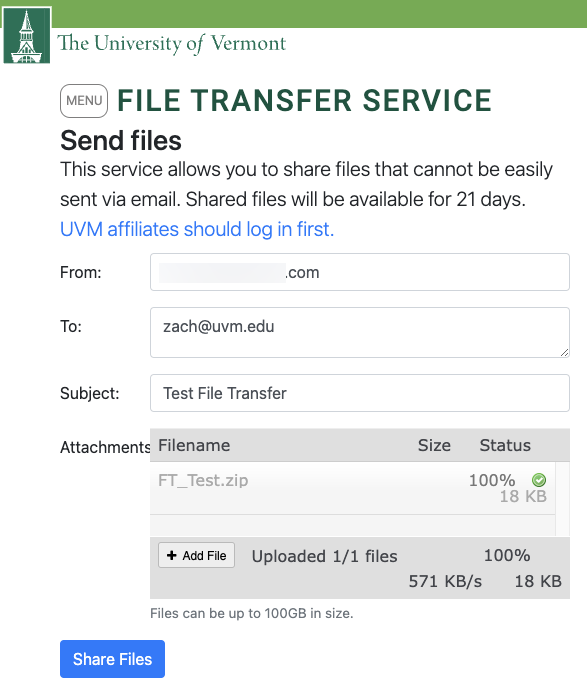
- Fill out the form, separating additional email addresses with a comma. Ensure all information is accurate and everything fully uploaded, then click Share Files in the bottom left corner.
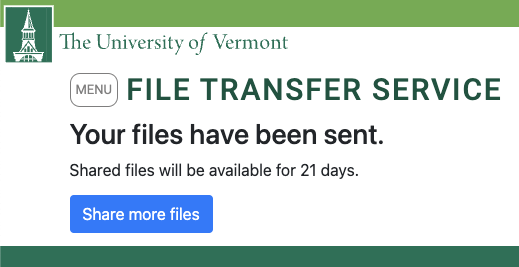
- You should see the following page, noting that your files are ready to be picked up by the recipient(s).
Viewing Sent Files
Viewing Files Sent to Your UVM Account
- Open a web browser and go to filetransfer.uvm.edu, then click I am a UVM Affiliate and, if prompted, sign in with your NetID credentials

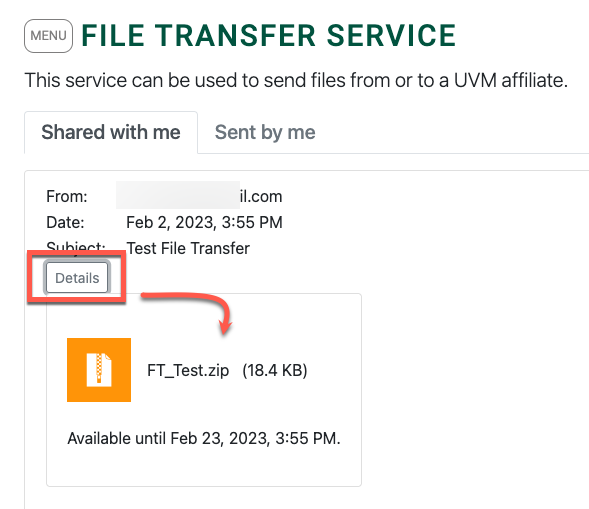
- Find the shared file in the Shared with me section and click it to download it.
Viewing Files Sent to Your Non-UVM Account
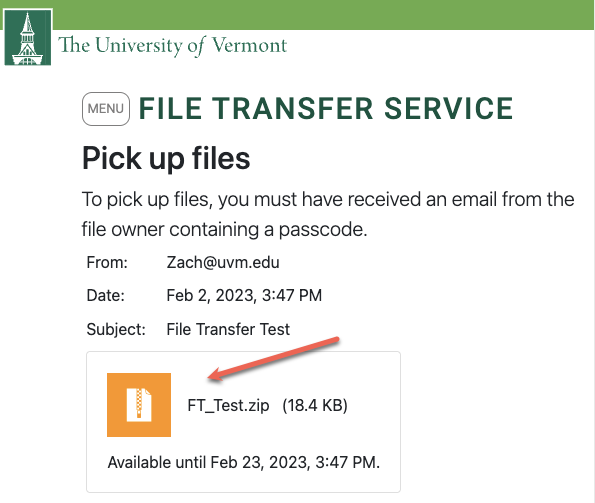
- You should have received an email that resembles the following:
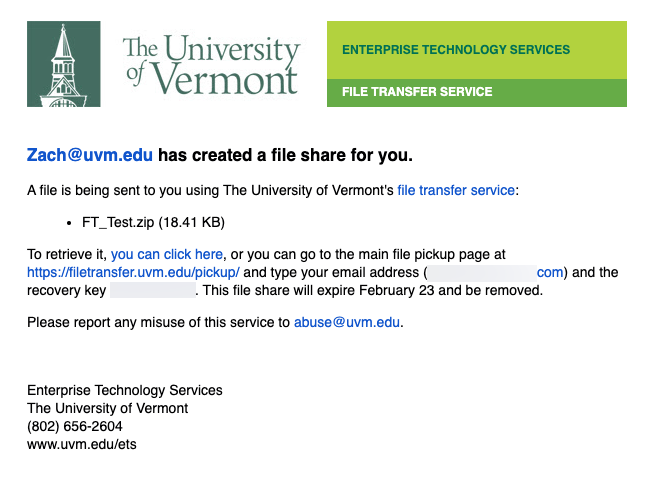
- Click the provided link or visit filetransfer.uvm.edu/pickup and use your email address and recovery key to access the file or folder.
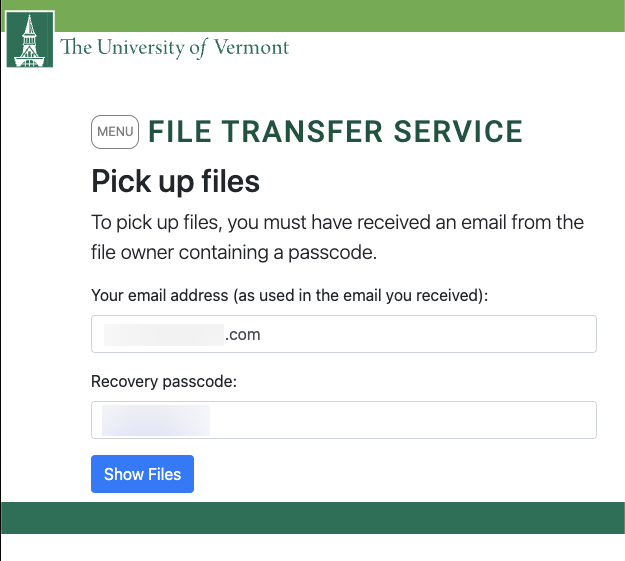
- Then click the file or folder to download it.
