If the content of the files you are sending contains PII, PHI, HIPAA, FERPA, or any other protected information, the files MUST be encrypted prior to uploading them to the file transfer service or sending them via email.
The guides below provide steps and links to the software required to adequately encrypt your files before sharing them, as well as steps for opening encrypted files.
Windows
Encrypt files with 7-Zip
- If you don’t already have 7-Zip, download it here or from Company Portal.
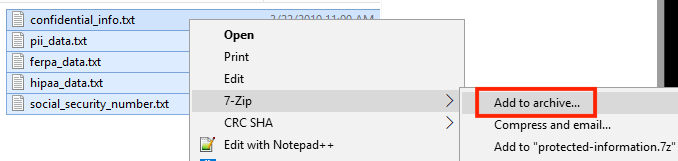
- Right click the files and folders you wish to encrypt, then select 7-Zip and choose Add to archive…
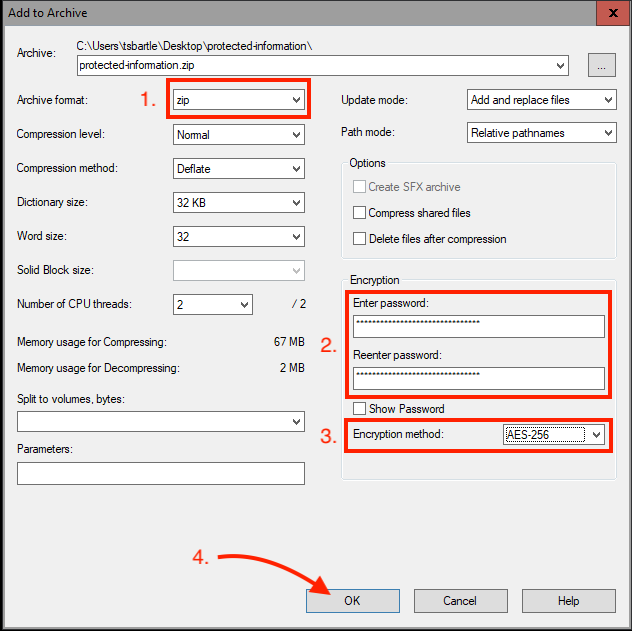
- A 7-Zip window will open. Make the following selections to properly encrypt your file(s). See the image below for reference.
- Archive Format: zip
- Enter password: <choose a strong password>
- Encryption Method: AES-256
- Click OK to create the encrypted zip archive.
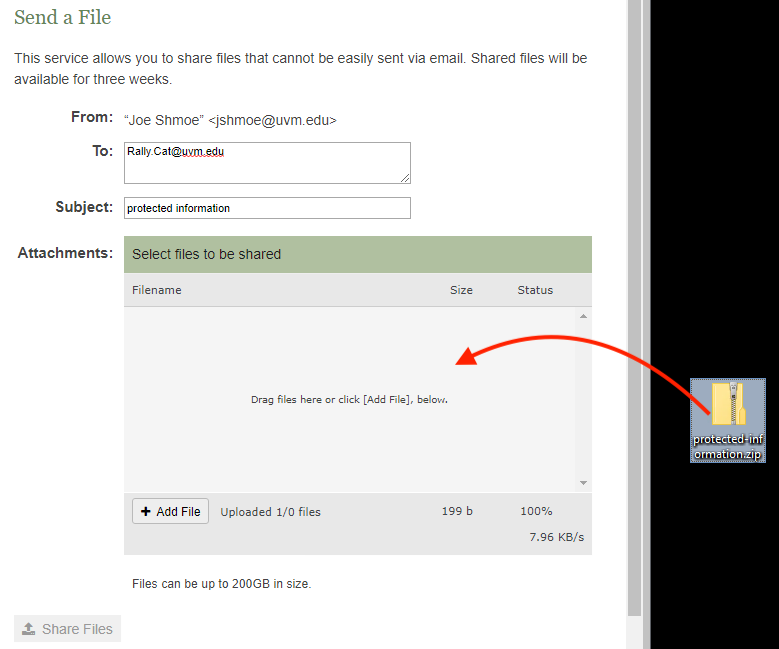
- The .zip file is now encrypted and can be shared via filetransfer.uvm.edu.
Open encrypted zip files with 7-zip
- If you don’t already have 7-Zip, download it here or from Company Portal.
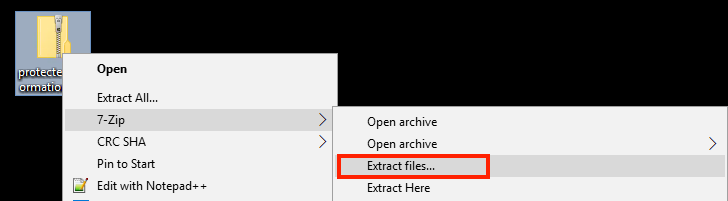
- Locate the encrypted zip file, then right-click on the file. From the menu that appears, select 7-Zip, then select Extract files…
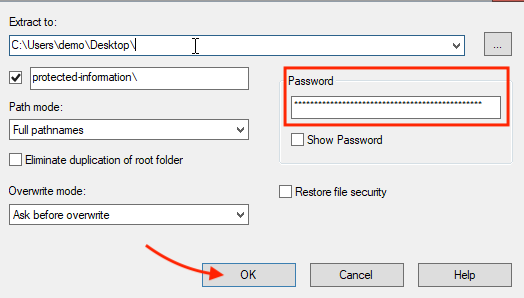
- A 7-Zip window will appear. Enter the password used to encrypt the file, then click OK
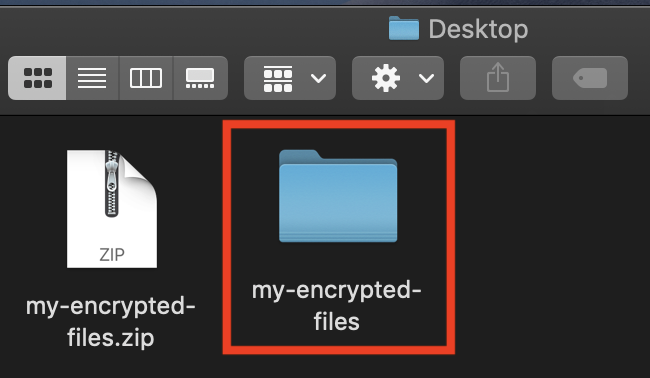
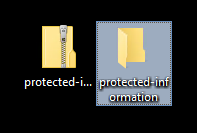
- The unzipped file will appear as a folder named similarly to that of the zip file, but will no longer have the .zip extension. Open the folder to access the files.
macOS
Encrypt files with Keka
- If you don’t already have Keka, download it here.
- Open the Keka application.
- choose ZIP as the format type
- Enter a strong password
- Check the “Use AES-256 encryption” option.

- Drag and drop the files and folders you wish to encrypt into Keka, hovering over Drop here to compress.

- The .zip file is now encrypted and can be shared via filetransfer.uvm.edu

Open Encrypted Zip Files with Keka
- If you don’t already have Keka, download it here.
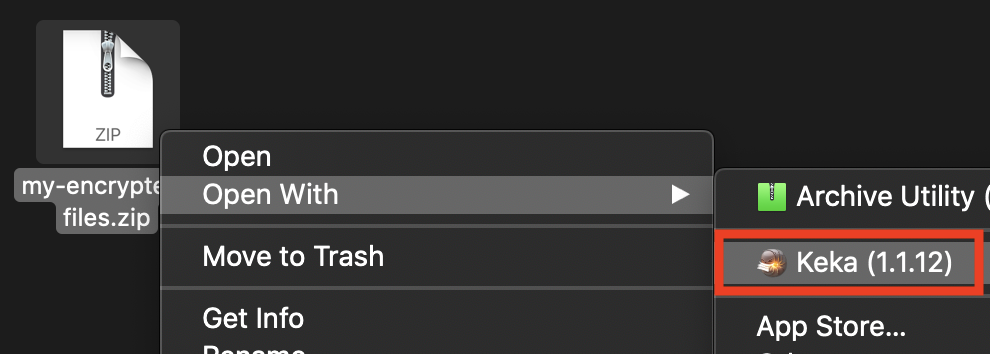
- Right click the encrypted file and select Open With, then choose Keka.
- Enter the encryption password, then click Done

- The unzipped file will appear as a folder. The folder will be named similarly to that of the zip file, but will no longer have the .zip extension. Open the folder to access the files.