
Microsoft Exchange allows you to publish a calendar so that others can view it online. This feature generates an HTML link and an iCal (.ics) link. You can share the HTML link to let people view the calendar in a browser, or you can use the iCal link to create a listing of events on your website. This listing will sync with the calendar to reflect any updates.
Publish a Calendar
- In a web browser, log in to Outlook Online.
- Log in with the NetID and password for the account that owns the to-be-published calendar.
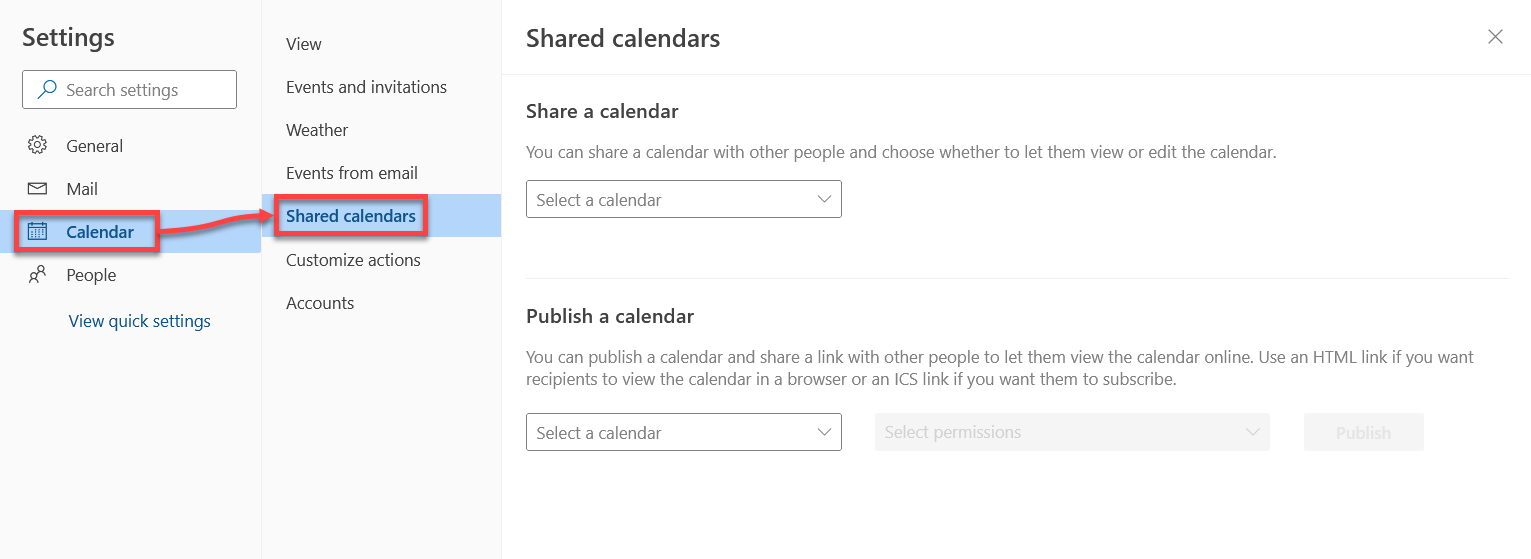
- Click the gear icon () near the upper-right corner to open the Settings menu.

- Open the Calendar tab on the left side, and then select Shared calendars.
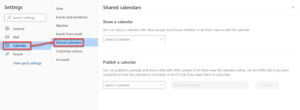
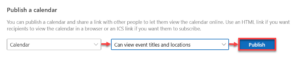
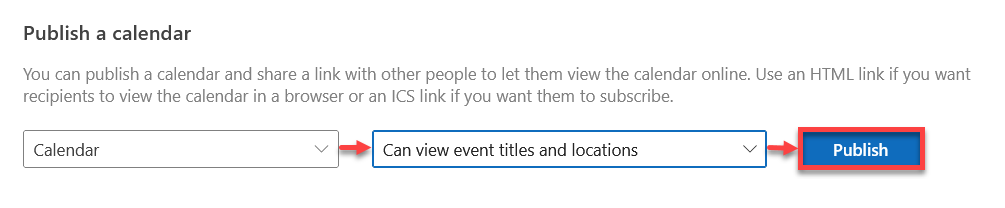
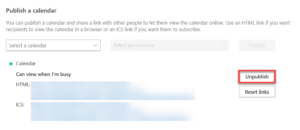
- Scroll down to the Publish a calendar section, select the calendar you would like to publish and your preferred permissions level, and then click Publish.
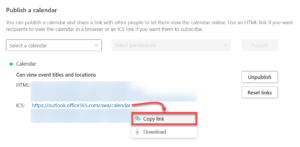
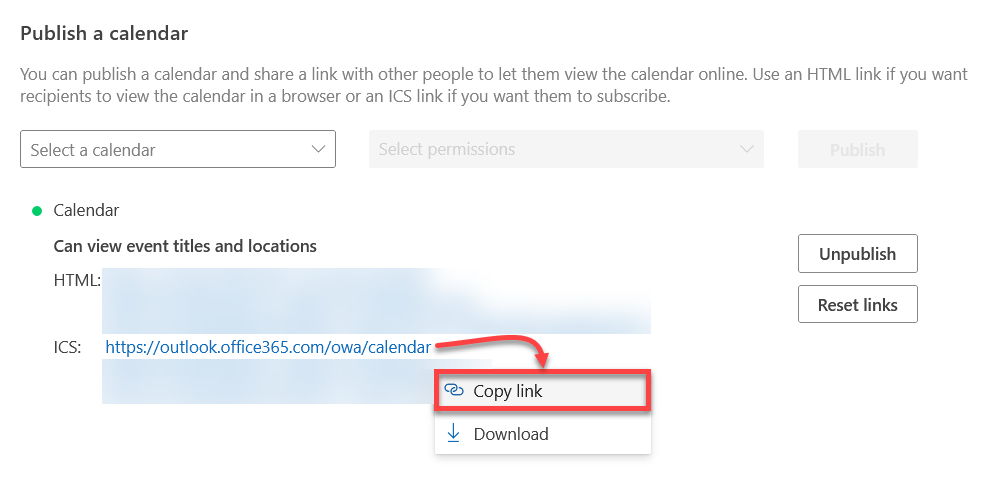
- Click on a link and choose Copy Link to copy it to your clipboard.
Change the Permissions Level on a Published Calendar
- In a web browser, log in to Outlook Online.
- Log in with the NetID and password for the account that owns the to-be-changed calendar.
- Click the Gear icon near the upper-right corner to open the Settings menu.
- Open the Calendar tab on the left side, and then select Shared calendars.
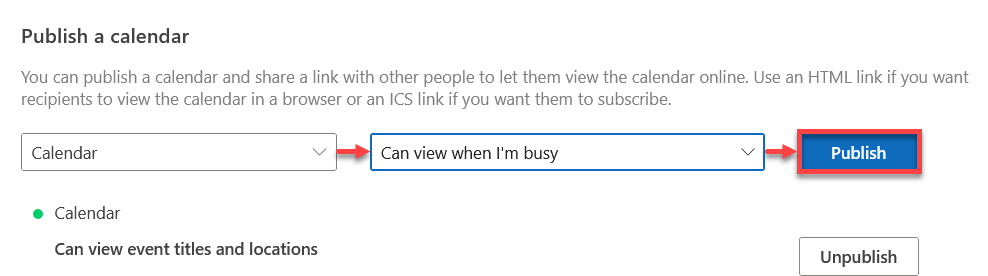
- Scroll down to the Publish a calendar section, select the calendar for which you would like to change the permissions level, choose the new permissions, and then click Publish.

The new permissions should now be in place. Any web pages using an older link from when the calendar had different permissions should reflect this change without needing an updated link.
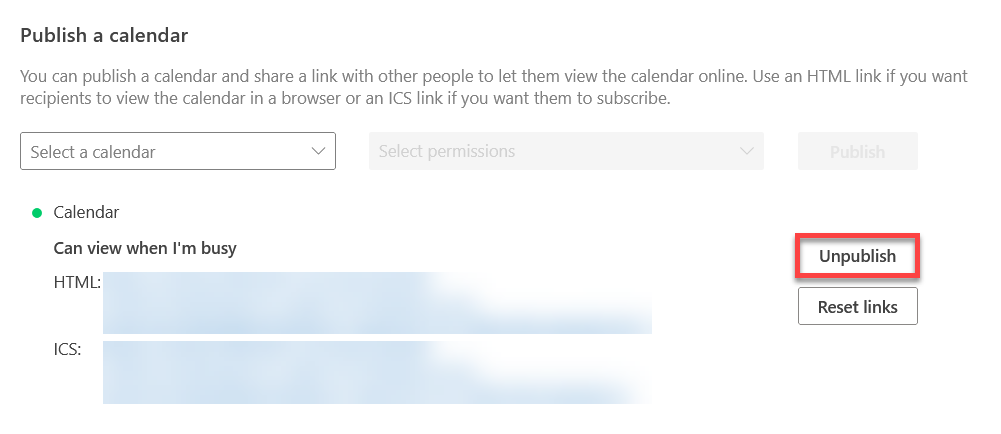
Unpublish a Published Calendar
- In a web browser, navigate to Outlook Online.
- Log in with the NetID and password for the account that owns the to-be-unpublished calendar.
- Click the Gear icon near the upper-right corner to open the Settings menu.
- Open the Calendar tab on the left side, and then select Shared calendars.
- Scroll down to the Publish a calendar section, and click Unpublish to the right of the calendar you would like to unpublish.
FAQ
How do I publish secondary calendars from my account?
This is not possible – you can only publish your primary calendar. Instead, contact the Tech Team and request a new Resource Calendar.
How do I get my category colors to show up in the published calendar?
Events on a published calendar cannot be configured to display different colors. This is a limitation of the calendar viewer.