Follow this guide for instructions on adding an event or meeting to an Exchange Calendar using Outlook on the web.
Actions
Creating a New Event
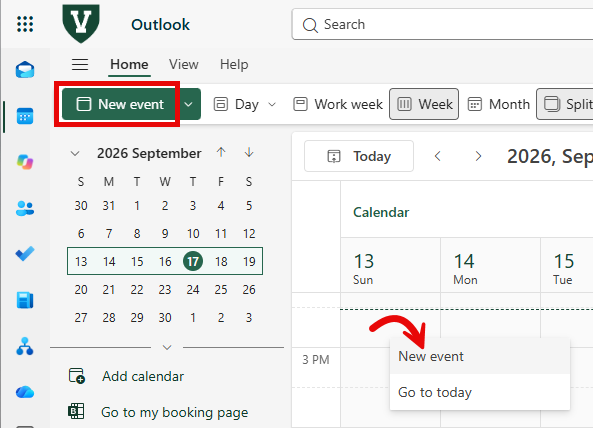
- To create a new event in the Exchange Calendar, either click New event in the top-left corner of the page or right-click on the calendar and click New event.
- Choose either Event (for a single instance) or Series (for a recurring meeting).

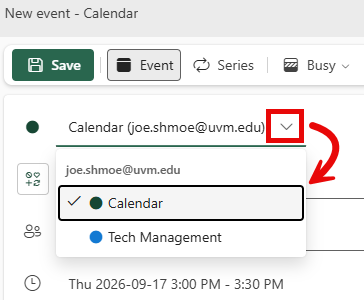
- If you have access to multiple calendars, you will see a drop-down menu above the title that you can use to specify a calendar. The calendar event will be put on this calendar, and anyone with the proper permissions to edit or view this calendar will be able to interact with the event. This step is especially important if you manage a calendar for someone else or share a calendar with other people.
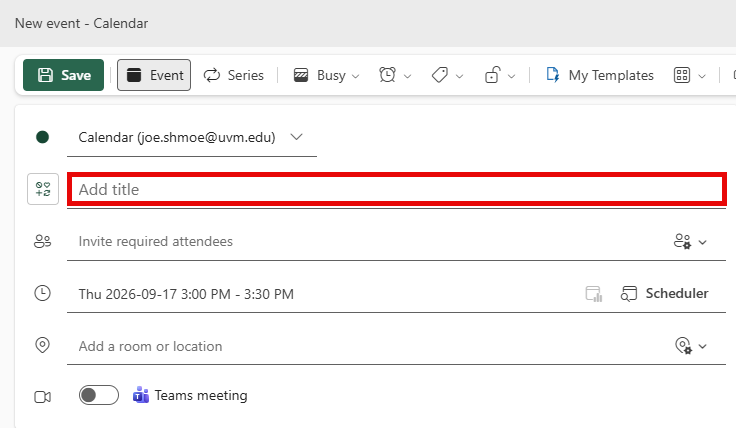
- The New Event window should pop up. Enter a title for the event in the Add title field.
- Use the Invite required attendees field to search for the people you wish to invite.
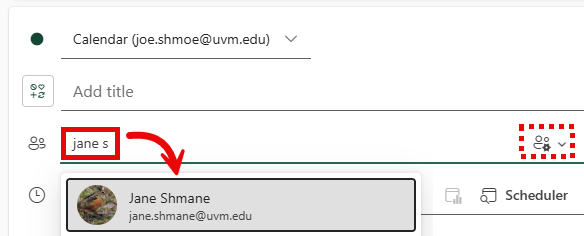
- Next, click the date field to expand a drop-down menu. From there, manually set a date and time or select on the of the Time suggestions, times when most of the participants are available.
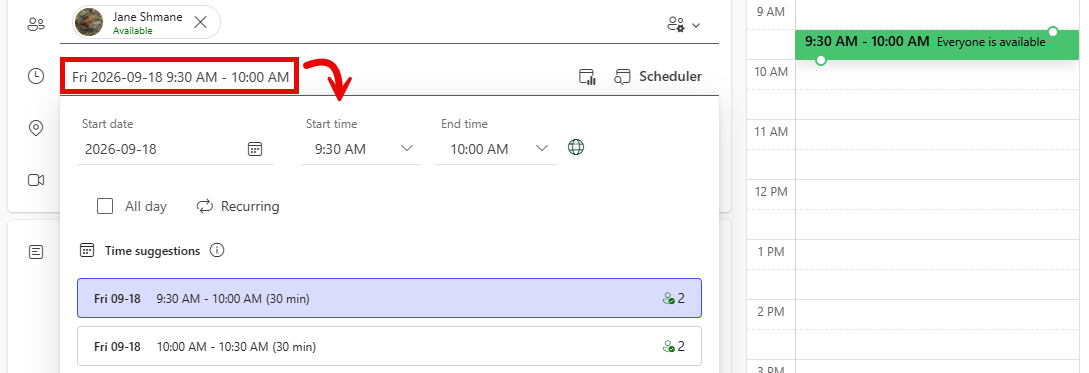
- If you selected Series, the date/time drop-down also allows you select the frequency (Repeat every) and end date (Until).

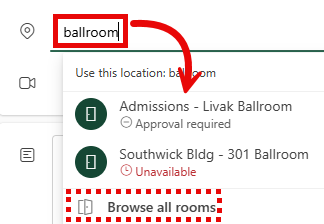
- For in-person events, add a room to the event using the Add a room or location field. Start typing the name of the room and select it from the drop-down that appears, or select Browse all rooms.
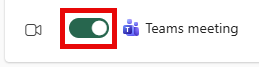
- To create a Teams meeting associated with the event, use the toggle switch below the location field labeled Teams meeting.
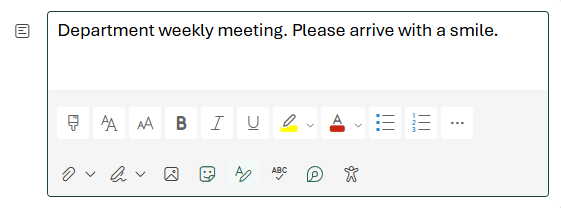
- Use the field at the bottom of the New event pane to enter a meeting agenda or agenda or attach files that invited participants can access.
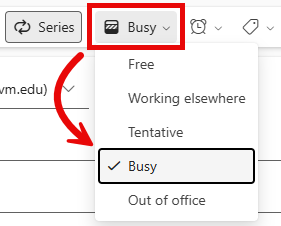
- Use the drop-down menu with three patterned rows to choose how attendees appear to other calendar users during this event.
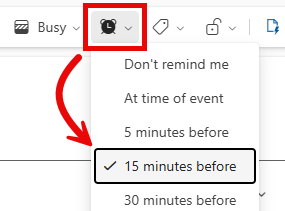
- Near the top of the window, use the drop-down menu with an alarm clock icon to customize the reminder.
- After you have verified that everything looks correct, you can click Send, and the recipients will receive an invitation to your event.
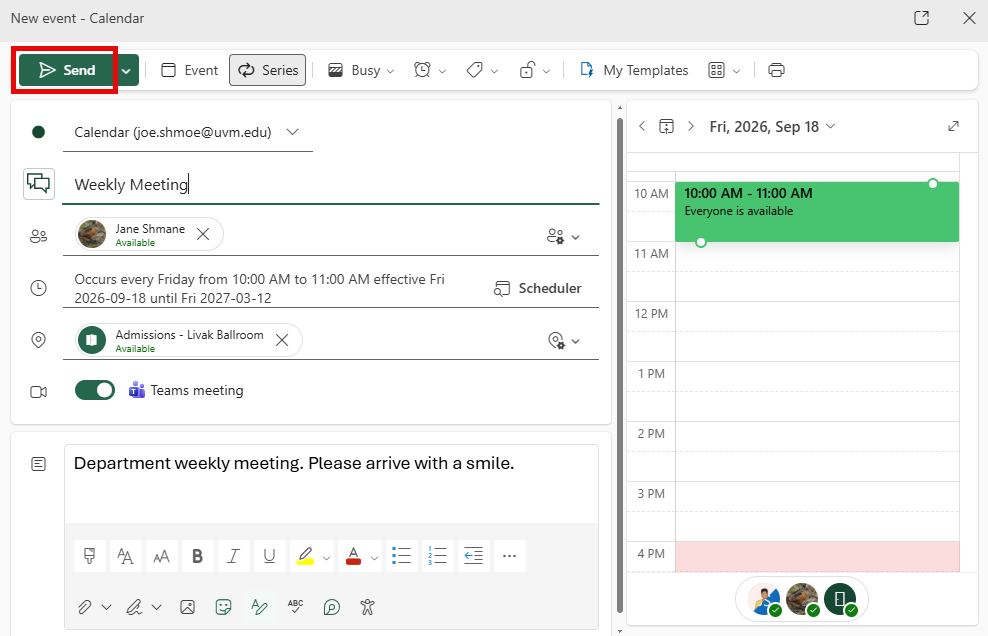
- You successfully created an event!
Coordinate meeting time using the Scheduler
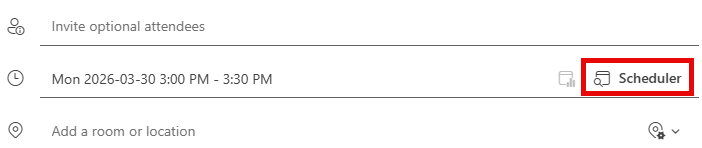
- To see if everyone that was invited is available to attend the event, you can use the Scheduler (formerly Scheduling Assistant) function in Outlook Online. Click Scheduler to the right of the date/time.
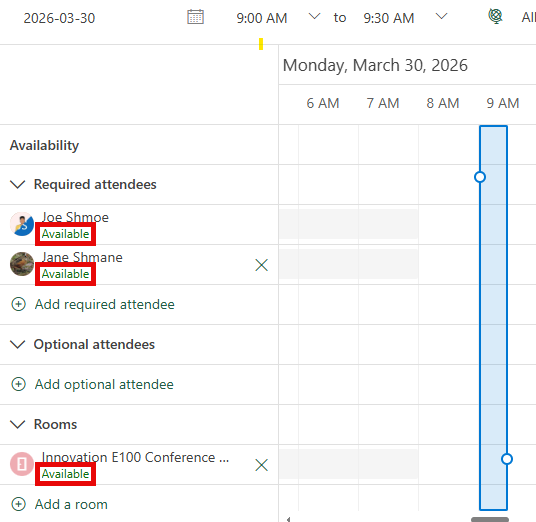
- Along the left side of the window, you can see whether the attendees and the room are all Available at the selected time.
- Click Back to return to the event details.
Coordinate meeting time using a Scheduling Poll
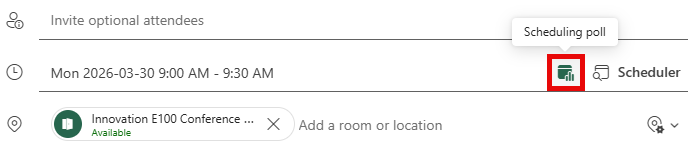
- You can also create a Scheduling Poll to assist in finding a meeting time that works for all attendees. To get started click the Scheduling poll icon to the left of the Scheduler button.