This page will take you through the steps of adding an email signature in Outlook Online, Outlook for macOS or Windows, and in Apple Mail.
Outlook Online
Outlook Online
- Navigate to Outlook Online.
- Click the Gear icon near the upper-right corner to open the Settings menu.

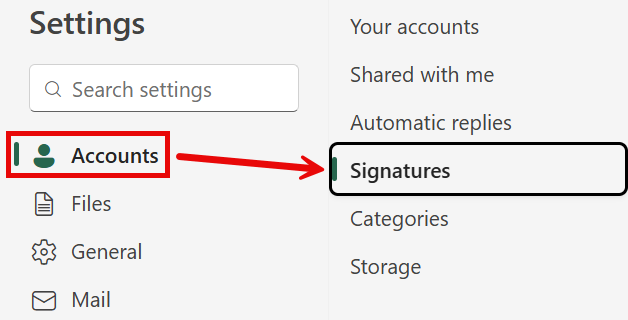
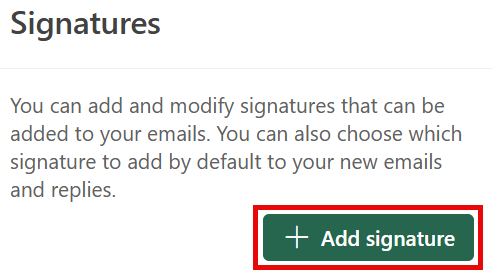
- Within the Account tab on the left side, select Signatures and then click + Add signature.

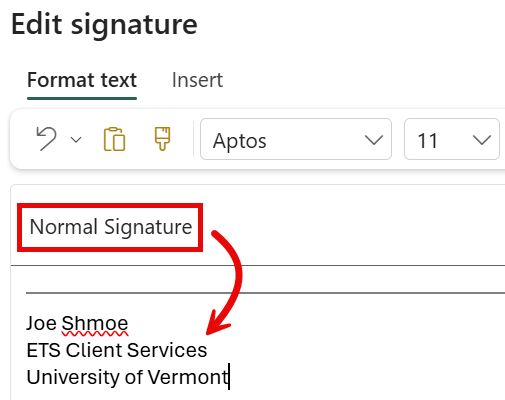
- Enter a name for your signature into the Add a signature name field.
- Choose your font settings and compose your signature.
- You can select the new signature as the default signature for new messages, replies/forwards, or both using the respective checkboxes if you’d like. Then click Save.

- Close the Settings window.
macOS
Microsoft Outlook for Mac
- Open Microsoft Outlook.

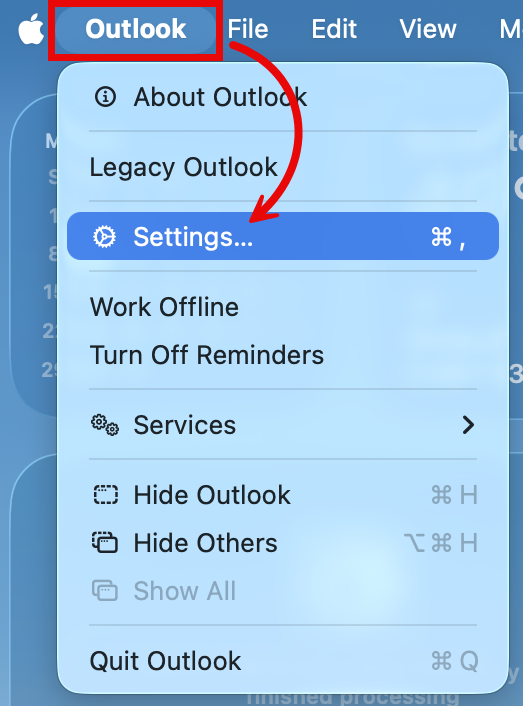
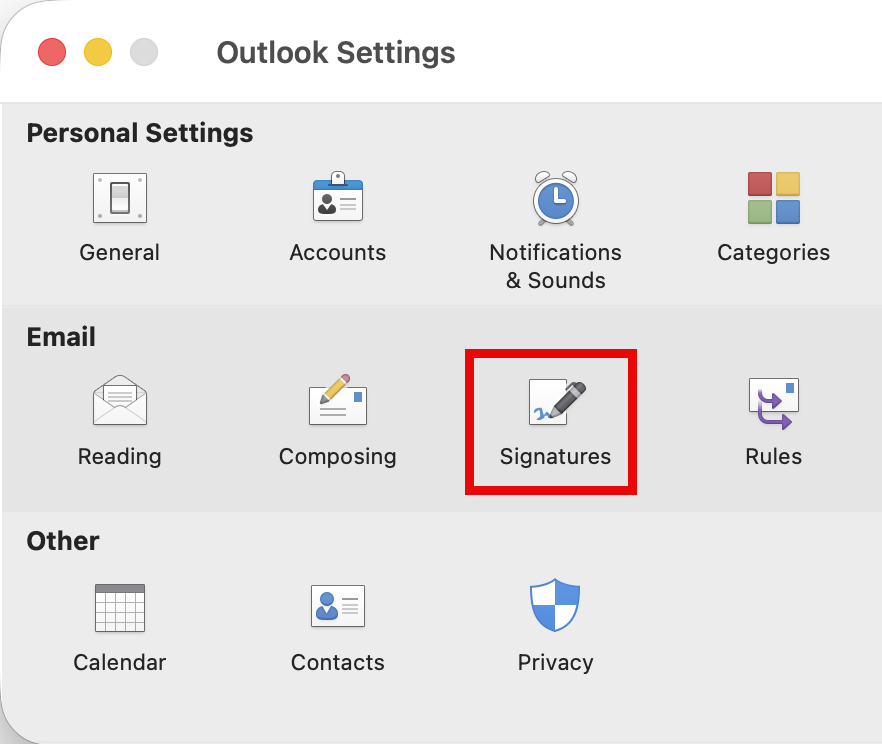
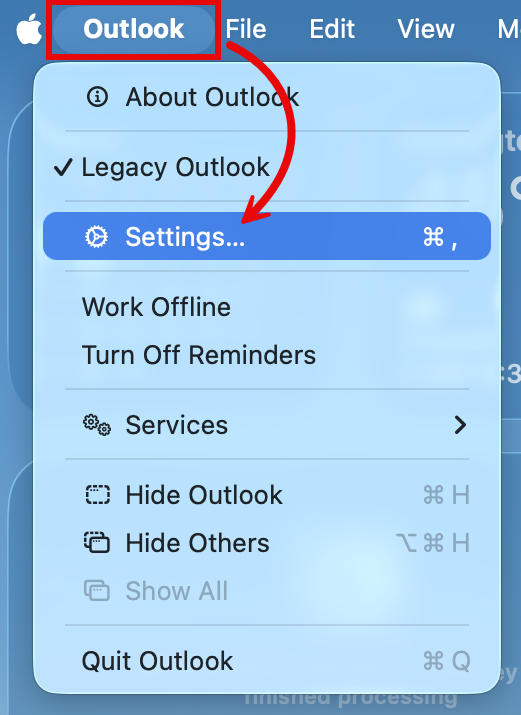
- Expand the Outlook menu in the top-left corner. If there is a check mark () next to Legacy Outlook, scroll down to the Legacy Outlook steps below. Otherwise, click Settings….
- Click Signatures.
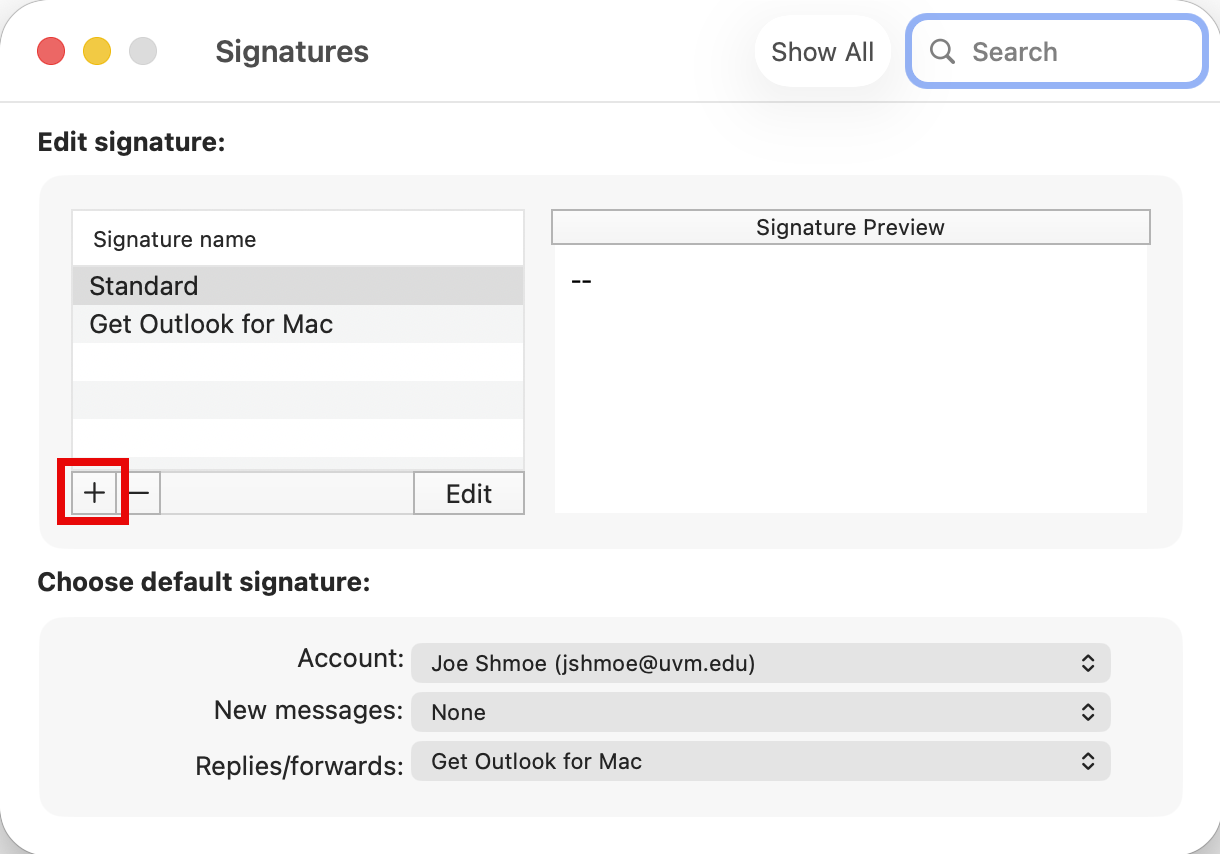
- Click the plus sign () to Add a signature.
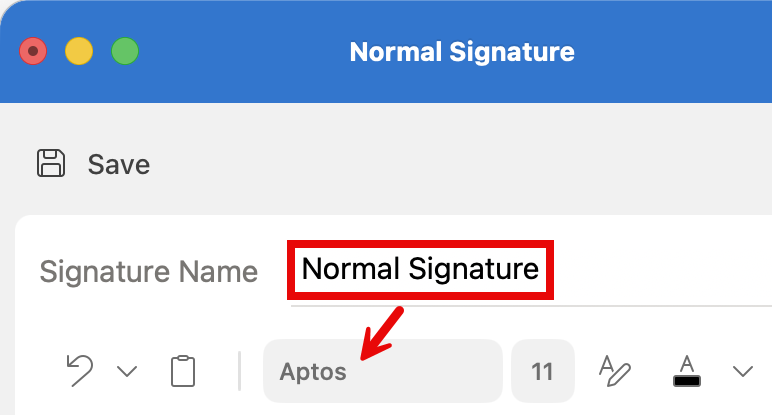
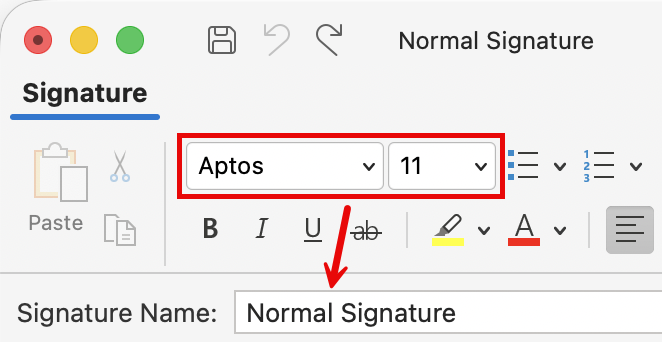
- Enter a name for the signature in the Signature Name field and choose your font settings.
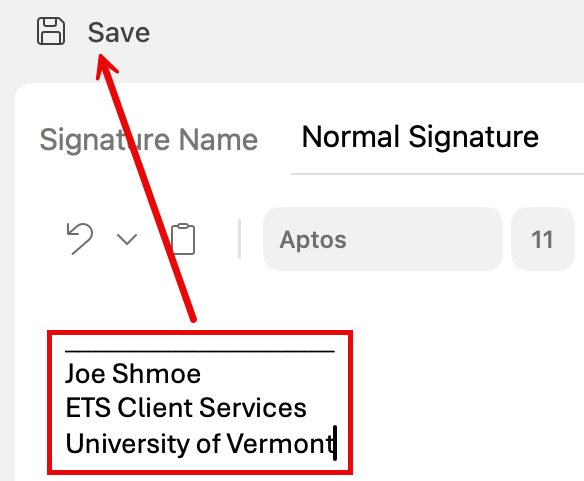
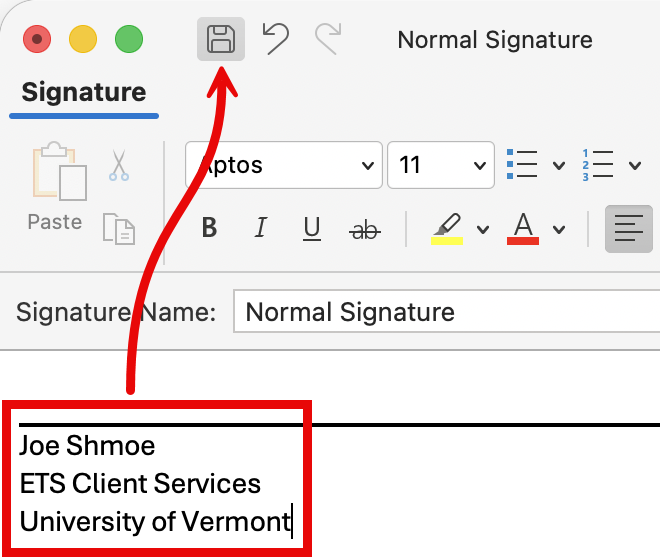
- Compose your signature and click Save.
- Close the compose signature window.
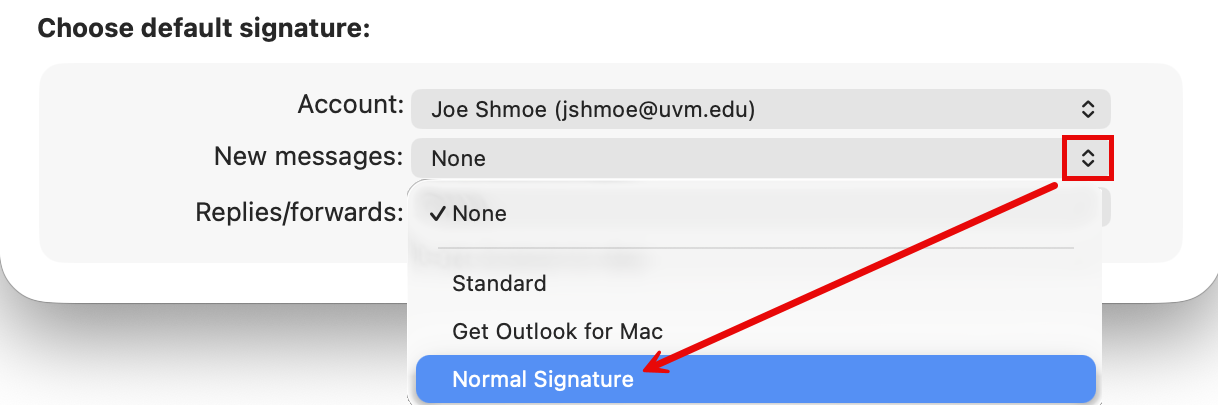
- You can select a default signature for new messages, replies/forwards, or both using the respective drop-down menus if you’d like.
- Close the Signatures window.
Legacy Outlook for Mac
- Open Microsoft Outlook.
- Expand the Outlook menu in the top-left corner. If there is a check mark () next to Legacy Outlook, click Settings…. Otherwise, scroll up to the Microsoft Outlook for Mac steps above.
- Click Signatures.
- Click the plus sign () to Add a signature.

- Choose your font settings and enter a name for the signature in the Signature Name field.
- Compose your signature and click the Save icon ().
- Close the compose signature window.
- You can select a default signature for new messages, replies/forwards, or both using the respective drop-down menus if you’d like.
- Close the Signatures window.
Apple Mail
- Open Apple Mail.

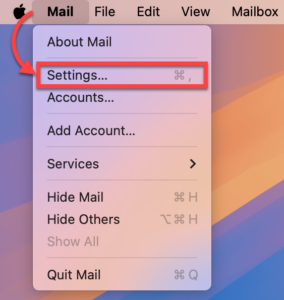
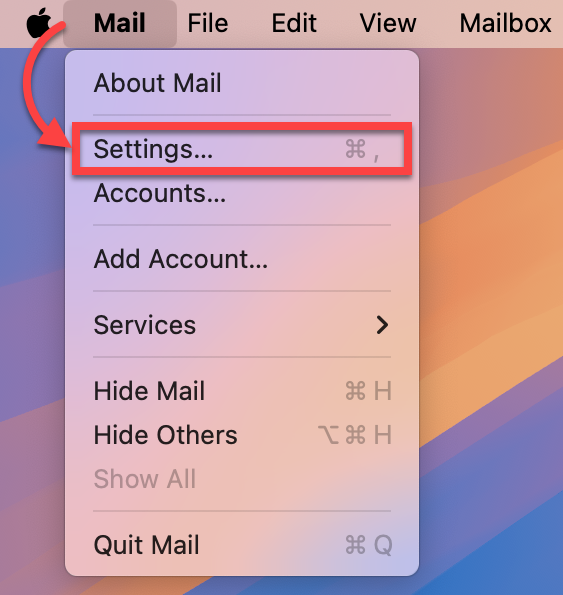
- Near the top left corner, click Mail, and then click Settings.
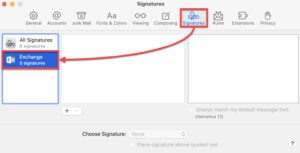
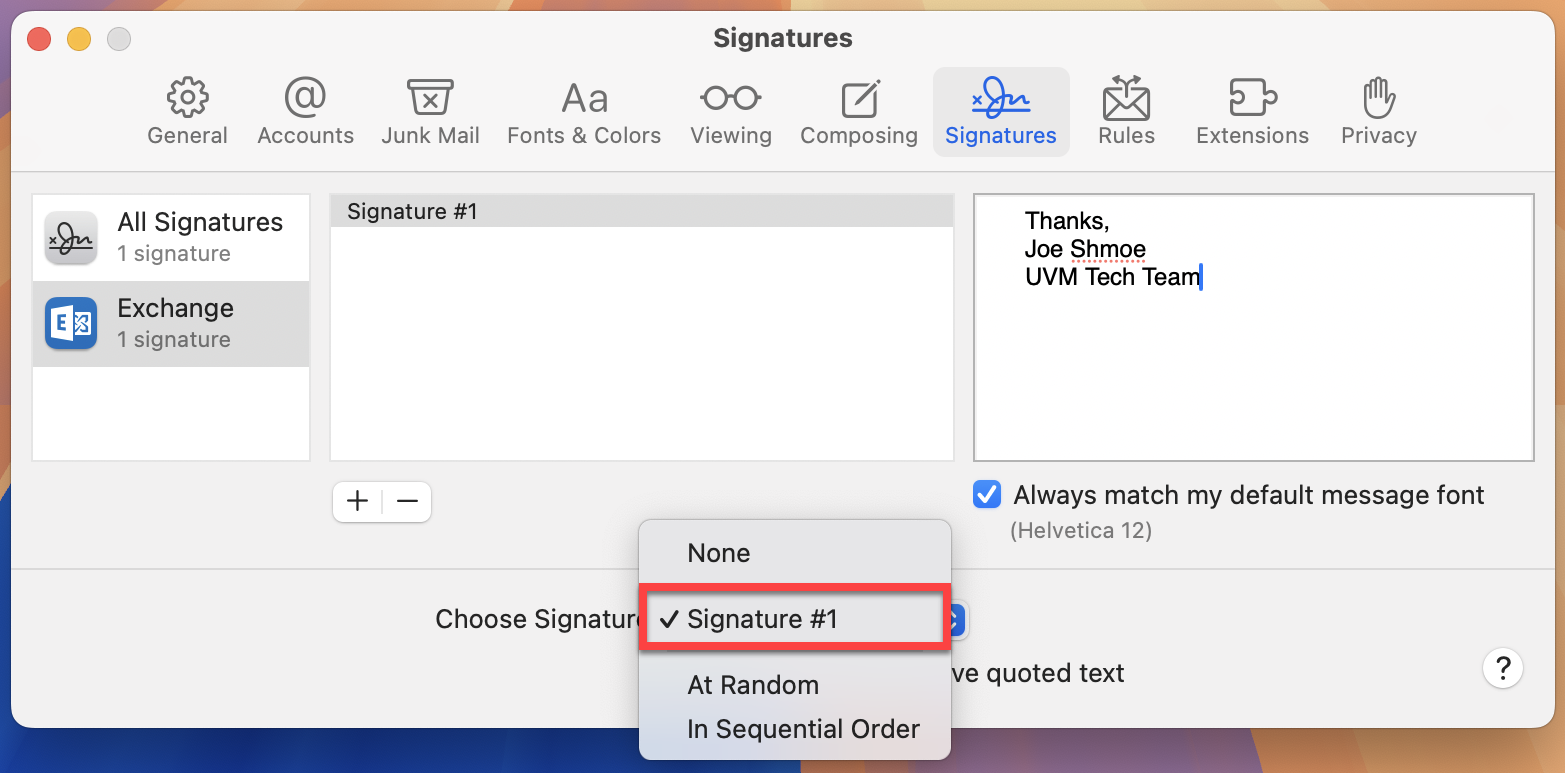
- Open the Signatures tab, and then click Exchange.
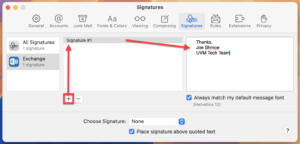
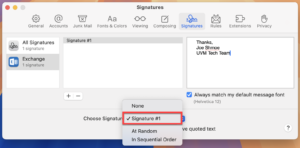
- Click the plus sign to create a new signature, choose a name for the signature in the middle pane, and then edit its contents in the box to the right.
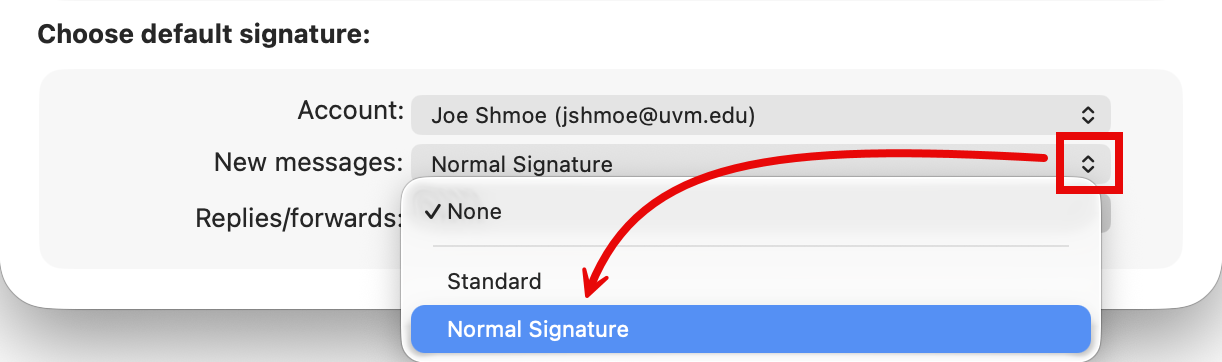
- If you would like to set your new signature to appear by default on all of your emails, you can do so with the Choose Signature drop-down menu.
- Close the settings window. Your changes have been applied.


Windows
(new) Outlook for Windows
- Open Outlook. One way to do this is to open the Start Menu (), click All >, and scroll down to Outlook.

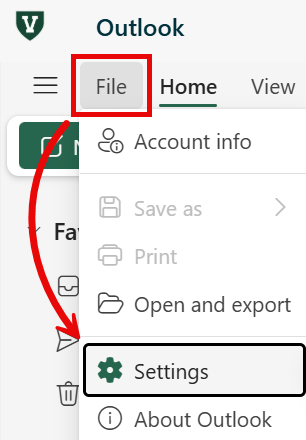
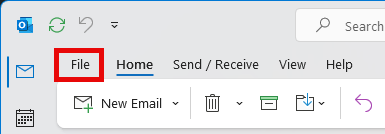
- Click File in the upper-left corner and select Settings.
- Select the Accounts and Signatures categories.
- Click Add signature.
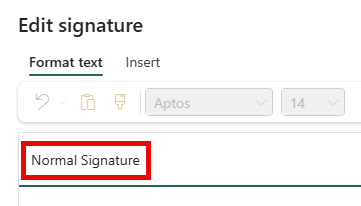
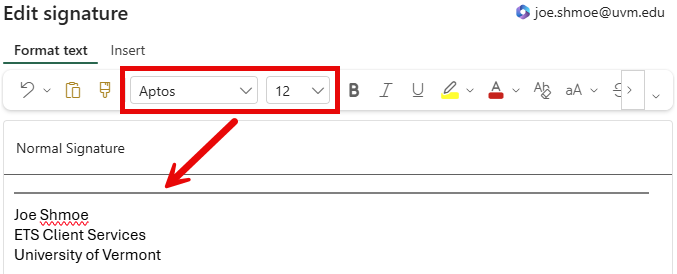
- Enter a name for the signature in the Add a signature name field and compose your signature below.
- You can select the new signature as the default signature for new messages, replies/forwards, or both using the respective checkboxes if you’d like. Then click Save.
- Close the Settings window.
Outlook (classic) for Windows
- Open Outlook (classic). One way to do this is to open the Start Menu (), click All >, and scroll down to Outlook (classic).

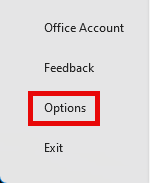
- Click File in upper-left corner.
- Select Options near the bottom-left corner.
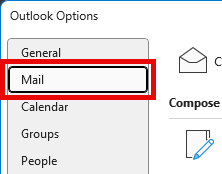
- Open the Mail category from the Outlook Options list.
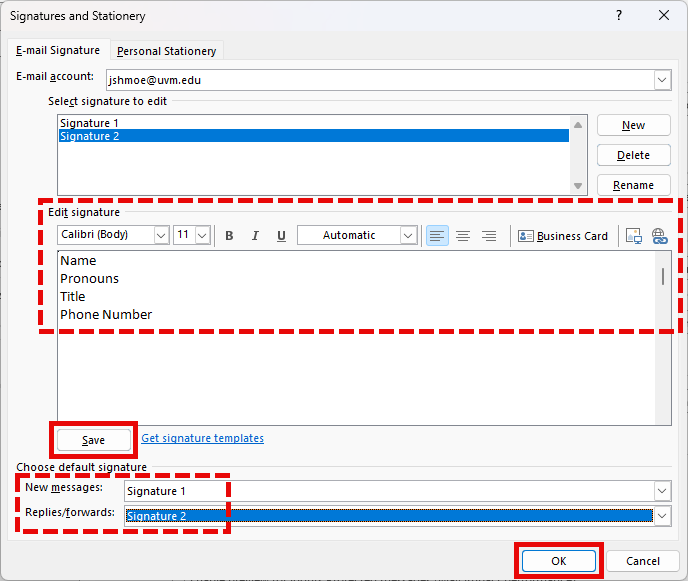
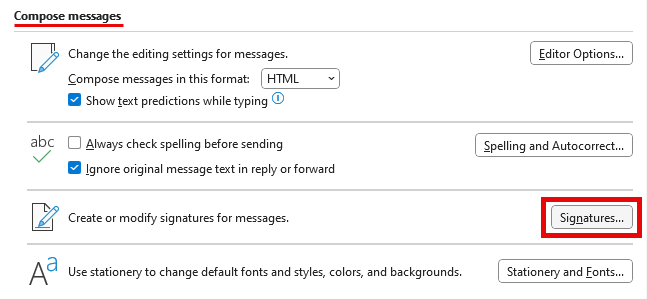
- Find the Compose messages section and click Signatures….
- Click New to create a new signature, choose a name, and click OK. Or, select an existing signature to edit.
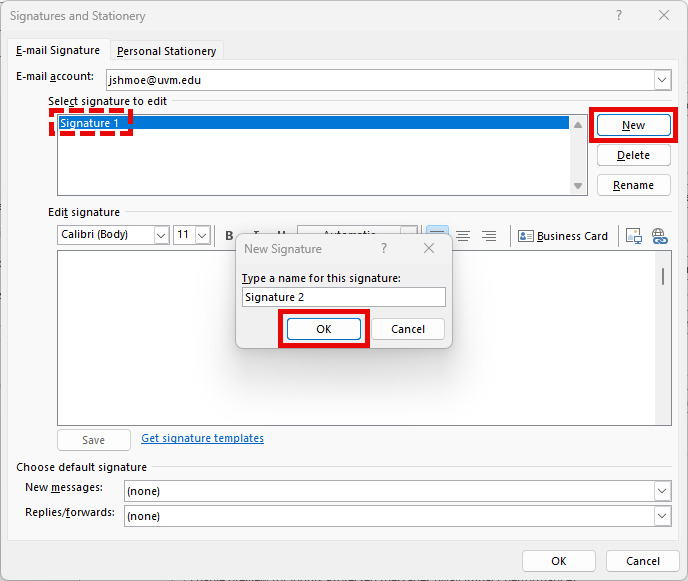
- Compose or Edit your signature(s) in the provided box and click Save. Optionally, choose default signatures for New messages and Replies/forwards, and click OK.