
 SimpleHelp Remote Support is an application used by UVM IT personnel to remotely assist with computer issues.
In addition to the installation instructions in this article, SimpleHelp can be installed from the UVM Software Portal, and is also accessible through Company Portal on managed UVM Windows computers and Managed Software Center on managed UVM MacOS computers.
Installing SimpleHelp
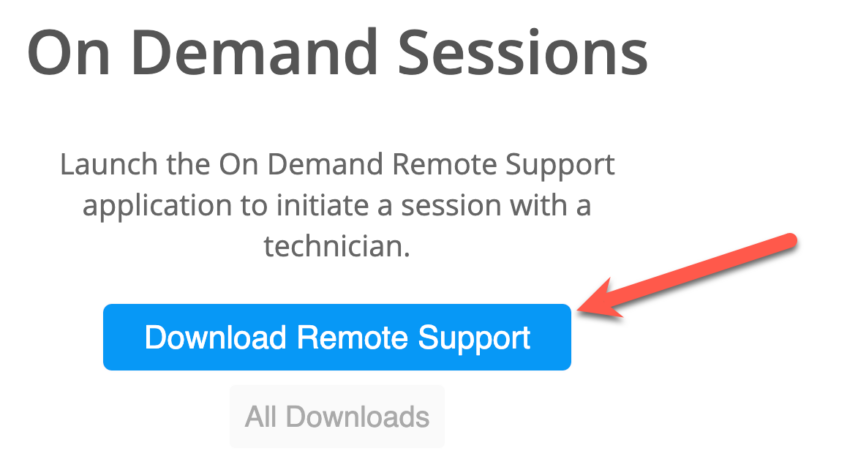
- Visit simplehelp.uvm.edu and click Download.
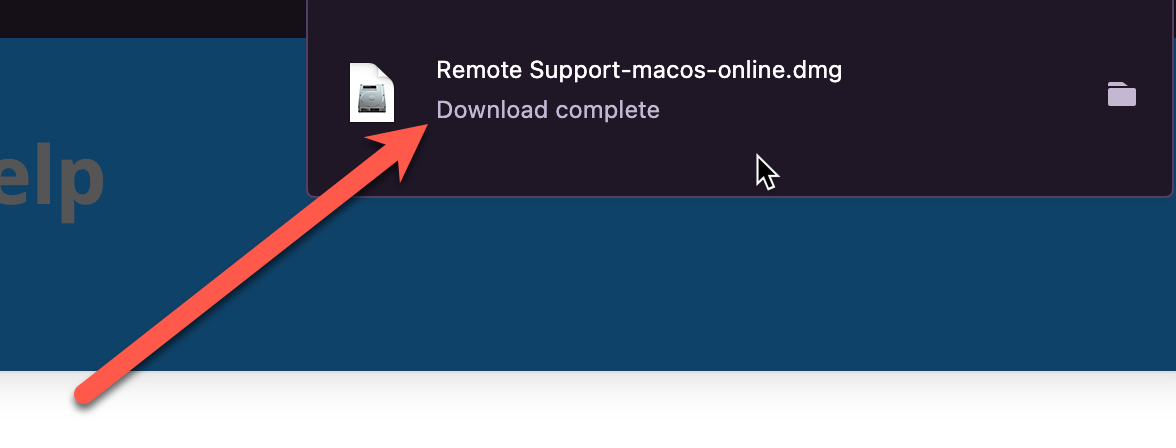
- Open the downloaded Remote Support file.
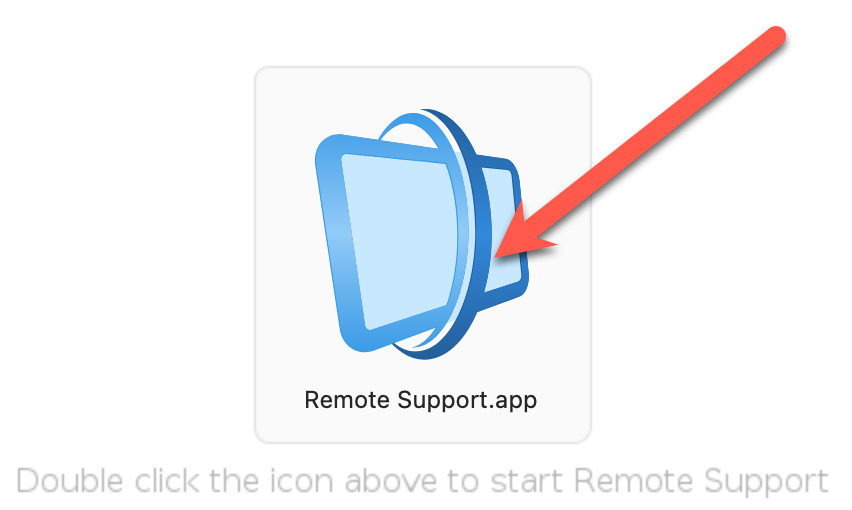
- Windows users can skip to the next step. On Mac opening the file will bring up this window, which contains the program itself. You can click on the Remote Support.app icon in the middle to run it.
- You may also receive warnings about opening a file from the internet or checking a server. Click the default options to Open the application and Connect to the server.
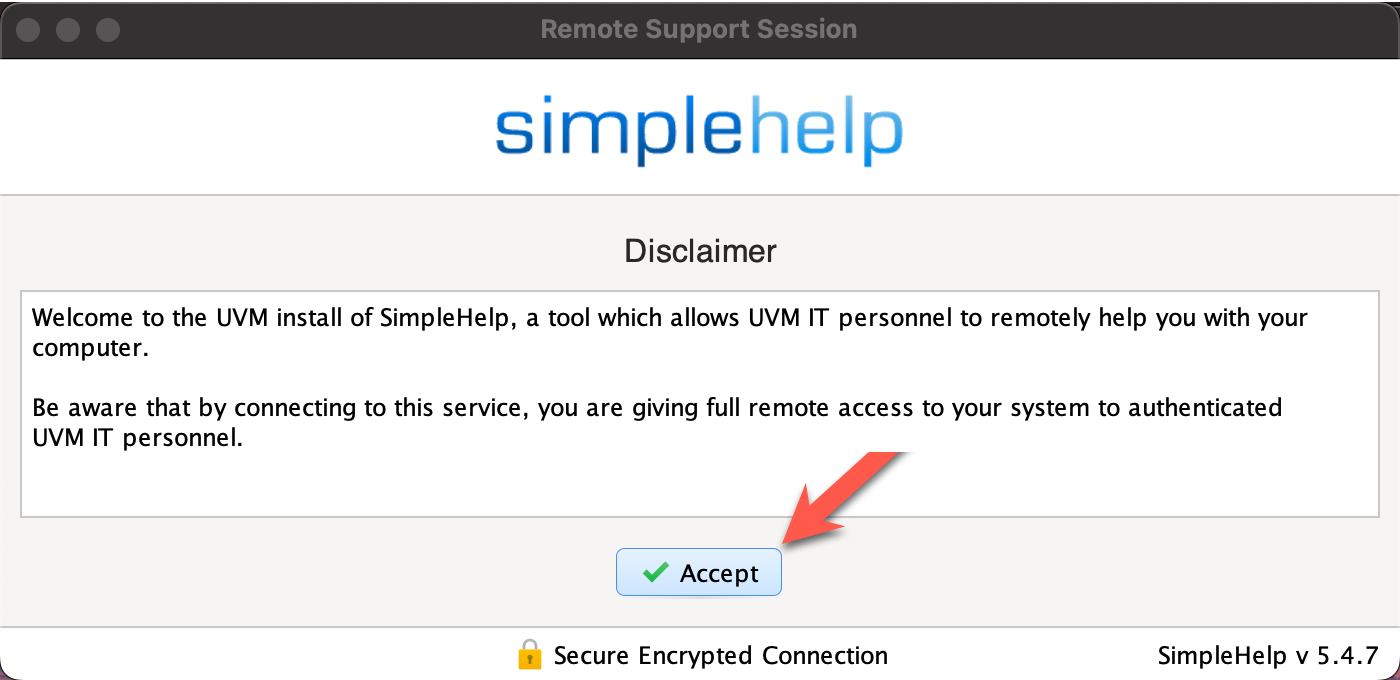
- After a moment, Remote Support will start. Please read through the disclaimer and decide if you will Accept.
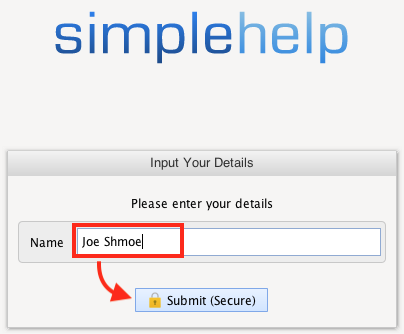
- Enter your name or NetID, then click Continue.
- Mac users see the macOS Permissions section below for additional steps.
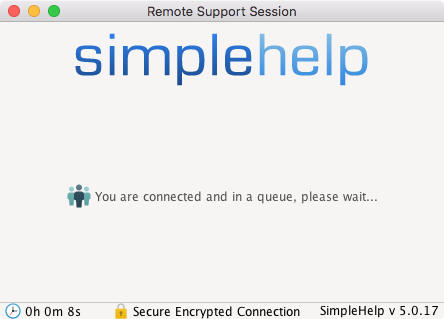
- You should now be connected and in the SimpleHelp queue.
macOS Permissions
MacOS requires additional steps to make SimpleHelp Remote Support function properly. Granting UVM IT personnel control over your computer through SimpleHelp requires you to follow these steps.
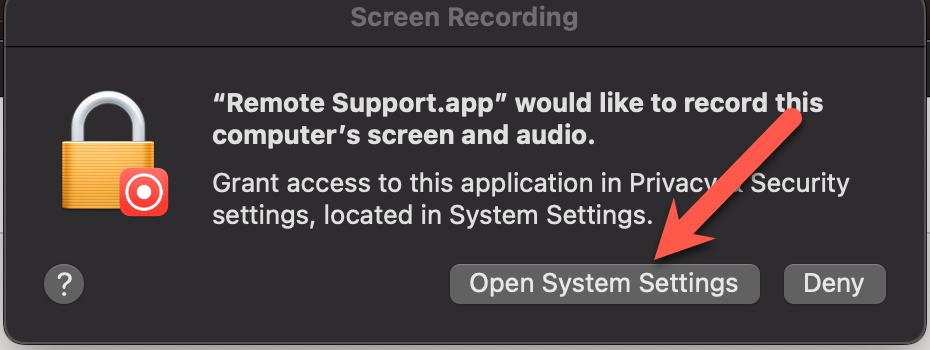
- Upon opening Remote Support, you may be prompted to open System Preferences/System Settings. If so, click Open System Preferences and skip to step 4.
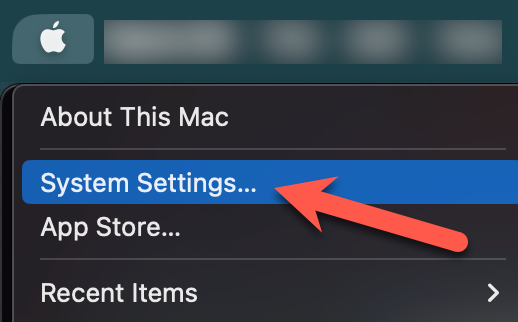
- Click the Apple () in the top left corner, and select System Settings.
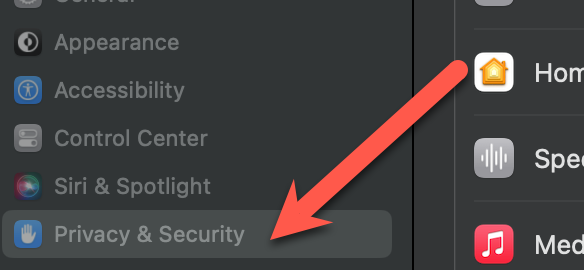
- Click Privacy & Security from the list on the left hand side.
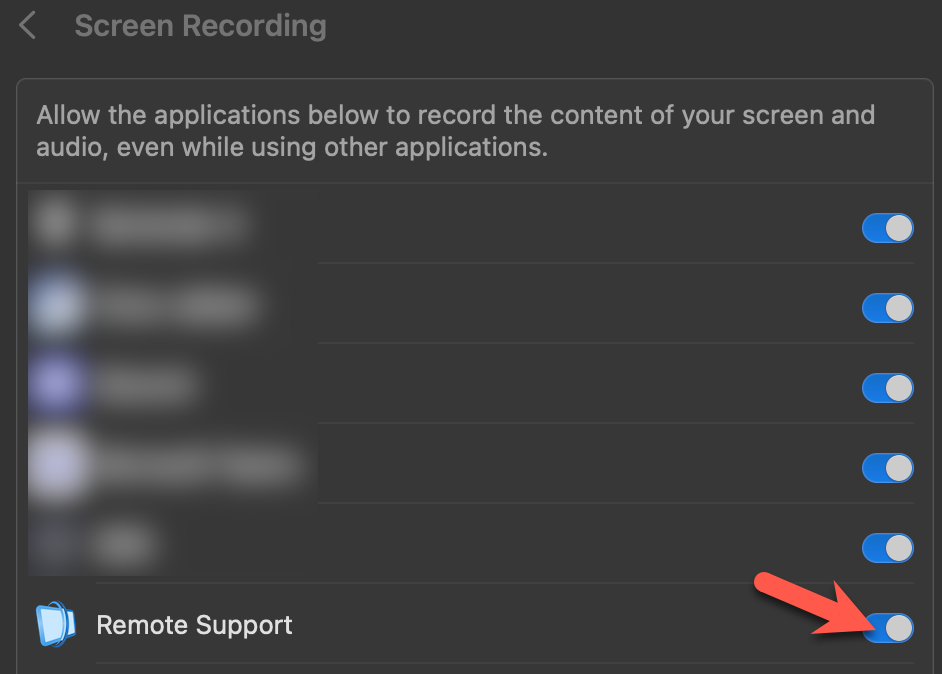
- Select the Screen Recording section, and find and enable Remote Support. If prompted, enter the administrator credentials for the computer, and click Modify Settings.
- You may see a message stating you must quit and reopen SimpleHelp to apply these changes. Select Quit & Reopen and follow the same steps again to join the support queue.