 UVM adopted Blue by Explorance course evaluation software in Fall 2019. Blue is a centralized online evaluation tool with decentralized control and access. It automates invitation and administration of surveys to students, compiles student feedback anonymously and securely, and delivers private, comprehensive reports to faculty members.
DIG Administrators can
- View the information on the courses they have been assigned.
- Edit the following course data fields:
- Survey ID – select the set of questions used to evaluate a given course
- Course Evaluation Start Date – within the overall evaluation period
- Course Evaluation End Date – no later than the end of the overall evaluation period
- Instructors attached to a course and their role (e.g. ‘Instructor’, ‘TA’, etc.)
- Evaluate Y/N – whether to evaluate the course or not
- Batch edit and publish course data to make it available in the associated Blue evaluation period.
DIG Administrators cannot
- Edit the student roster for a given course.
- Edit a course already published from DIG.
- Edit the survey questions themselves. (Opportunities for submitting survey edits to Blue Admins are available each term.)
General DIG Procedure
Access Blue
- Visit https://blue.uvm.edu/uvm in your web browser.
- Log in using your UVM NetID and password.
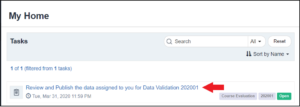
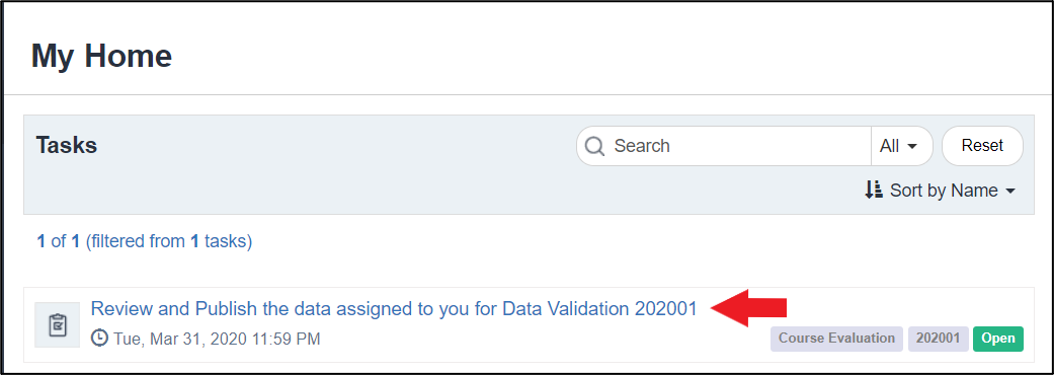
- Under My Home, locate the Data Validation Task for the appropriate term and click the highlighted title.
Review and Prepare your Data
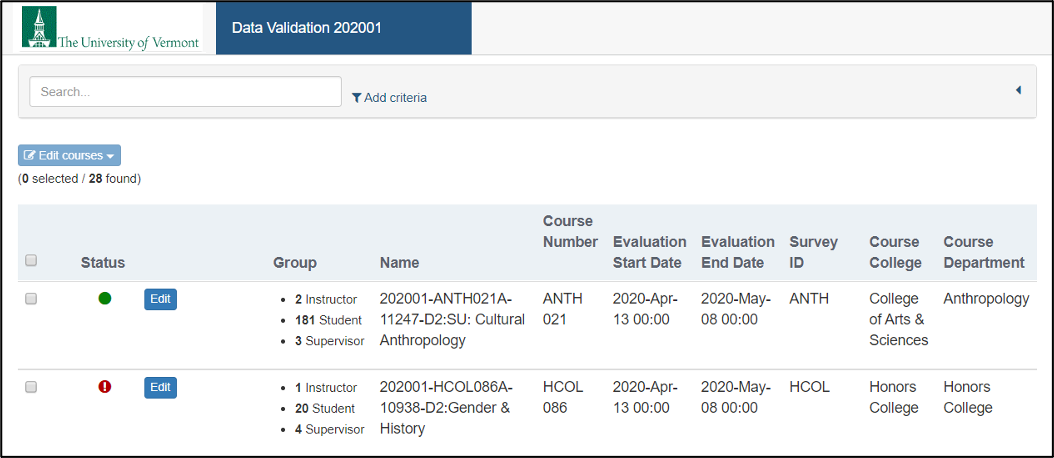
Finding and Filtering Courses
- Search for any information directly in the search.
- Click Add criteria to view search details and include filters for more specific data.
- Select a type of criteria and add the necessary information.
- Select Add criterion to add the filter to the existing.
- Edit the courses as required and select Reset to clear the filter.
Editing a Single Course
Change Data in a Specific Field
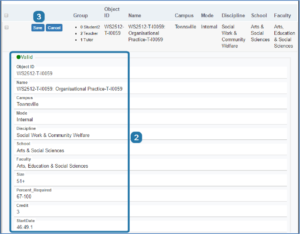
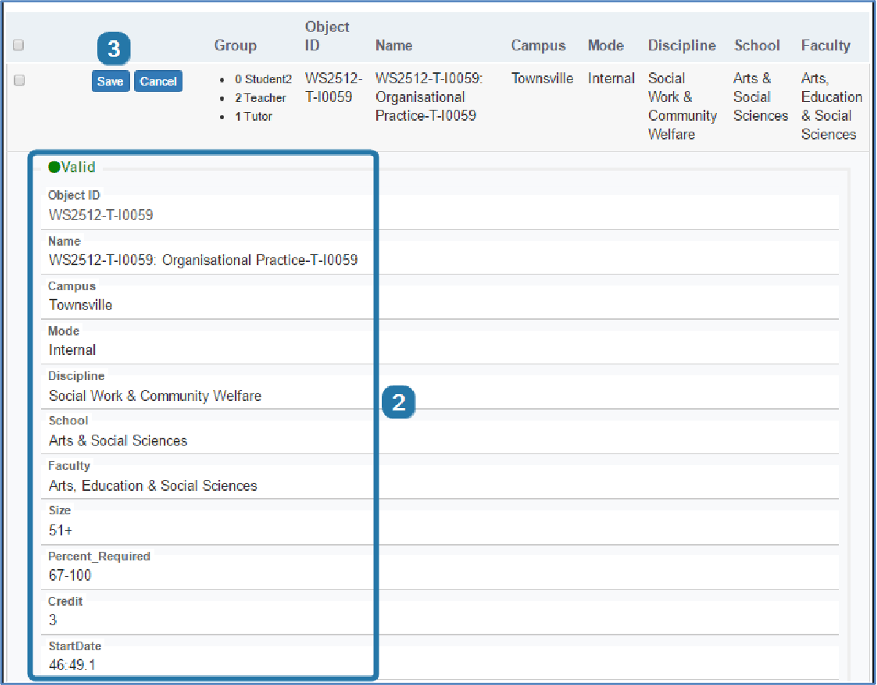
- Find a course with information that needs to be modified and click Edit.
- Make changes to the data as necessary. You can modify the following Course Fields:
- Survey ID
- Course Evaluation Start Date
- Course Evaluation End Date
- Evaluate Y/N
- Select Save to update the data.
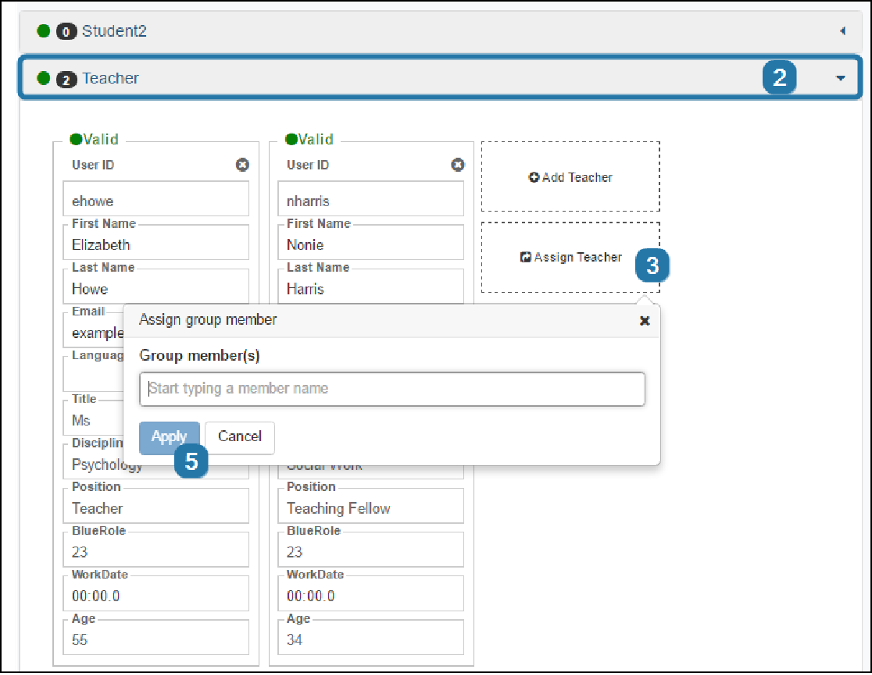
Assign Instructors and TAs/Adjust Teaching Roles
- Find a course that needs to be assigned an instructor and click Edit next to that course name.
- Open the Instructor group by expanding the gray Instructor bar.
- Select Assign group member and the ASSIGN GROUP MEMBER window will appear.
- Enter the name of the instructor and select them from the drop down list. Add as many instructors as required for the course.
- Select Apply to assign the instructor(s) to the course.
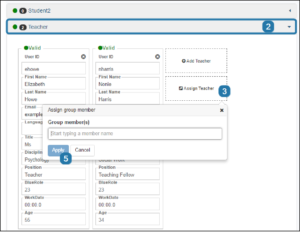
- Select Save to update the course.

Unassign Instructors and/or TAs
Unassign one or more members of the instructor group from a course so that these instructors will not be able to be evaluated for the given course(s). The instructor(s) are not removed from the system.
- Find a course that needs to be assigned an instructor and click Edit next to that course name.
- Open the Instructor group by expanding the gray Instructor bar.
- Find the instructor and click the X on the top right corner of the group member block to remove the instructor from the group for that course.
- Select Save to update the course.
Editing More Than One Course at a Time (Bulk Actions)
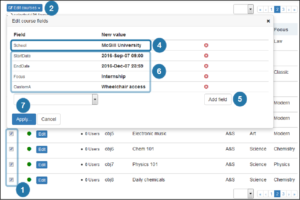
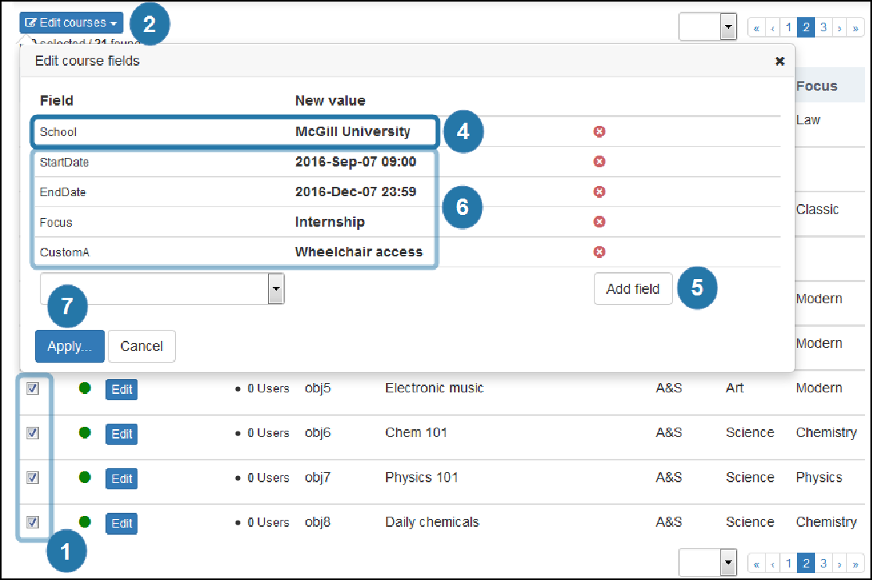
Change data in a specific course field
- Select multiple courses that all require the same update.
- You may filter by certain criteria as shown in section A. FINDING AND FILTERING COURSES to find the particular courses you would like to edit.
- You can select all from those within your filter or a limited number of your choosing.
- Click Edit Courses.
- Select Edit course fields from the drop down menu.
- Select a field to change from the drop down list that needs to be updated, then enter the new value.
- Select Add Field.
- Repeat steps 4 and 5 for as many fields as need to be updated for the selected courses.
- Click Apply to save your changes.
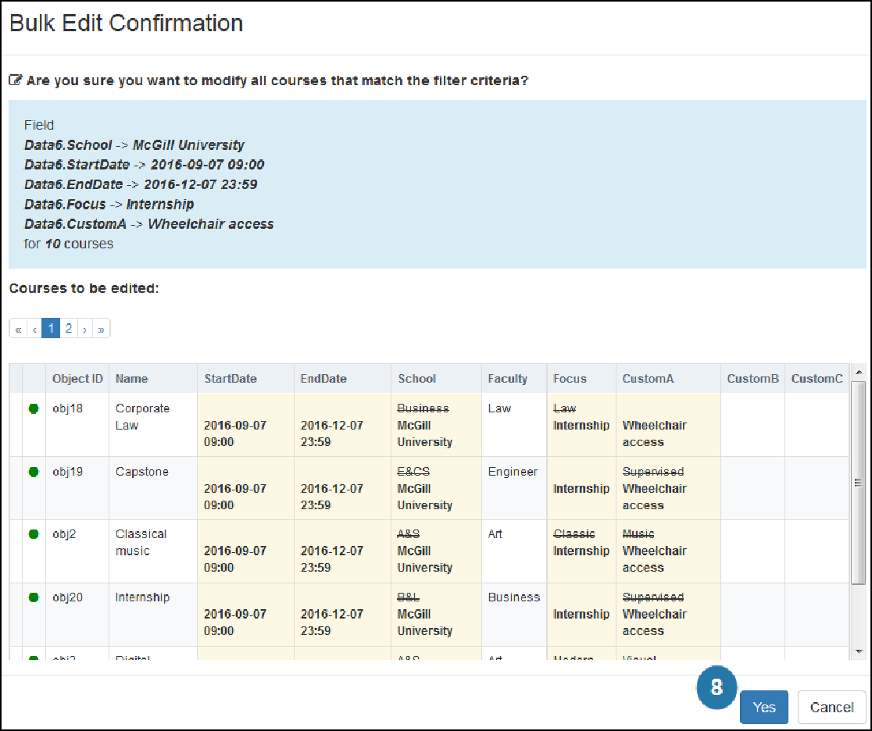
- The Bulk Edit Confirmation window will appear.

- Select Yes to confirm the changes. A progress indicator will appear as the records are being updated.
Assign Instructors and TAs
- Select multiple courses that all require the same additional group member(s).
- Click Edit Courses.
- Select Assign group members from the drop down menu. The Assign Group Member form appears.
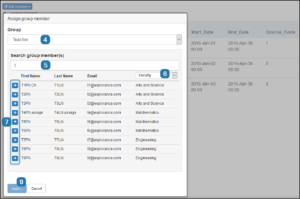
- Select the Instructor group from the drop down menu.
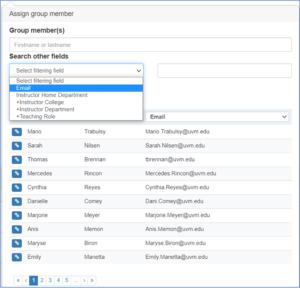
- Enter the name of an instructor.
Alternatively, enter a letter to view all instructors whose name starts with that letter. - Select a demographic field from the drop down list to see more information about the instructor.
- Click + to add an instructor from the list.
- Continue adding instructors as necessary.
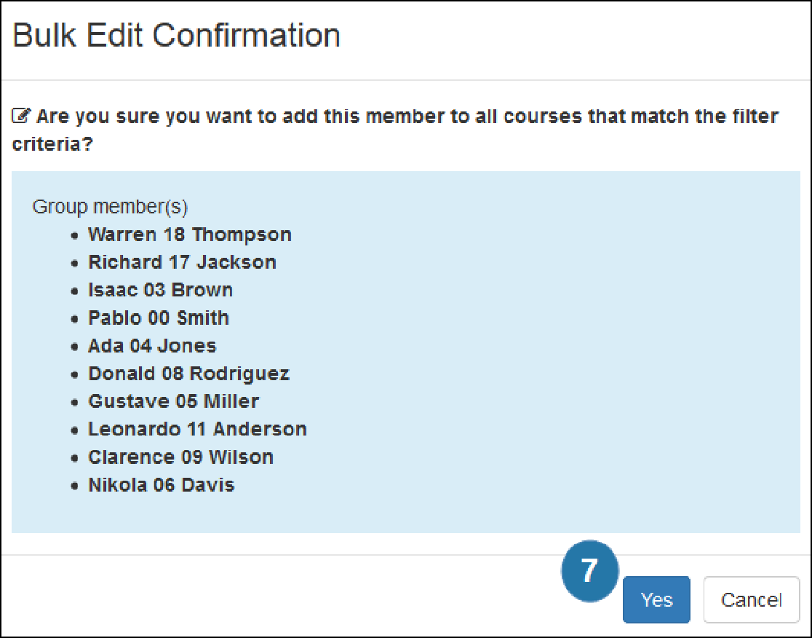
- Click Apply to save your changes (a Bulk Edit Confirmation Window will appear).
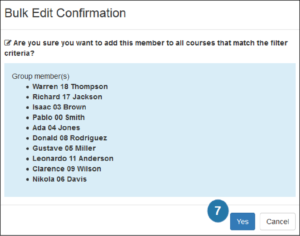
- Select Yes to confirm the changes. A progress indicator will appear as the records are being updated.

Unassign Instructors and/or TAs / Adjust Teaching Roles
- Select multiple courses that all require the same Instructor action.
- Click Edit Courses.
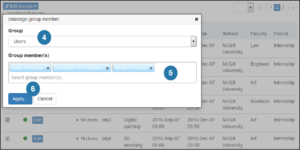
- Select Unassign group members from the drop down list. The UNASSIGN GROUP MEMBER form appears.
- Select the Instructor group from the drop-down list.
- Enter the name of the instruction to remove and select the instructor from the list. Continue adding Instructors from your list for unassignment as necessary.
- Click Apply to save your changes.
- A BULK EDIT CONFIRMATION window will appear.

- Select Yes to confirm the changes. A progress indicator will appear as the records are being updated.


Restore Courses
Once courses are published, they can no longer be changed in DIG. However, if you make a mess of a course, and have not yet published it, you can use the “Restore Courses” option to return that course to its original unedited data.
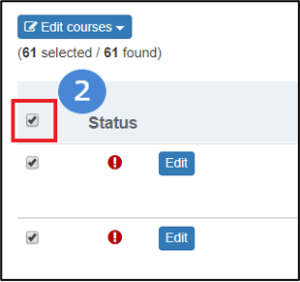
- Select at least one course by clicking the gray box to the left of the course in the list.
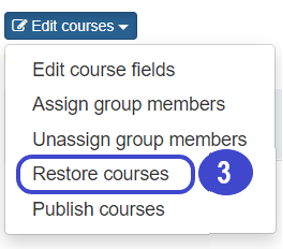
- Click Edit Courses.
- Select Restore Courses.
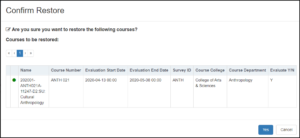
- Select Yes to confirm the restoration. A progress indicator will appear as the records are being updated.

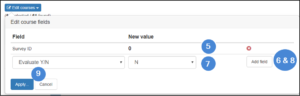
Zero Enrollment Courses - Spring and Fall ONLY!
If courses with zero (0) enrollment are marked as ‘Y’ for “Evaluate Y/N,” Blue reads this as a course where a report needs to be produced at the end of the period. With a zero enrollment the report will appear on the instructor’s list, but be marked as “Threshold Not Met.” This can be confusing for the instructor.
Therefore, we want to specifically mark those with zero enrollments as ‘N’ for “Evaluate Y/N.” That way, the course does not move into the reporting process at all.
- In the Criteria selection area, select Group Member Count from the drop down menu, Student from the Group drop down, IS from the logic drop down and enter a zero in the number field, as below:

- Click Add Criterion.
- Select all courses by clicking the checkbox in the light blue header bar.
- Click Edit Courses.
- Select Edit course fields from the drop-down menu.
- Select Survey ID from the drop-down list and enter a value of ‘0’.
- Select Add Field.
- Select Evaluate Y/N from the drop-down list and enter a new value of ‘N’.
- Select Add Field.
- Click Apply to save your changes.
- The BULK EDIT CONFIRMATION window will appear.
- Select Yes to confirm the changes. A progress indicator will appear as the records are being updated.


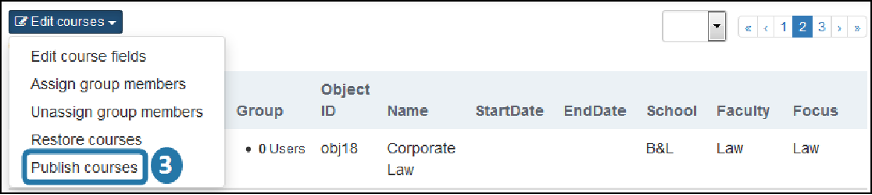
Publish Courses
Publishing from DIG does NOT mean that the evaluation has been opened to student input. It only means that you are sending your reviewed and edited list of courses to the upcoming evaluation project. This includes courses that you marked with “N” telling the Blue database not to evaluate that course.
If you miss the DIG evaluation period, NONE of your courses will be evaluated, so please pay attention to the deadlines and evaluation periods.
- Select one or more courses that have been updated and are now ready to be used in Blue.
- Click Edit Courses.
- Select Publish courses from the drop-down menu to finalize the data.

- Select Yes in the confirmation window that appears to publish the final changes to Blue. A progress indicator will appear as the records are being published.
Procedure to add TAs to the Blue Database
Log in to myUVM
- Log in to myUVM.
- Select the Advising global tab and then the Dean’s and Department Chairs sub-tab.
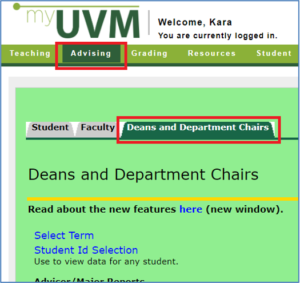
- Scroll to the bottom of the page to find “Blue Evaluations” listing the selection options.
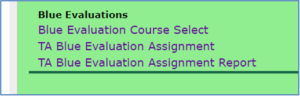

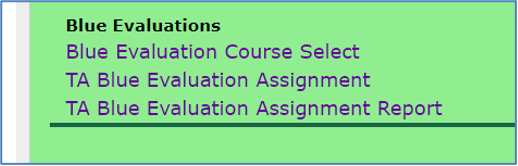
Click on Blue Evaluation Course Select
- Click on the link “Blue Evaluation Course Select”.
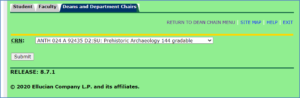
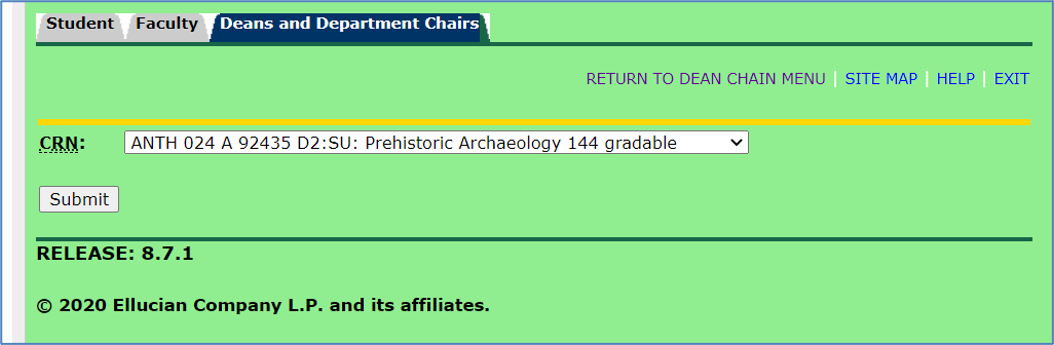
- Select the Term from the drop-down menu and click Submit.

- Select the course to which you would like to add a TA in the “CRN” drop-down list
Note: you will only see all the courses from your home college.
- You will be returned to the Dean and Department Chairs main menu. Proceed with step C.

Click on TA Blue Evaluation Assignment/Un-assignment
- Click on the link “TA Blue Evaluation Assignment”.
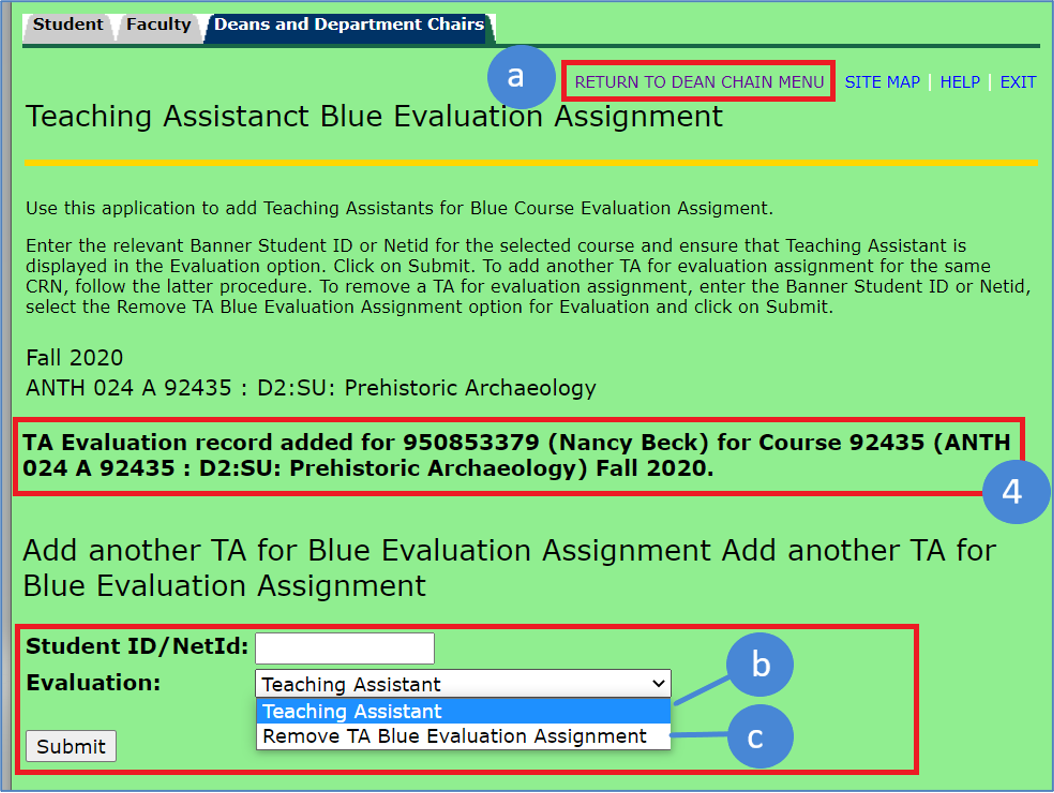
- The course you selected in part A above will appear. Enter the Banner Student ID (“95 number”) or the netID of the TA you would like to attach to the course.
- Leave the “Evaluation” field as ‘Teaching Assistant’ and press Submit.
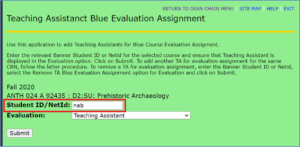
- You will be presented with a screen that confirms the addition of that NetId to the particular course.
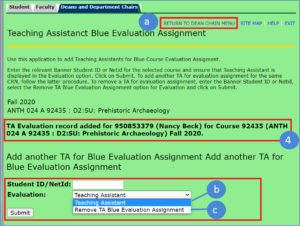
- If you would like to switch the course to which you would like to assign or remove TA(s), choose the link to “Return to Dean Chair Menu” and repeat the instructions in part B.
- If you would like to assign another TA to the same course, you may do so via the fields at the bottom of the page.
- Enter the Banner Student ID (“95 number”) or the netID of the TA you would like to attach to the course.
- Leave the “Evaluation” field as ‘Teaching Assistant’ and click Submit.
- If you would like to unassign a TA from the selected course, you may do so via the fields at the bottom of the page.
- Enter the Banner Student ID (“95 number”) or the netID of the TA you would like to attach to the course.
- Change the “Evaluation” field to ‘Remove TA Blue Evaluation Assignment’ and click Submit.

Select TA Blue Evaluation Assignment Report
If you would like to view the list of TA assignments for all courses in your college to verify your work, you may return to the Dean and Department Chairs main menu.
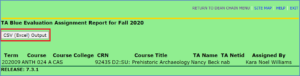
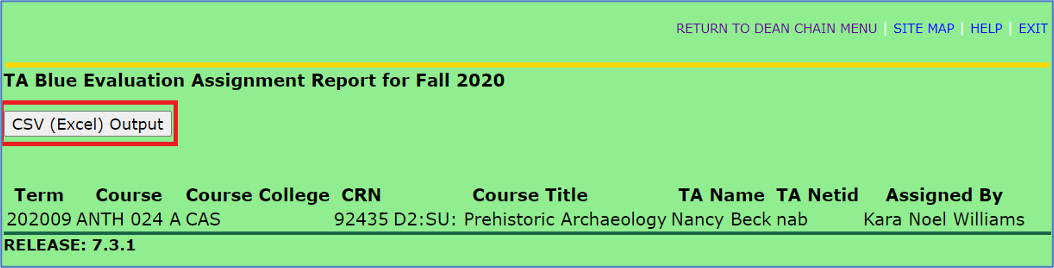
- Select “TA Blue Evaluation Assignment Report” from the menu and the report will appear on your screen.
- For advanced filtering and easy viewing, you may export to Excel by clicking the “CSV (Excel) Output” button.