
 ArcGIS, from Environmental Systems Research Institute (ESRI), is a geographic information systems (GIS) framework for gathering, managing, analyzing, and mapping geospatial data. UVM has an unlimited site license, and UVM affiliates have access to a broad range of online training resources. As of August 2020, UVM affiliates can access an ArcGIS license by using single sign-on (SSO) to sign in to ArcGIS Online or ArcGIS Pro.
ArcGIS includes:
- ArcGIS Pro — next generation desktop software application for Windows computers.
- ArcGIS Desktop — predecessor to ArcGIS Pro that also runs on Windows (includes ArcMap, ArcCatalog, ArcScene, and ArcGlobe). This is legacy software that is still supported for security updates but is no longer in feature development.
- ArcGIS Online — cloud-based GIS software that brings mapping, analysis, sharing, and data discovery capabilities to the web browser.
- Mobile GIS and other geo-enabled products for business analytics, imagery exploitation, urban planning, IoT, and more.
This guide includes instructions for signing into ArcGIS, accessing the current desktop software on a virtual machine, or installing it on a Windows computer.
Signing in to ArcGIS
Whether you are using ArcGIS Online or running desktop software such as ArcGIS Pro, an Esri account is required to sign in to ArcGIS. As of August 2020, an account is automatically created if you sign in with your NetID and password via UVM SSO. These instructions are for ArcGIS Online. Signing in works exactly the same way for ArcGIS Pro.
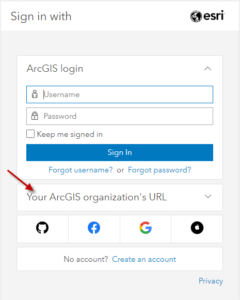
- Direct a web browser to https://www.arcgis.com
- Click Sign in
- Click Your ArcGIS organization’s URL
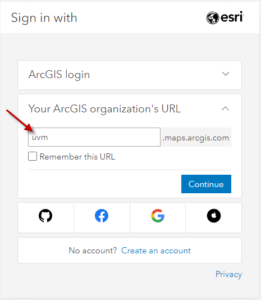
- Enter “uvm” in the URL input box, then click Continue
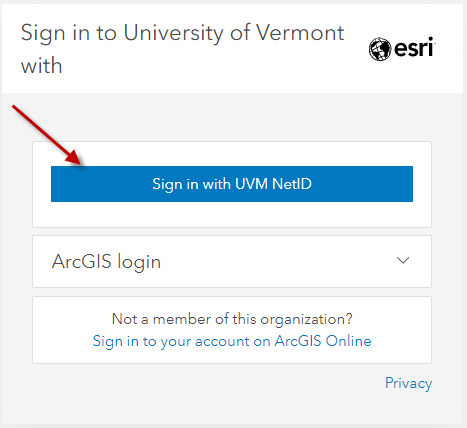
- Click Sign in with UVM NetID
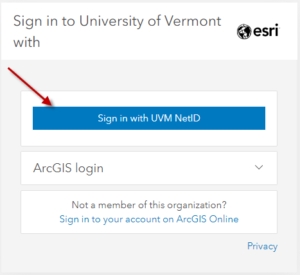
- Enter your UVM NetID and password


Requesting Access to the Pool of ArcGIS Virtual Machines
Access to the pool of ArcGIS virtual machines is granted by request.
- Instructors requiring use of ArcGIS for a course can send a list of students that need access to techteam@uvm.edu.
- If a student needs to use ArcGIS for non-course academic work, any faculty member who is aware of their need to use the software can submit the request on their behalf.
Run ArcGIS in a Virtual Machine
Students and other affiliates with sufficient access can run ArcGIS software in a virtual machine. This is the default recommendation in many mapping and spatial analysis courses, though it’s also a great option in cases where a Windows machine capable of running ArcGIS is unavailable. To run ArcGIS in a virtual machine, you will first need to install the Horizon desktop client and connect to UVM’s Virtual Desktop Infrastructure.
After connecting to UVM’s VDI in the Horizon client, users with the proper access will see the ArcGIS Remote Access desktop as a choice. Double-click this to open in instance of Windows that has ArcGIS installed. You can then use Windows search or a desktop shortcut to find and launch ArcGIS Pro, and then sign in using the directions above.
Install ArcGIS Pro
If you have a Windows computer that meets system requirements, you can install the current desktop software as follows.
- Direct your web browser to https://software.uvm.edu (see this KB article if you have not yet used AppsAnywhere: https://www.uvm.edu/it/kb/article/appsanywhere/)
- In AppsAnywhere, hover over the ArcGIS Pro icon and click Install, which will download an installer.
- Begin the install by opening the downloaded file
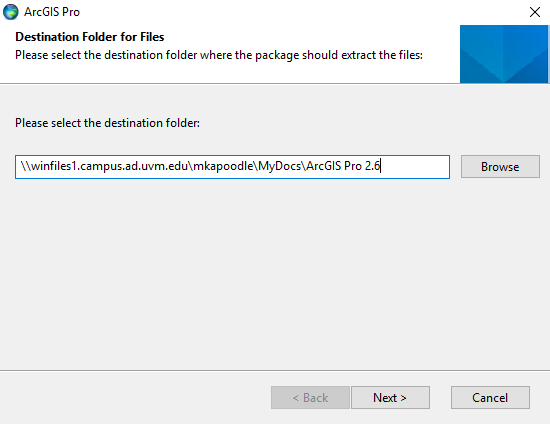
- Select a folder where installer files will be temporarily unpacked and click Next.
- Click Close to launch the setup program
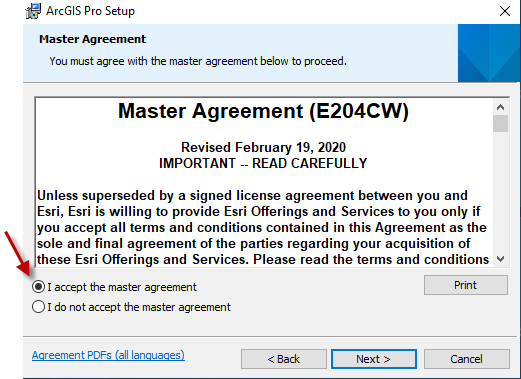
- Activate the radio button to accept the license agreement, and click Next
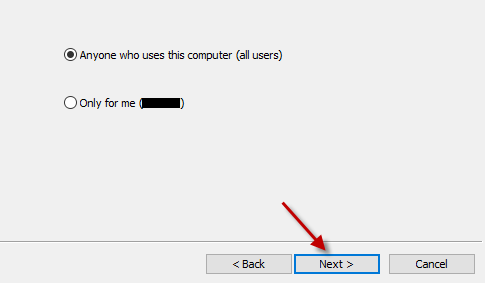
- Click Next again to accept the default, or change the option to install only for you
- Click Next again in the Select Features pane
- Click Install on the next pane to begin the installation
- Click Finish
- When ArcGIS Pro opens, use the instructions above to sign in.