Ideal conditions in which to plant garlic include loamy soil with a pH between 6.2 and 7.0, located in full sun. Give soil that previously supported garlic or other allium crops a two-year break before replanting.
Remove garden debris from your selected spot and amend the soil with compost if needed. Choose the varieties of garlic that suit your climate, taste and culinary objectives.
Planting the garlic you buy from the grocery store to cook with may seem like a good choice; however, it could be a variety that only grows in warmer climates, or it may have been treated to increase its shelf life. Therefore, purchase your seed garlic from local farms and garden centers to be sure that it will grow successfully.
The ideal time to plant garlic is three weeks before the ground freezes. This will enable the roots to develop, but the cold will discourage sprouts from poking through the ground before winter arrives. In the Northeast, this is usually mid-October to early November.
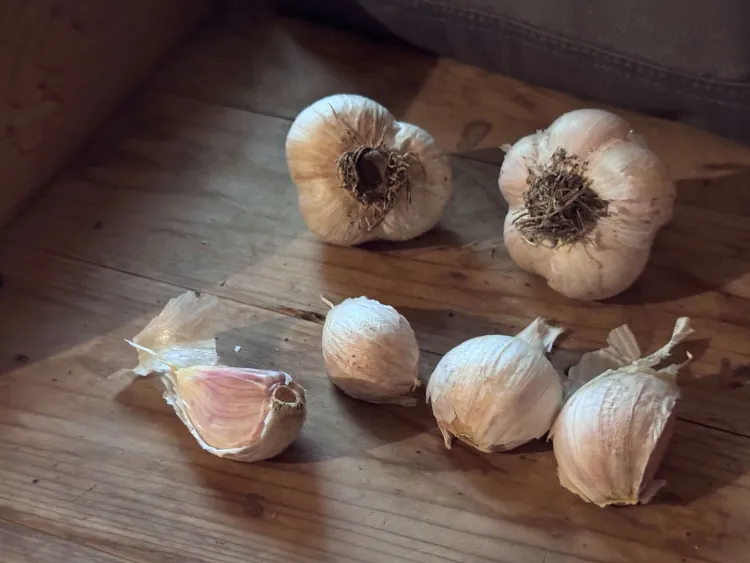
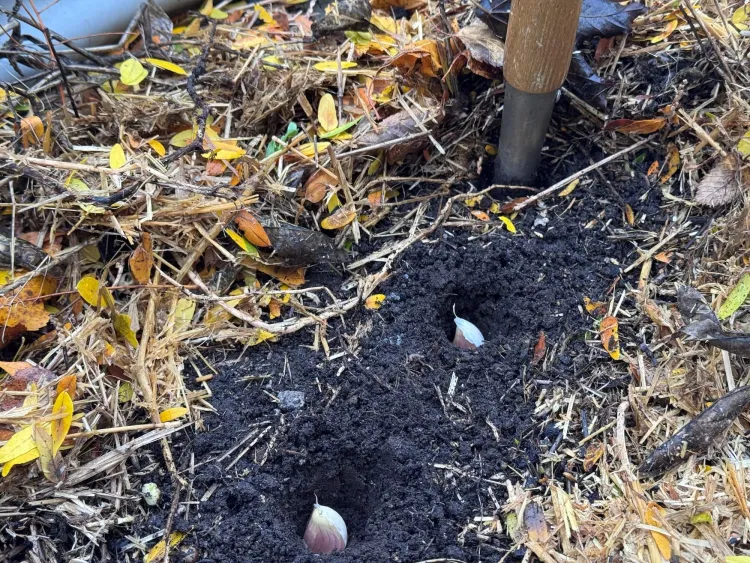
No more than a day before planting, break down the garlic bulbs into individual cloves. Select the largest cloves for planting, as they will yield the largest bulbs at harvest time. Using a dibble or trowel, create a hole at least 2 inches deep. Place the clove in the hole, flat side down, pointy side up. Cover with soil and mulch with 4 inches of straw or shredded leaves.
Space the cloves 4 to 8 inches apart so that you will have enough room to safely dig them up at harvest time.
Your work is done for now. In springtime, once you see the sprouts poking through the soil, keep the plants evenly moist throughout the growing season. Remove weeds from around them regularly.
Hardneck garlic varieties typically grown in the Northeast send up a false flower stalk called a scape in May or June. These should be removed to allow the plant to focus its energy on bulb formation. You can enjoy the edible scapes while waiting for your garlic to finish growing.
Around July, you will begin to see the leaves turn yellow from the tips down. Loosen the soil around the plant to avoid damaging the bulb and gently pull it out. Harvest when the bulbs are full and their wrappers are complete. Do not allow them to stay in the ground too long or the wrappers will deteriorate and the cloves will separate.
If you find that the bulbs are not yet ready, cover them back up with the soil and check again in a week or two. Otherwise, pull up the garlic, brush off the dirt, and place it to cure in a shady area with good air circulation.
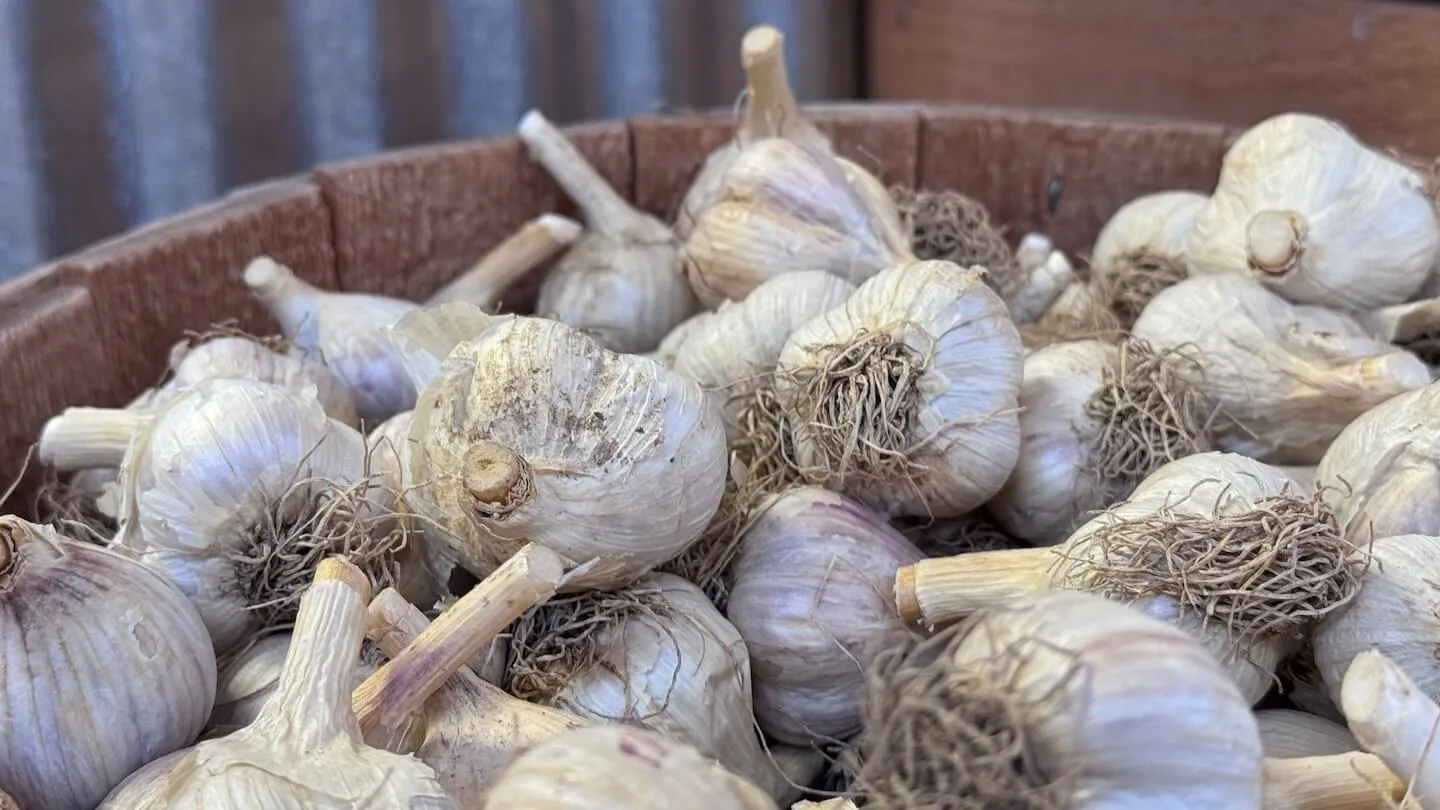
Once the wrappers are papery and the roots are dry, your garlic is cured and ready. Trim off the roots and cut the stalk. Remove the dirtiest of the outer wrappers and store the garlic in a cool, dark, and dry place.
Remember to set aside the biggest bulbs so that you can plant more of your own delicious garlic next fall.
For answers to your home gardening questions, contact the University of Vermont Extension Master Gardeners Helpline online (go.uvm.edu/gardeninghelpline) or by phone (802-656-5421, Thursdays, 9 a.m. to 12 p.m.) to the end of October.