
 MacOS deployment is the process of reinstalling MacOS on a UVM-owned Apple device and enrolling it in UVM’s Jamf servers to install software and apply policy. For devices that are enrolled in UVM’s Apple Device Enrollment Program, this process is mostly automated, but it’s still possible on UVM-owned, non-DEP-enrolled Macs.
Requirements:
For installation using a Internet Recovery
- A wired UVM network connection with a valid 132.198.0.0/16 address.
- A USB to Ethernet or USB-C to Ethernet adapter. The Tech Team has occasionally noticed issues when using non-Apple USB adapters.
For installation using a bootable USB disk
- A USB flash drive or SD card with adequate capacity. As of MacOS 12 Monterey, the minimum size required is 12GB.
Installation
Using Internet Recovery on UVM Campus
- Enter Internet Recovery. Apple has a guide on how to access macOS Internet recovery in Mac devices with both Intel and Apple processors. The main UVM wireless network is not usable for this, as while within macOS Recovery, the computer is not able to correctly store the security certificate. As such, it’s recommended that this process is completed while the computer is connected to UVM’s wired network.
- Erase the computer’s drive.

- If you’re using a Mac with an Apple chipset, this can be done by clicking the “Recovery Assistant” tab in the upper left, then selecting “Erase Mac,” and following that process by continuing to select the “Erase Mac”
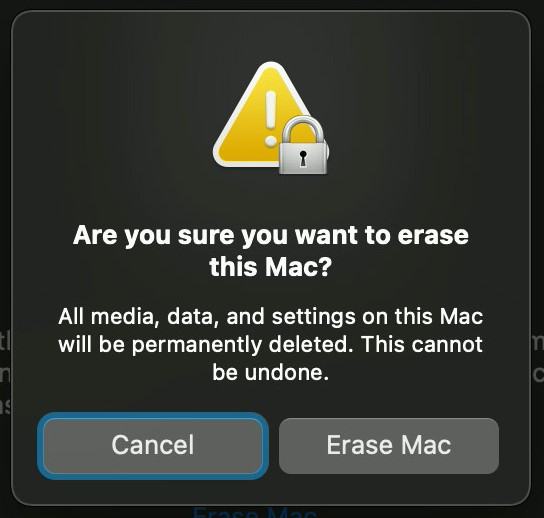 option.
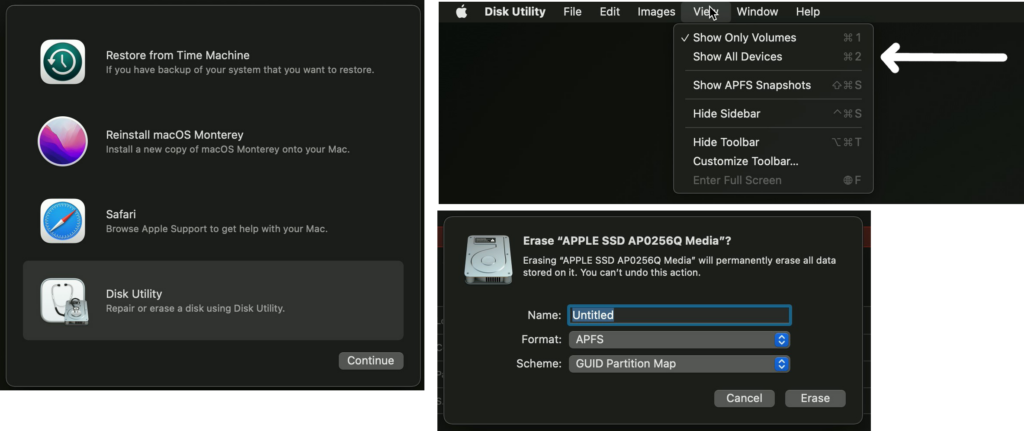
 - If you’re using a Mac with an Intel processor, you should instead use the Disk Utility options within MacOS Recovery to erase the drive. Select View > Show All Devices, then select the root drive (typically named APPLE SSD Media or some variation) and choose “Erase.” You may leave the disk name as “Untitled.” Then, exit Disc Utility
- If you’re using a Mac with an Apple chipset, this can be done by clicking the “Recovery Assistant” tab in the upper left, then selecting “Erase Mac,” and following that process by continuing to select the “Erase Mac”
- Finally, select Reinstall MacOS Monterey from the main MacOS Recovery window

Local Installation
- Create a bootable USB with the desired version of MacOS. Apple has a guide for creating a bootable USB for different versions of MacOS.
- When turning on the computer, boot into the USB drive. This can be done by entering startup options, as described in the “Use the bootable installer” section of the above article.
- Open Disk Utility to erase the computer’s drive.
- Select View > Show All Devices, then select the root drive (typically named APPLE SSD Media or some variation) and choose “Erase.” You may leave the disk name as “Untitled.”
- Finally, exit Disk Utility and select Reinstall MacOS Monterey from the main MacOS Recovery window.
Post-Installation Setup
For UVM-owned computers, policy enrollment through Jamf is necessary to automatically install software like the Microsoft Office suite, install Managed Software Center, and enforce automatic FileVault encryption.
DEP Enrolled
If the machine is a UVM-owned machine enrolled with Apple’s Device Enrollment Program, you’ll be prompted to enter your netID and password during the setup process. Ensure the device is still connected to the UVM network during this process.
Your credentials will not be saved, and will only be used to authenticate to UVM’s Jamf servers. During the installation process, MacOS will fetch and install UVM policy and software automatically. It will need to be logged into once to complete the installation of software, and may reboot a few times.
Non-DEP Enrolled
If the machine is not enrolled in Apple’s Device Enrollment Program despite being a UVM owned computer, you’ll have to have the machine enroll in policy management after setup is complete.
- Go to https://casper.uvm.edu/enroll/ on the device.
- You’ll be prompted to sign in with your UVM netID and password – this won’t link the machine to your account, only use your account to authenticate to UVM’s Jamf policy servers.
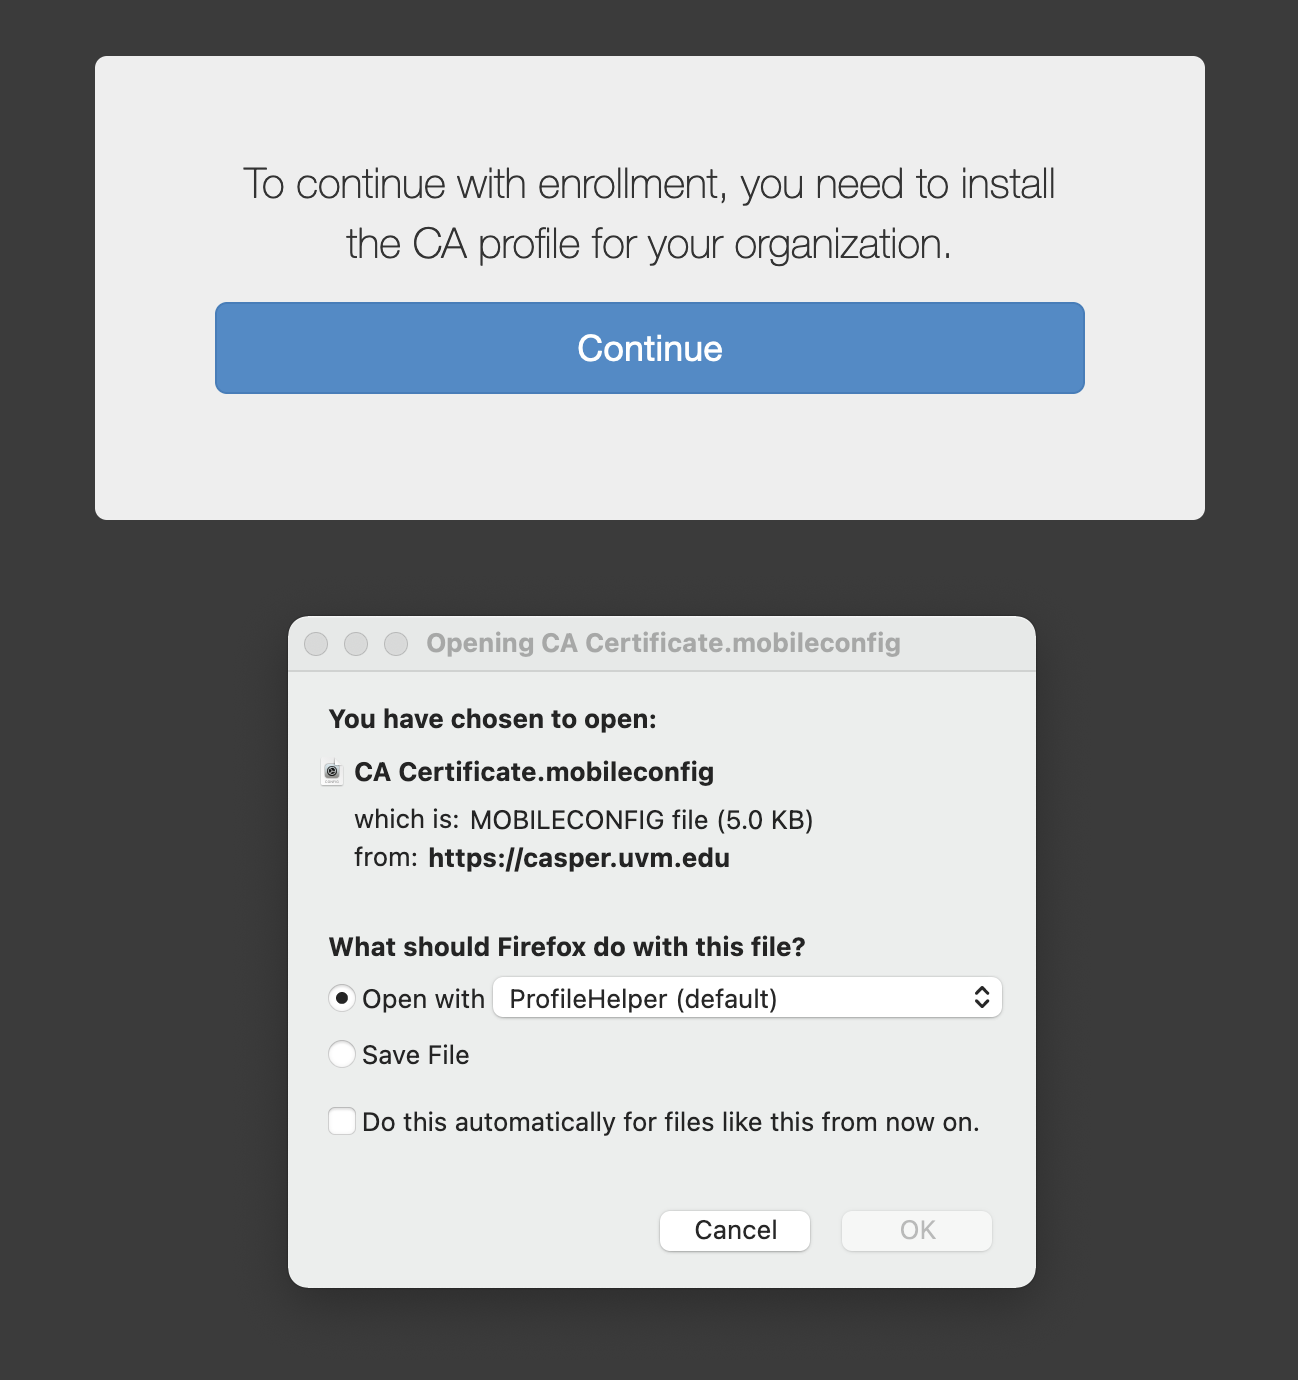
- Click Continue to download the first profile and open the downloaded file from your downloads folder
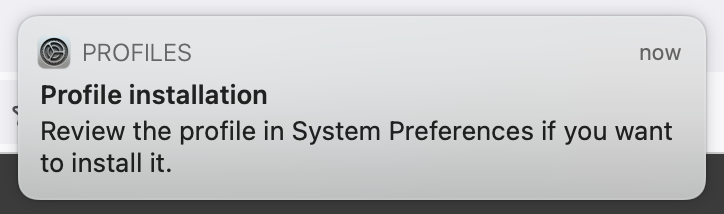
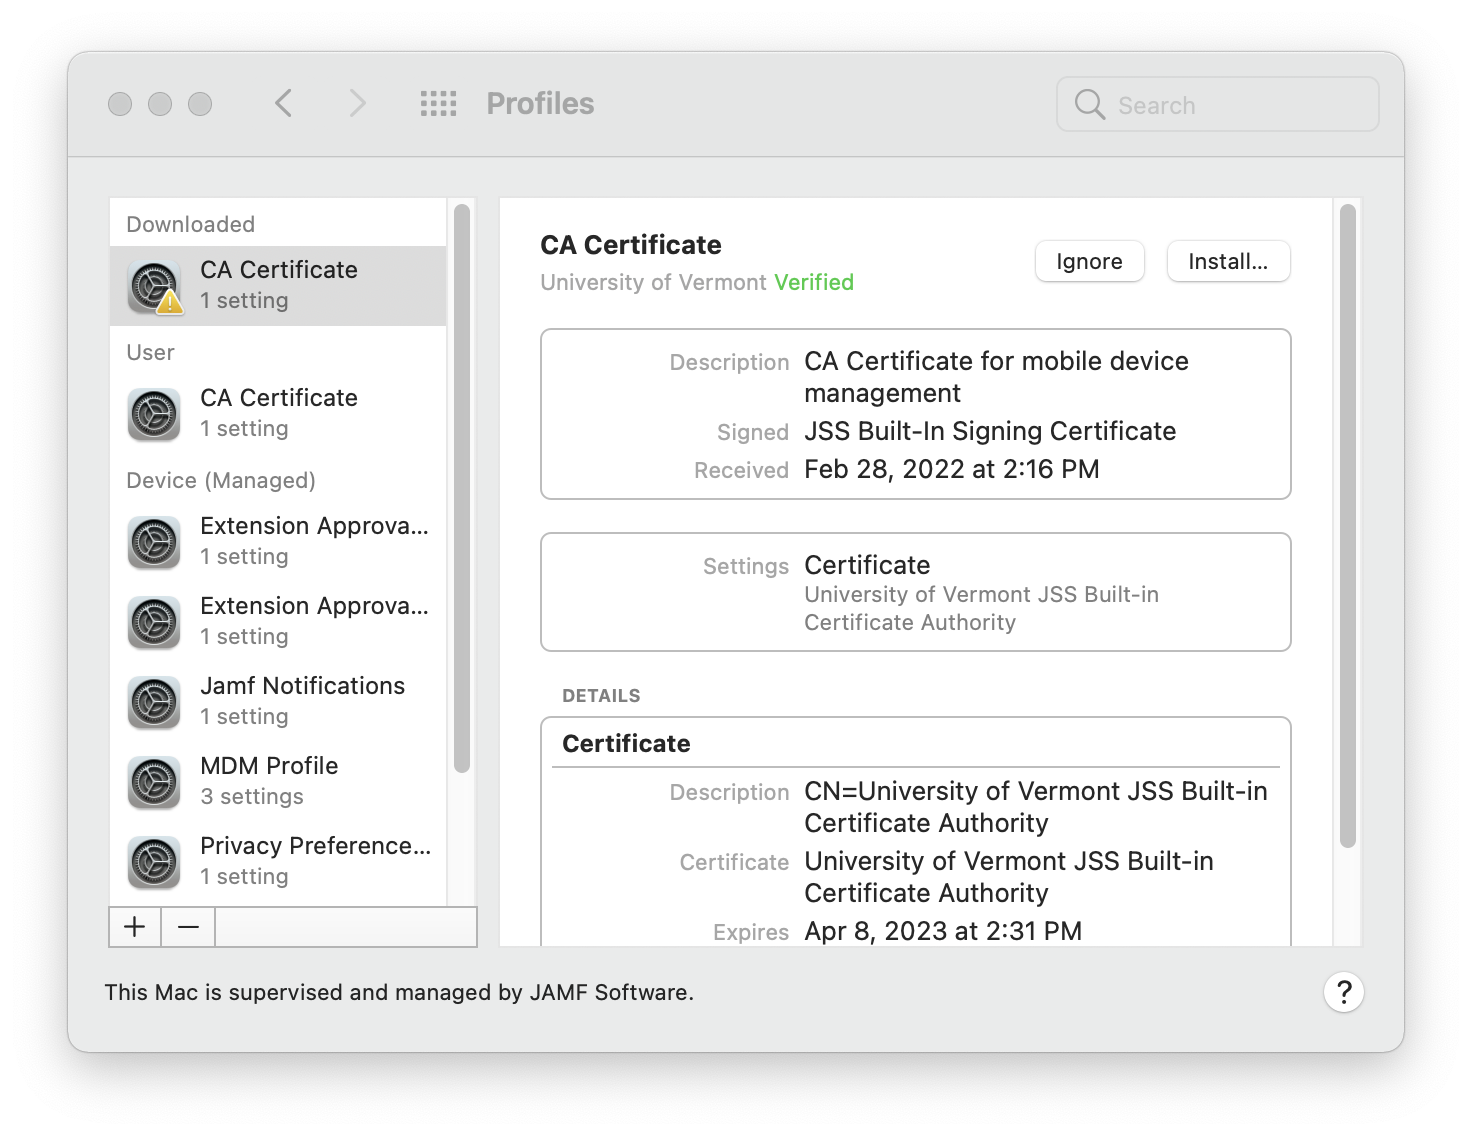
- Go to System Preferences -> Profiles and choose “Install.”
- Repeat this process for the second profile.
- Reboot the machine so that the policy details will be downloaded and applied to the device.