
Set up the Completion Tracking tool
The Completion Tracking tool in Brightspace helps students stay on track with the course content and activities and it helps instructors track what their students have done in the course. There are three options for the settings:
- Automatic
- Manual
- Not Required
First, we’ll explain what it does and then explain why we think “Manual” is the best choice.
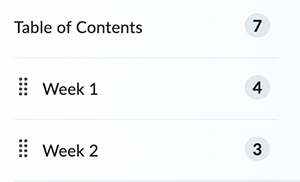 Instructors will see numbers next to each module title on their left course menu that indicate how many items are in that module. This number remains static for them.
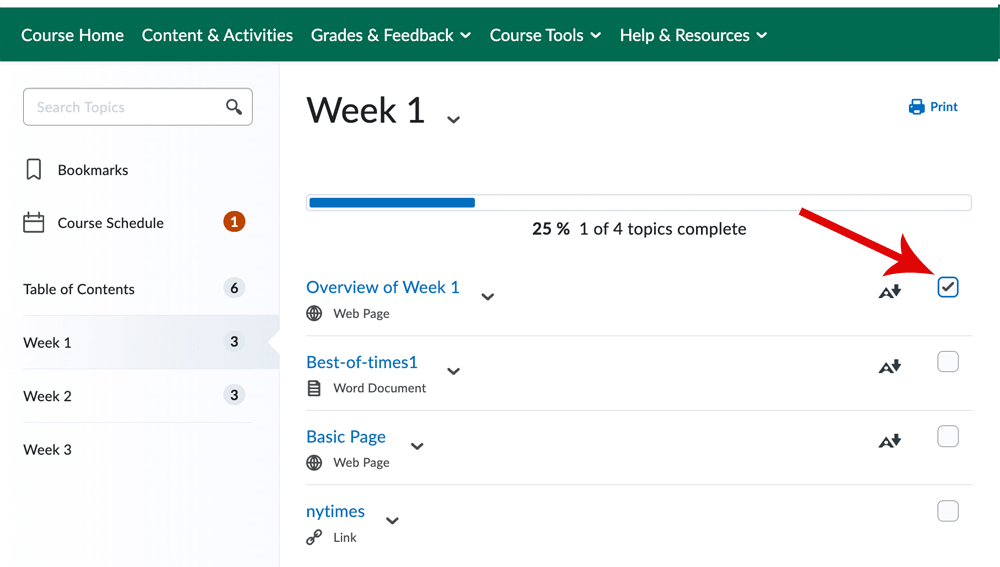
However, for students, if completion tracking is on, the numbers will decrease as they complete the tasks within the module. When all are completed, the number next to that module changes to a check mark. Students will also have a progress bar at the top of the module page indicating the percentage of tasks they’ve completed in that module.
Why “Manual” is best
The reason why “automatic” is not as useful is because if a student simply clicks on an article or video link, Brightspace will automatically mark it as completed, i.e., read, viewed, etc. Whereas, with the setting changed to “Manual,” students can deliberately check off each item when they decide they’ve finished the reading, viewing, or other task they need to complete. They have the control, and so it can help them to track work they’ve completed and what they still have to do.
Set up manual completion tracking for students
By default in the UVM Brightspace system, the completion tracking tool is set to automatically track student progress. As described above, we recommend changing this to the manual. To do this:
- Click on the “Content and Activities” link on the navigation bar in Brightspace.
- Click the “Settings” link in the upper right corner of the content area.

- Scroll to the bottom of the screen, you will see “Completion Tracking” options.
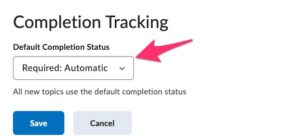
Change the default from Automatic to Manual. This will enable the display of a checkbox for students to manually click as they complete each section of the course content. To complete this change, click on the blue “Save” button.
Instructor Choices regarding Completion Tracking
Instructors have choices to use set completion tracking for an individual topic or entire module. Plus there are 3 types of completion:
1. Required: Automatic — Topics will be marked as complete when the student carries out a required action to the particular content. Please note that what “completion” means differs based on the type of content. Here is a breakdown of the meaning of “completion” for different content types.
2. Required: Manual — Students will see a checkbox next to the topic, which they must manually click to mark the item complete.
3. Not Required — No completion tracking will be recorded. For instance, all end-of-unit discussions in this course are optional and thus their completion status is not tracked. That means, you will not see a checkmark next to the topic. Neither is it included in the progress bar at the top of each module. However, students can still see it in their Class Progress report.
How Instructors can track students’ progress
When students complete their work, instructors can track this by going to:
Grades & Feedback > Class Progress > Click on individual student names for details.
Course-wide settings vs. individual settings
When you choose your course setting as described above, it will apply to all the items you add to your module. However, instructors will see a small icon to the right of them where they can modify the setting for a particular item, if desired.