There’s no need to guess what your garden needs for optimal results. Take a soil test this spring to create the right conditions for your garden from the start.
A simple soil test will help prevent problems later in the season. By following the recommendations in your results, you can give your plants a strong start, leading to better growth, bigger blooms and a more rewarding harvest.
A soil test provides a complete picture of what’s going on beneath the surface in your garden. You will get information on the pH of your soil, how much organic matter is present and the levels of phosphorus, potassium, magnesium and other macronutrients and micronutrients.
Nitrogen is not included in soil tests because its availability in the soil fluctuates due to biological activity and weather conditions. With the test result information, you can make informed decisions about what to add to your garden soil before you plant.
The University of Vermont (UVM) Agricultural and Environmental Testing Lab conducts soil testing for home gardeners and commercial farmers. Visit its website at https://go.uvm.edu/soiltest for the submission form and additional information. The cost for a basic nutrient soil test is $17 per sample.
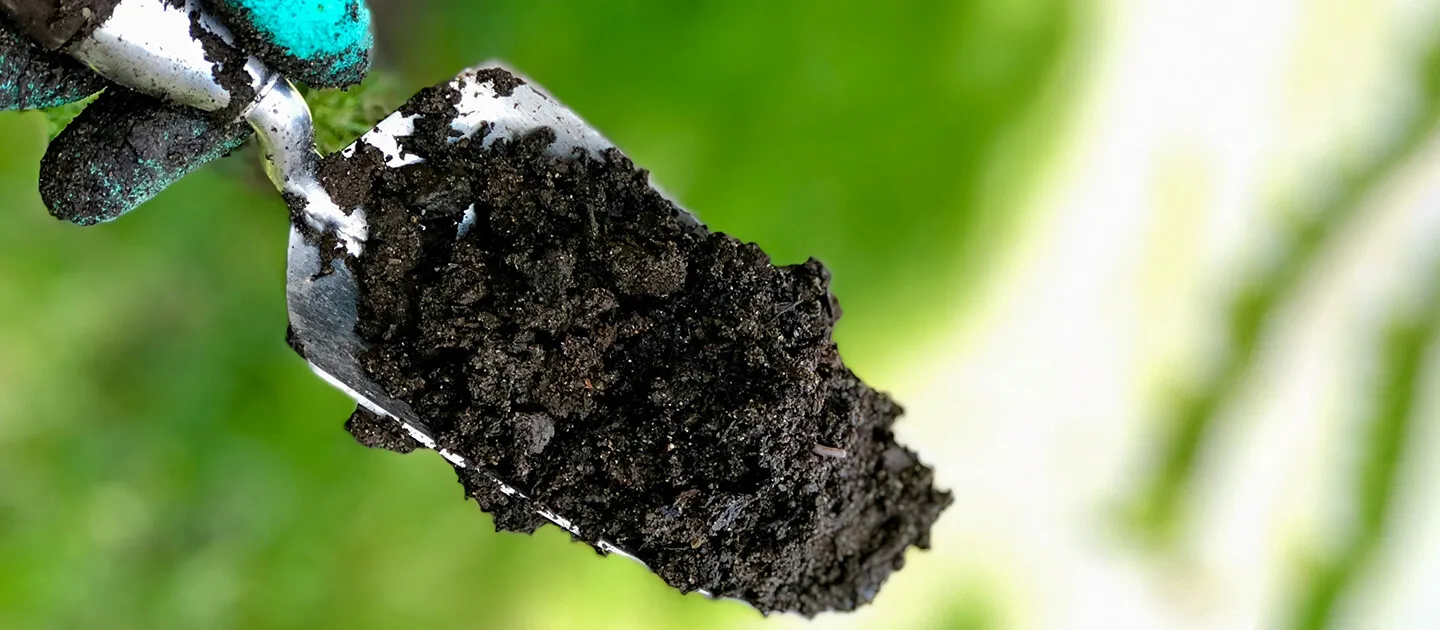
To begin collecting your soil sample, you will need to have a clean trowel or small shovel, a clean bucket and a plastic bag. The bag needs to be able to hold 1/2 to 1 cup of soil. It is important that all materials are clean to avoid contamination.
Choose the area you want to sample. If your garden beds have different purposes, collect a sample for each space you want to test. For example, if you have one bed for annual flowers and another for garden vegetables, you may want to sample these separately as they have different nutritional needs.
In the chosen area, identify about 10 different spots to collect soil. These should be distributed throughout the space. Dig a small hole about 6 to 8 inches deep (The root zone for most plants). Then, take a slice of soil along the side of the hole. Put this sample in your bucket.
Repeat this process at each location. The more locations you take samples from, the better your results will represent the average conditions of your garden.
Thoroughly mix the samples in your bucket. Then scoop 1/2 to 1 cup of soil and place it in your plastic bag. Label the bags, especially if you are submitting multiple samples. Your soil is now ready to send to the lab for testing.
Include the completed soil test submission form and mail your sample to the UVM Agricultural and Environmental Testing Lab for analysis. You’ll receive your results in two to three weeks by email or mail, according to your preference.
Your results will include information on the current state of your garden soil and offer recommendations for amendments to maximize the quality of your soil for gardening as well as includes resources to help you interpret the results of your soil test.
The UVM Extension Master Gardener Helpline also can help you make sense of garden and lawn soil test results. Complete the form on the website, https://go.uvm.edu/gardenhelpline, upload a copy of your soil test results and an Extension Master Gardener will get back to you.
Starting your garden with a soil test can save you time, money and frustration. Instead of guessing what your garden needs, you’ll know exactly how to help your plants grow healthy and strong. It’s a small step that can make a big difference and it's worth doing every few years.
