![]() The University of Vermont utilizes Microsoft Exchange as our primary email, calendaring, contacts, scheduling, and collaboration platform. All current UVM affiliates with an active NetID account are provisioned with Exchange access.
The University of Vermont utilizes Microsoft Exchange as our primary email, calendaring, contacts, scheduling, and collaboration platform. All current UVM affiliates with an active NetID account are provisioned with Exchange access.
The guides below will walk you through the process of adding your UVM Exchange account to various devices and mail clients. You can also access your UVM email from any web browser by visiting outlook.office.com.
Windows
Outlook for Microsoft 365
- Open the Outlook application.
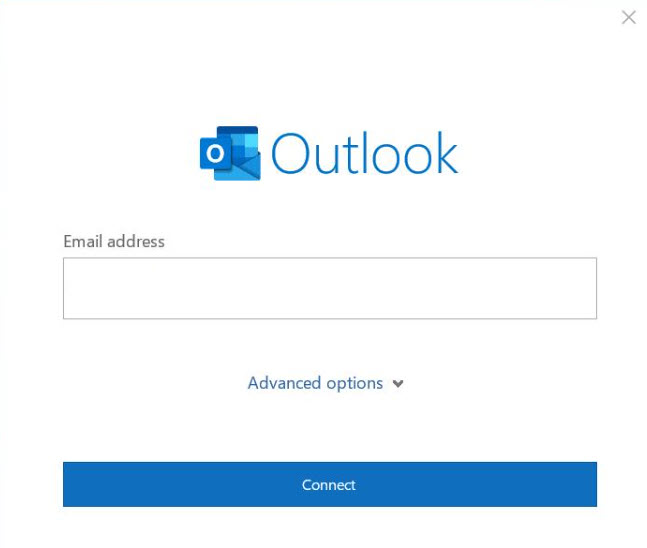
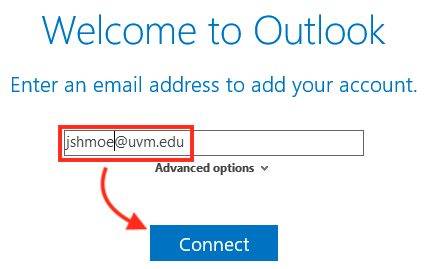
- If this is your first time launching Outlook, you should be automatically prompted to enter your email address
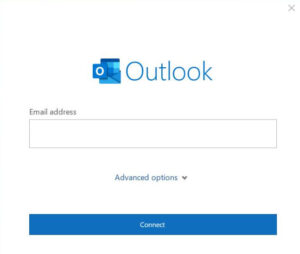
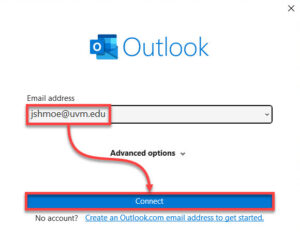
- Enter your email address in the format of NetID@uvm.edu and click Connect
- If required, proceed through the normal Duo MFA prompts
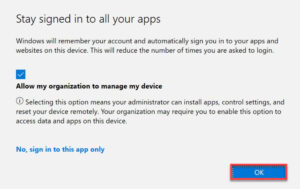
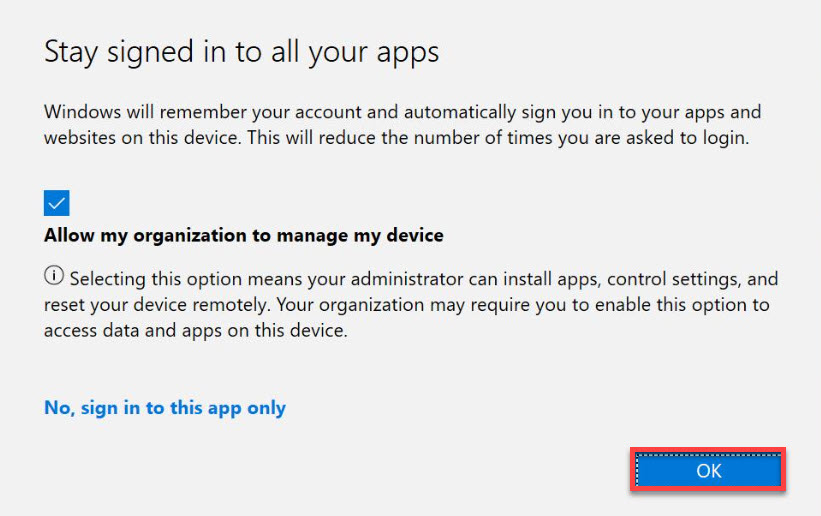
- Click OK to allow Windows to use these same credentials to sign into other Microsoft 365 services.
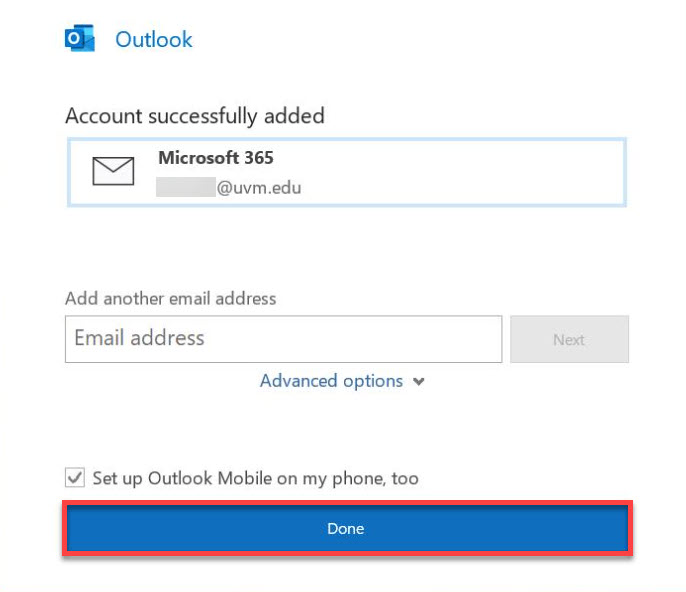
- Your account should now have been added successfully.
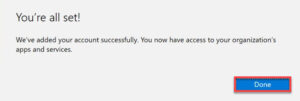
- You can either add another account, or click Done to finish.


Outlook 2019
- Open the Outlook application. If this is the first time launching Outlook, you’ll automatically be prompted to enter your email address. You can also add accounts via the File –> Account Settings menu.
- Enter your email address in the NetID@uvm.edu format, then click Connect.
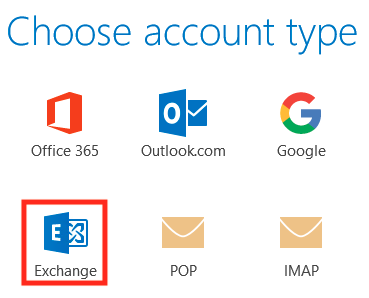
- Click on Exchange as your account type.

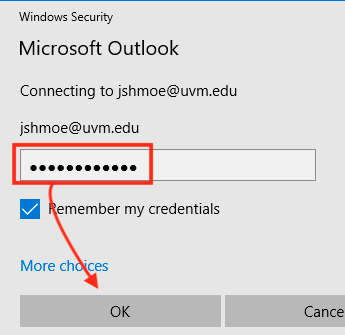
- Enter your NetID password, then click OK.

- Click OK to complete the account setup wizard.


Outlook 2016
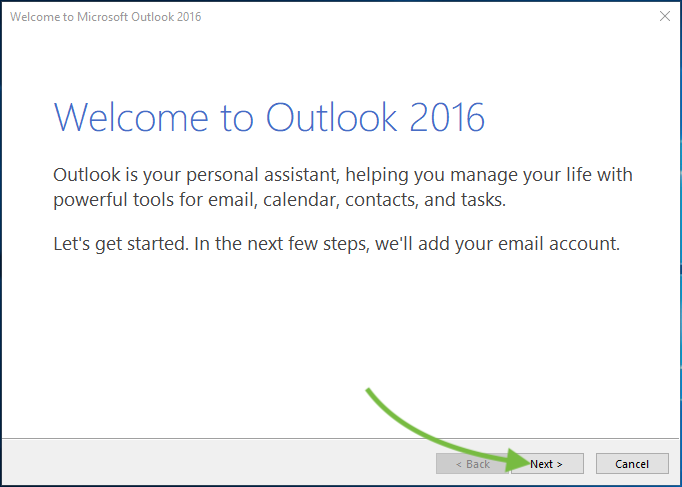
- Open the Outlook 2016 application.
- If this is your first time launching Outlook, you’ll receive a prompt to add an email account. You can also add accounts via the File –> Account Settings menu.

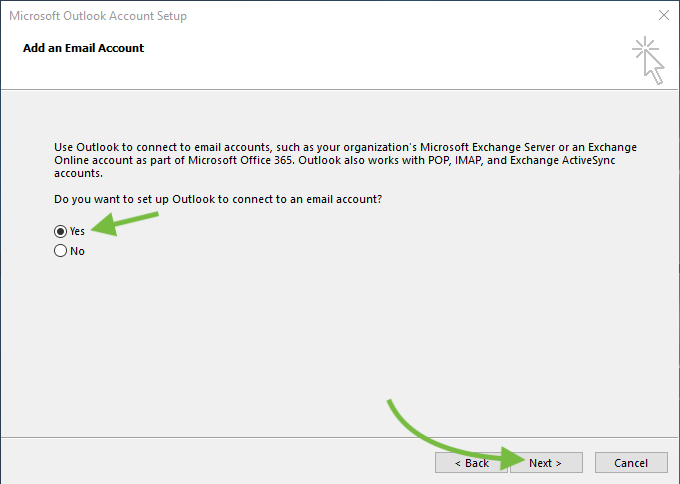
- Choose to add an email account, then click Next.

- Enter your UVM account information. The E-mail Address should be entered in NetID@uvm.edu format. Enter your NetID password in the Password fields, then click Next.

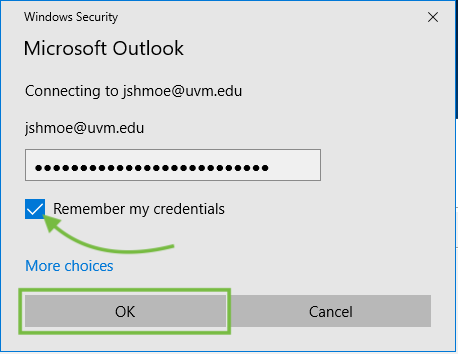
- You may receive an additional prompt for your NetID password. If you do, enter your NetID password and choose the Remember my credentials checkbox, then click OK.

- You may receive an additional prompt for your NetID password. If you do, enter your NetID password and choose the Remember my credentials checkbox, then click OK.
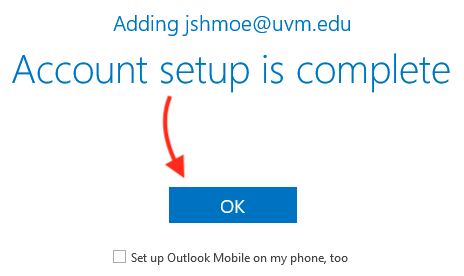
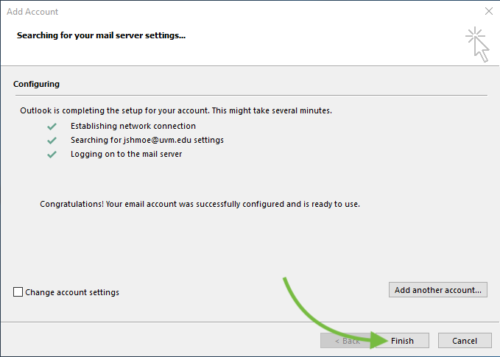
- Click Finish to complete the account setup wizard.


macOS
Outlook
- Open the Microsoft Outlook application.
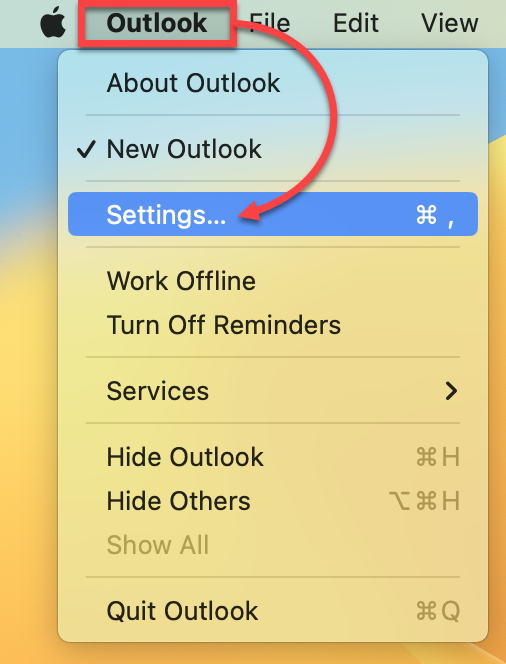
- Click on the Outlook menu in the top left, and then select Settings.

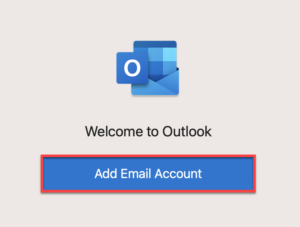
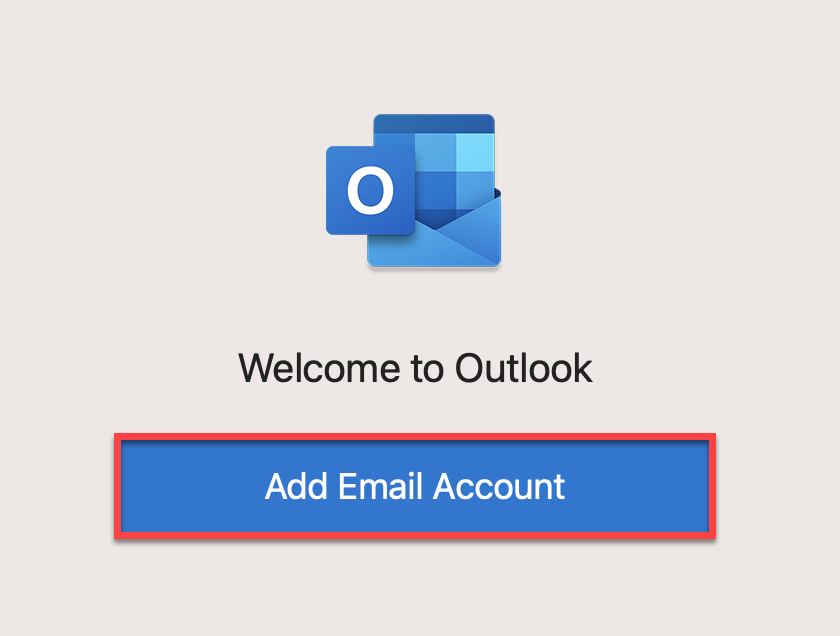
- Click Add Email Account.
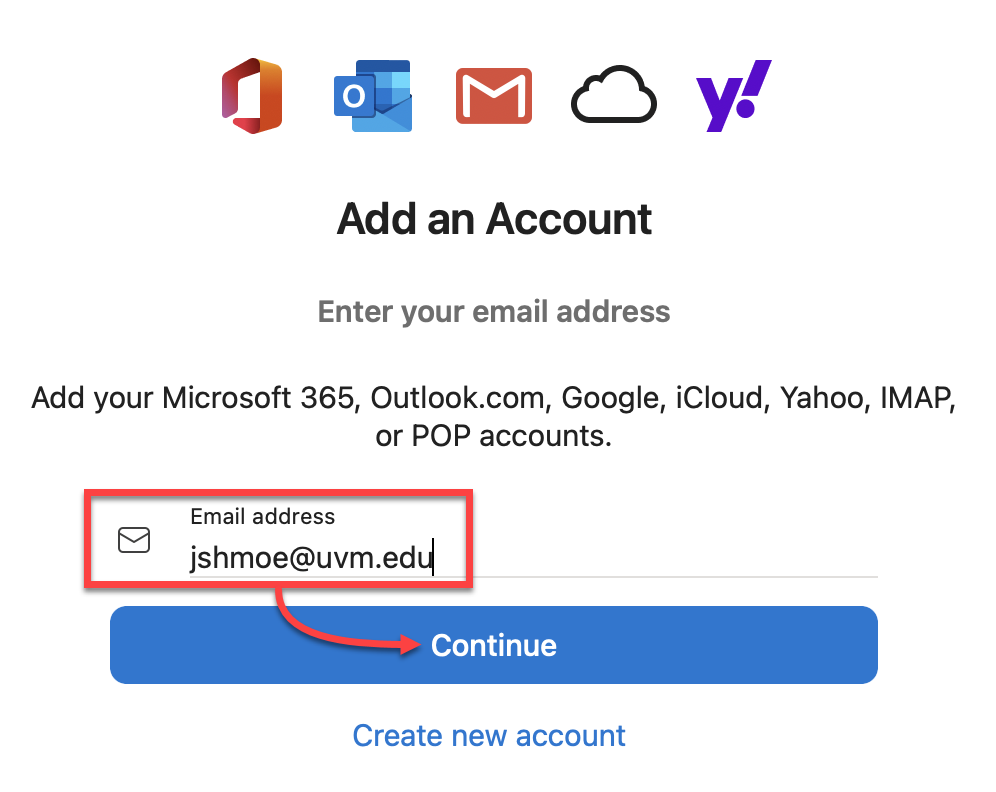
- Enter your UVM email address in the NetID@uvm.edu format.

- If prompted, proceed through UVM’s Single Sign-On.
- When you get a message saying “Microsoft 365 account has been added”, you can click Done in the bottom right corner of the window to finish.


- Open the Mail application.
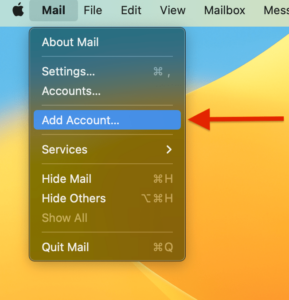
- In the Mail menu, select Add Account….
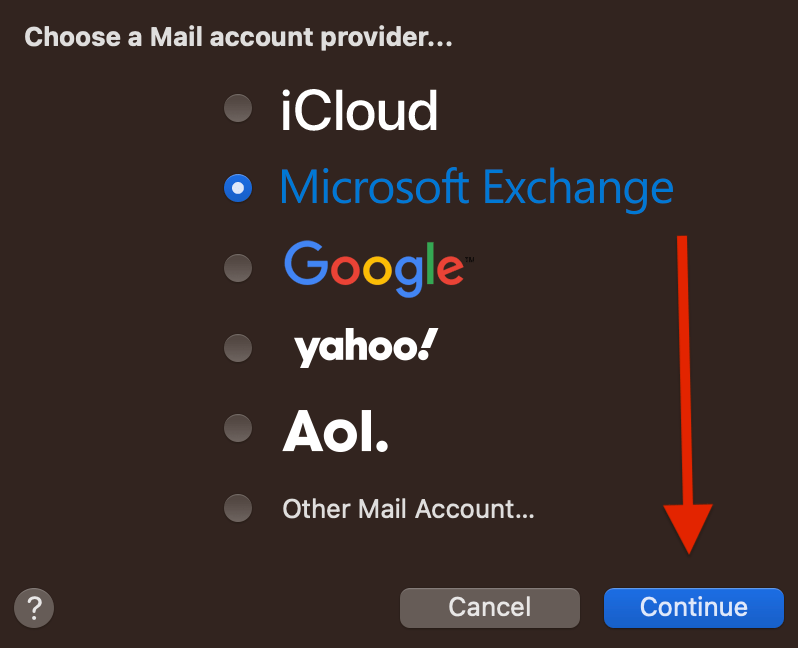
- Choose Microsoft Exchange as the account provider, and then click Continue.

- Enter your full name and your UVM email address in the NetID@uvm.edu format, and then click Sign In.
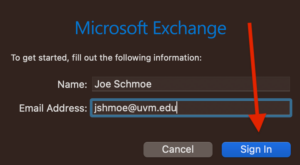
- Click Sign In again.

- If required, proceed through the normal Duo MFA prompts
- Select the content you’d like to sync with your Mail client, and then click Done.


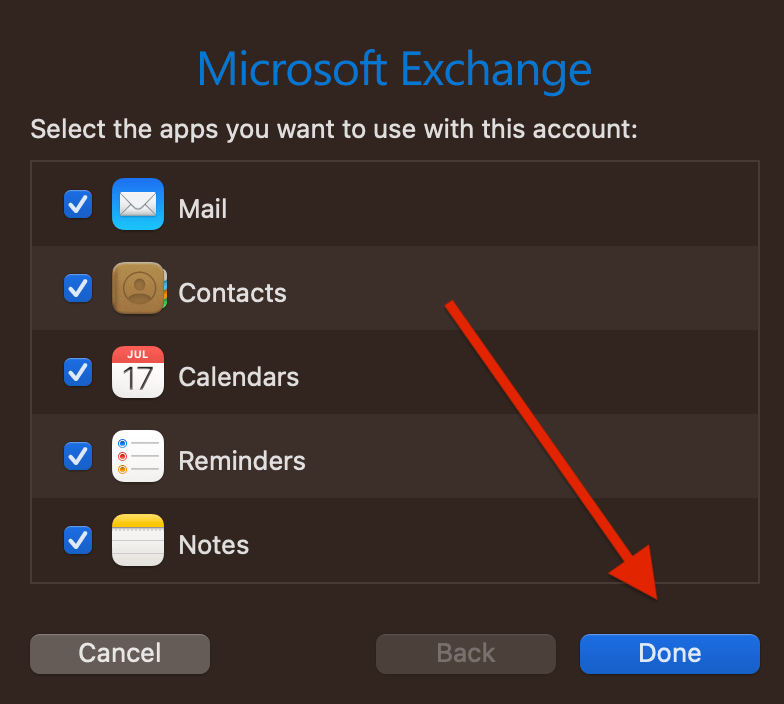
You’ve successfully added your UVM Exchange account to your Apple Mail client.
iOS
Outlook
- Search for and install Outlook from the app store, then open the app.

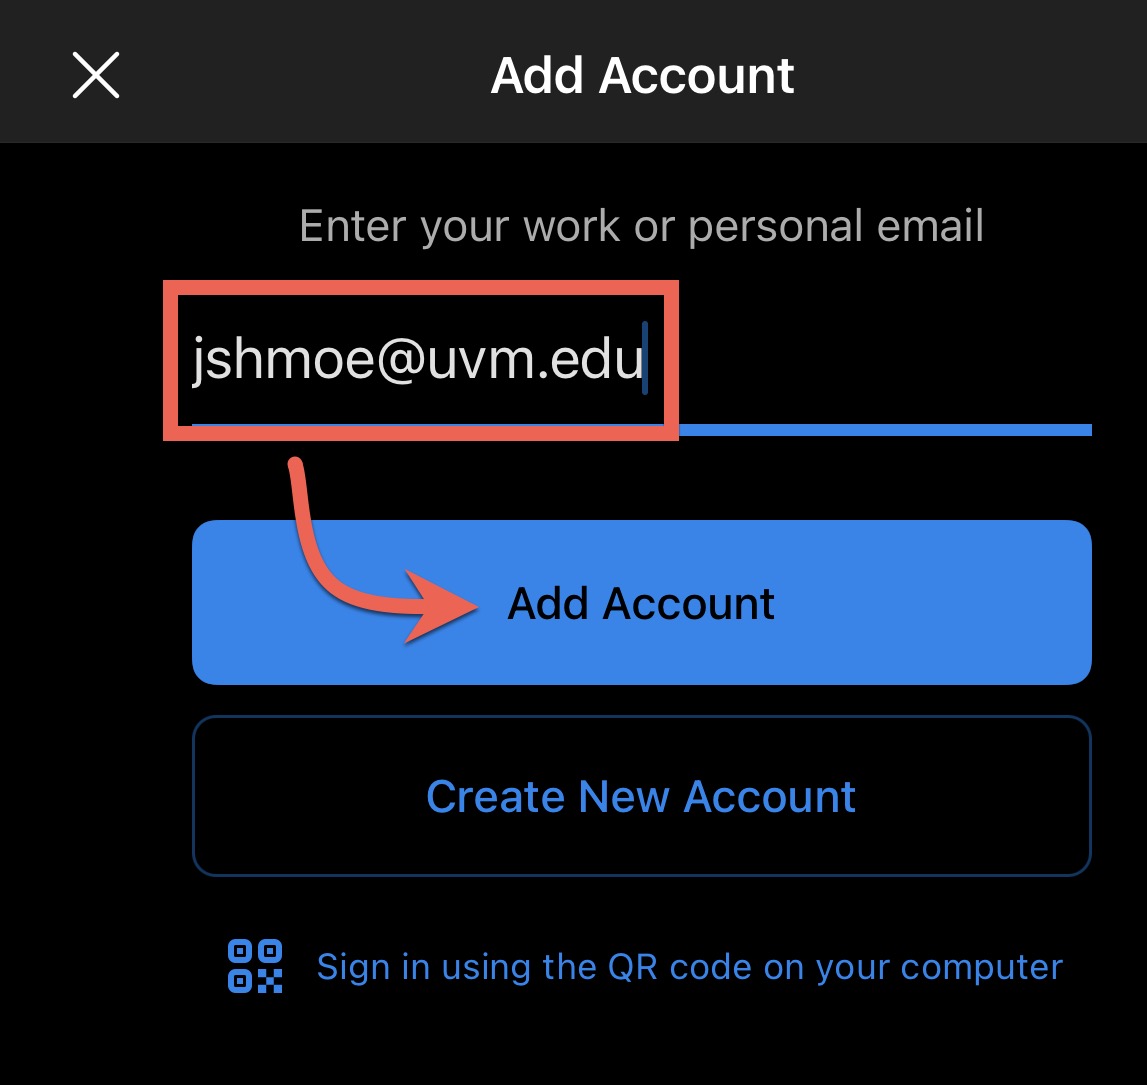
- Enter your UVM email address, then click Add Account to be redirected to the UVM sign-in screen.
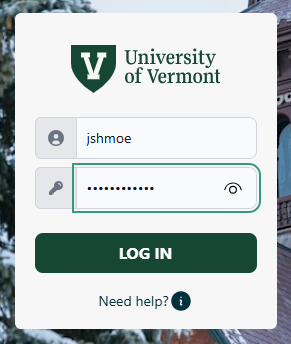
- Enter your UVM NetID and password.
- If required, proceed through the normal Duo MFA prompts.
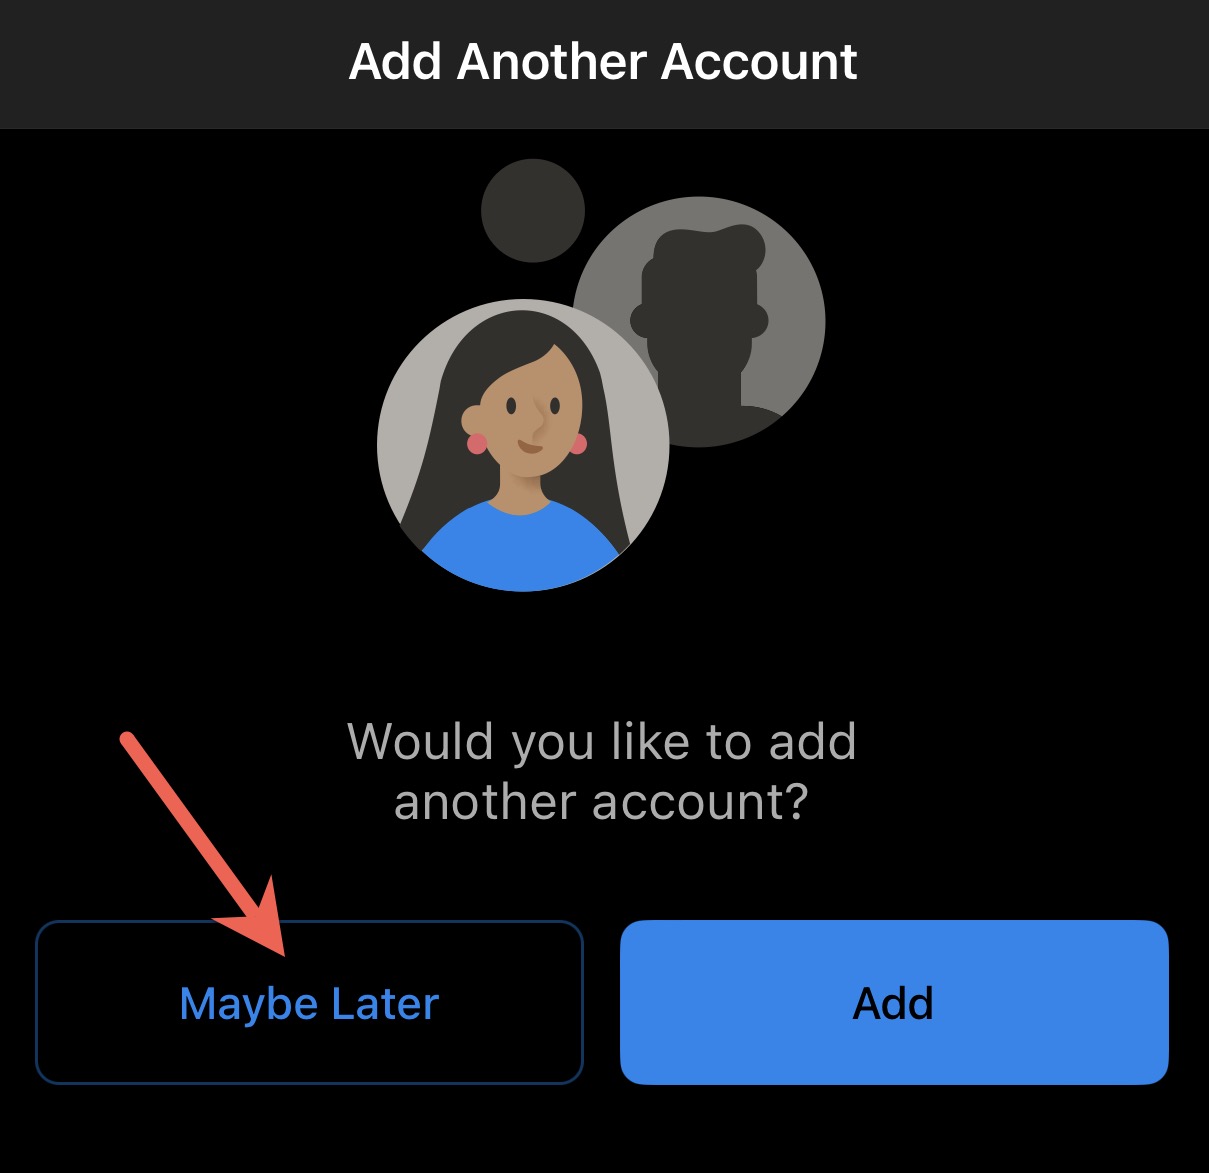
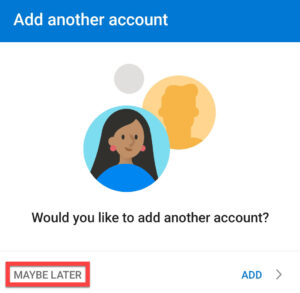
- Tap Maybe Later to proceed to your inbox.
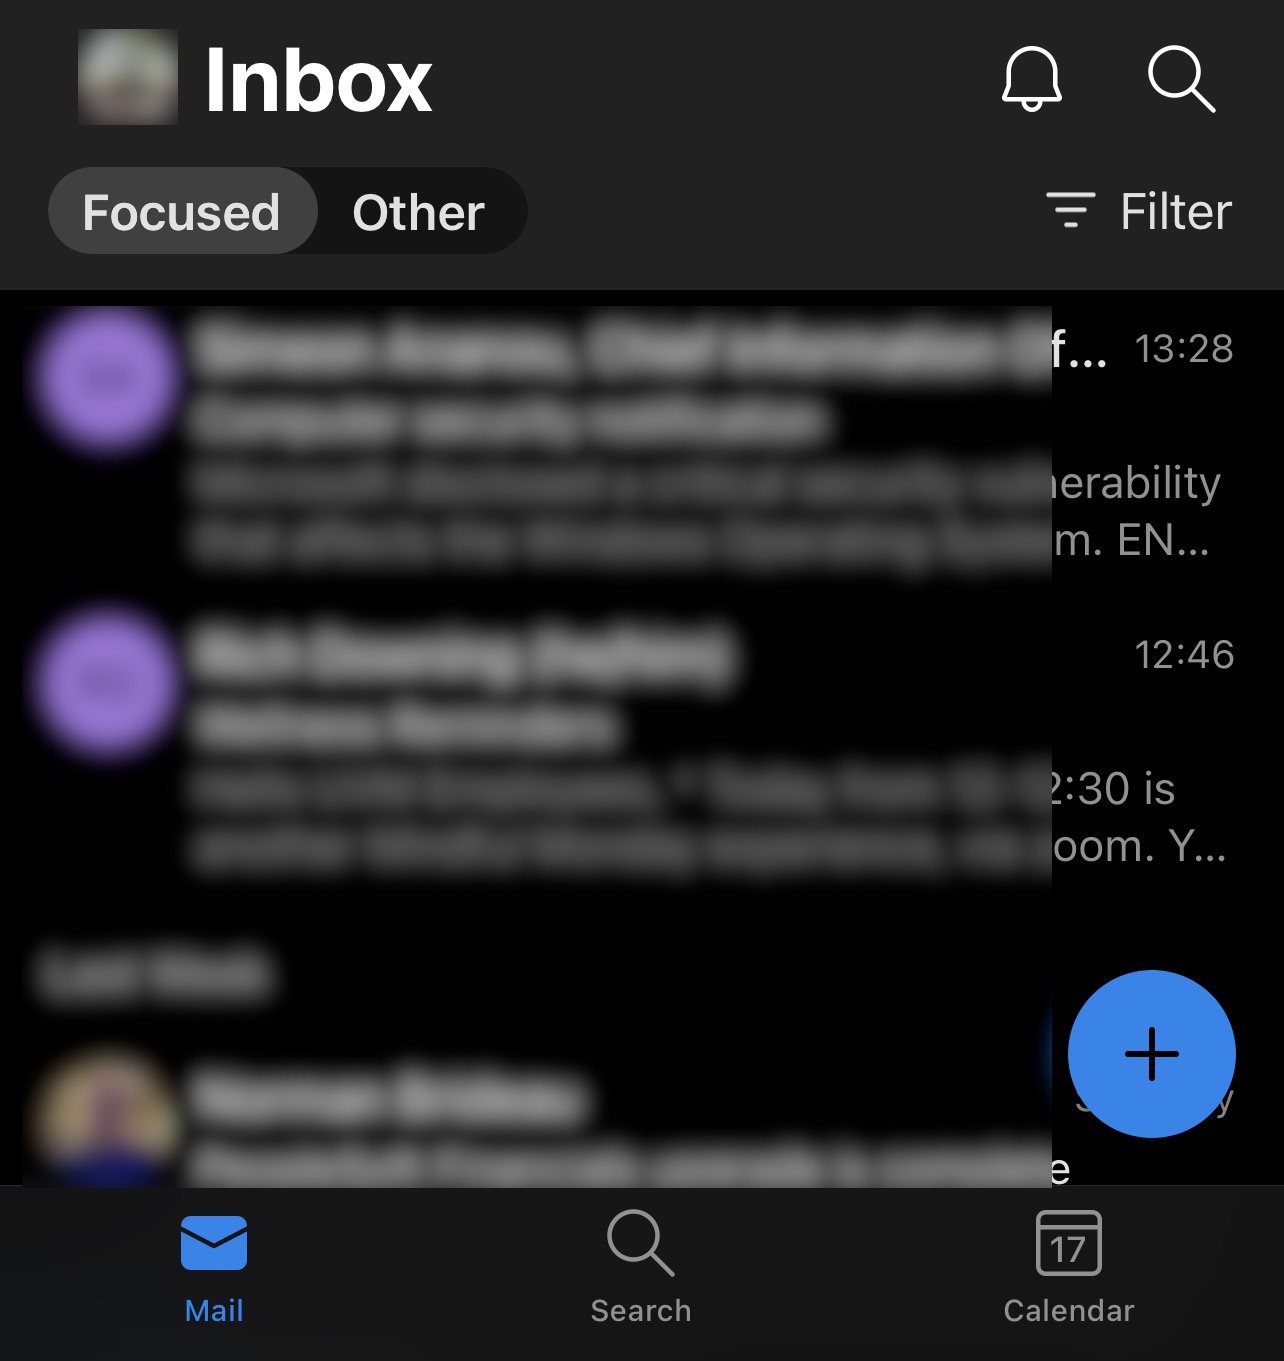
- You should now begin to see your inbox populate. It may take some time for all of your emails and folders to appear.
Mail - Default iOS App
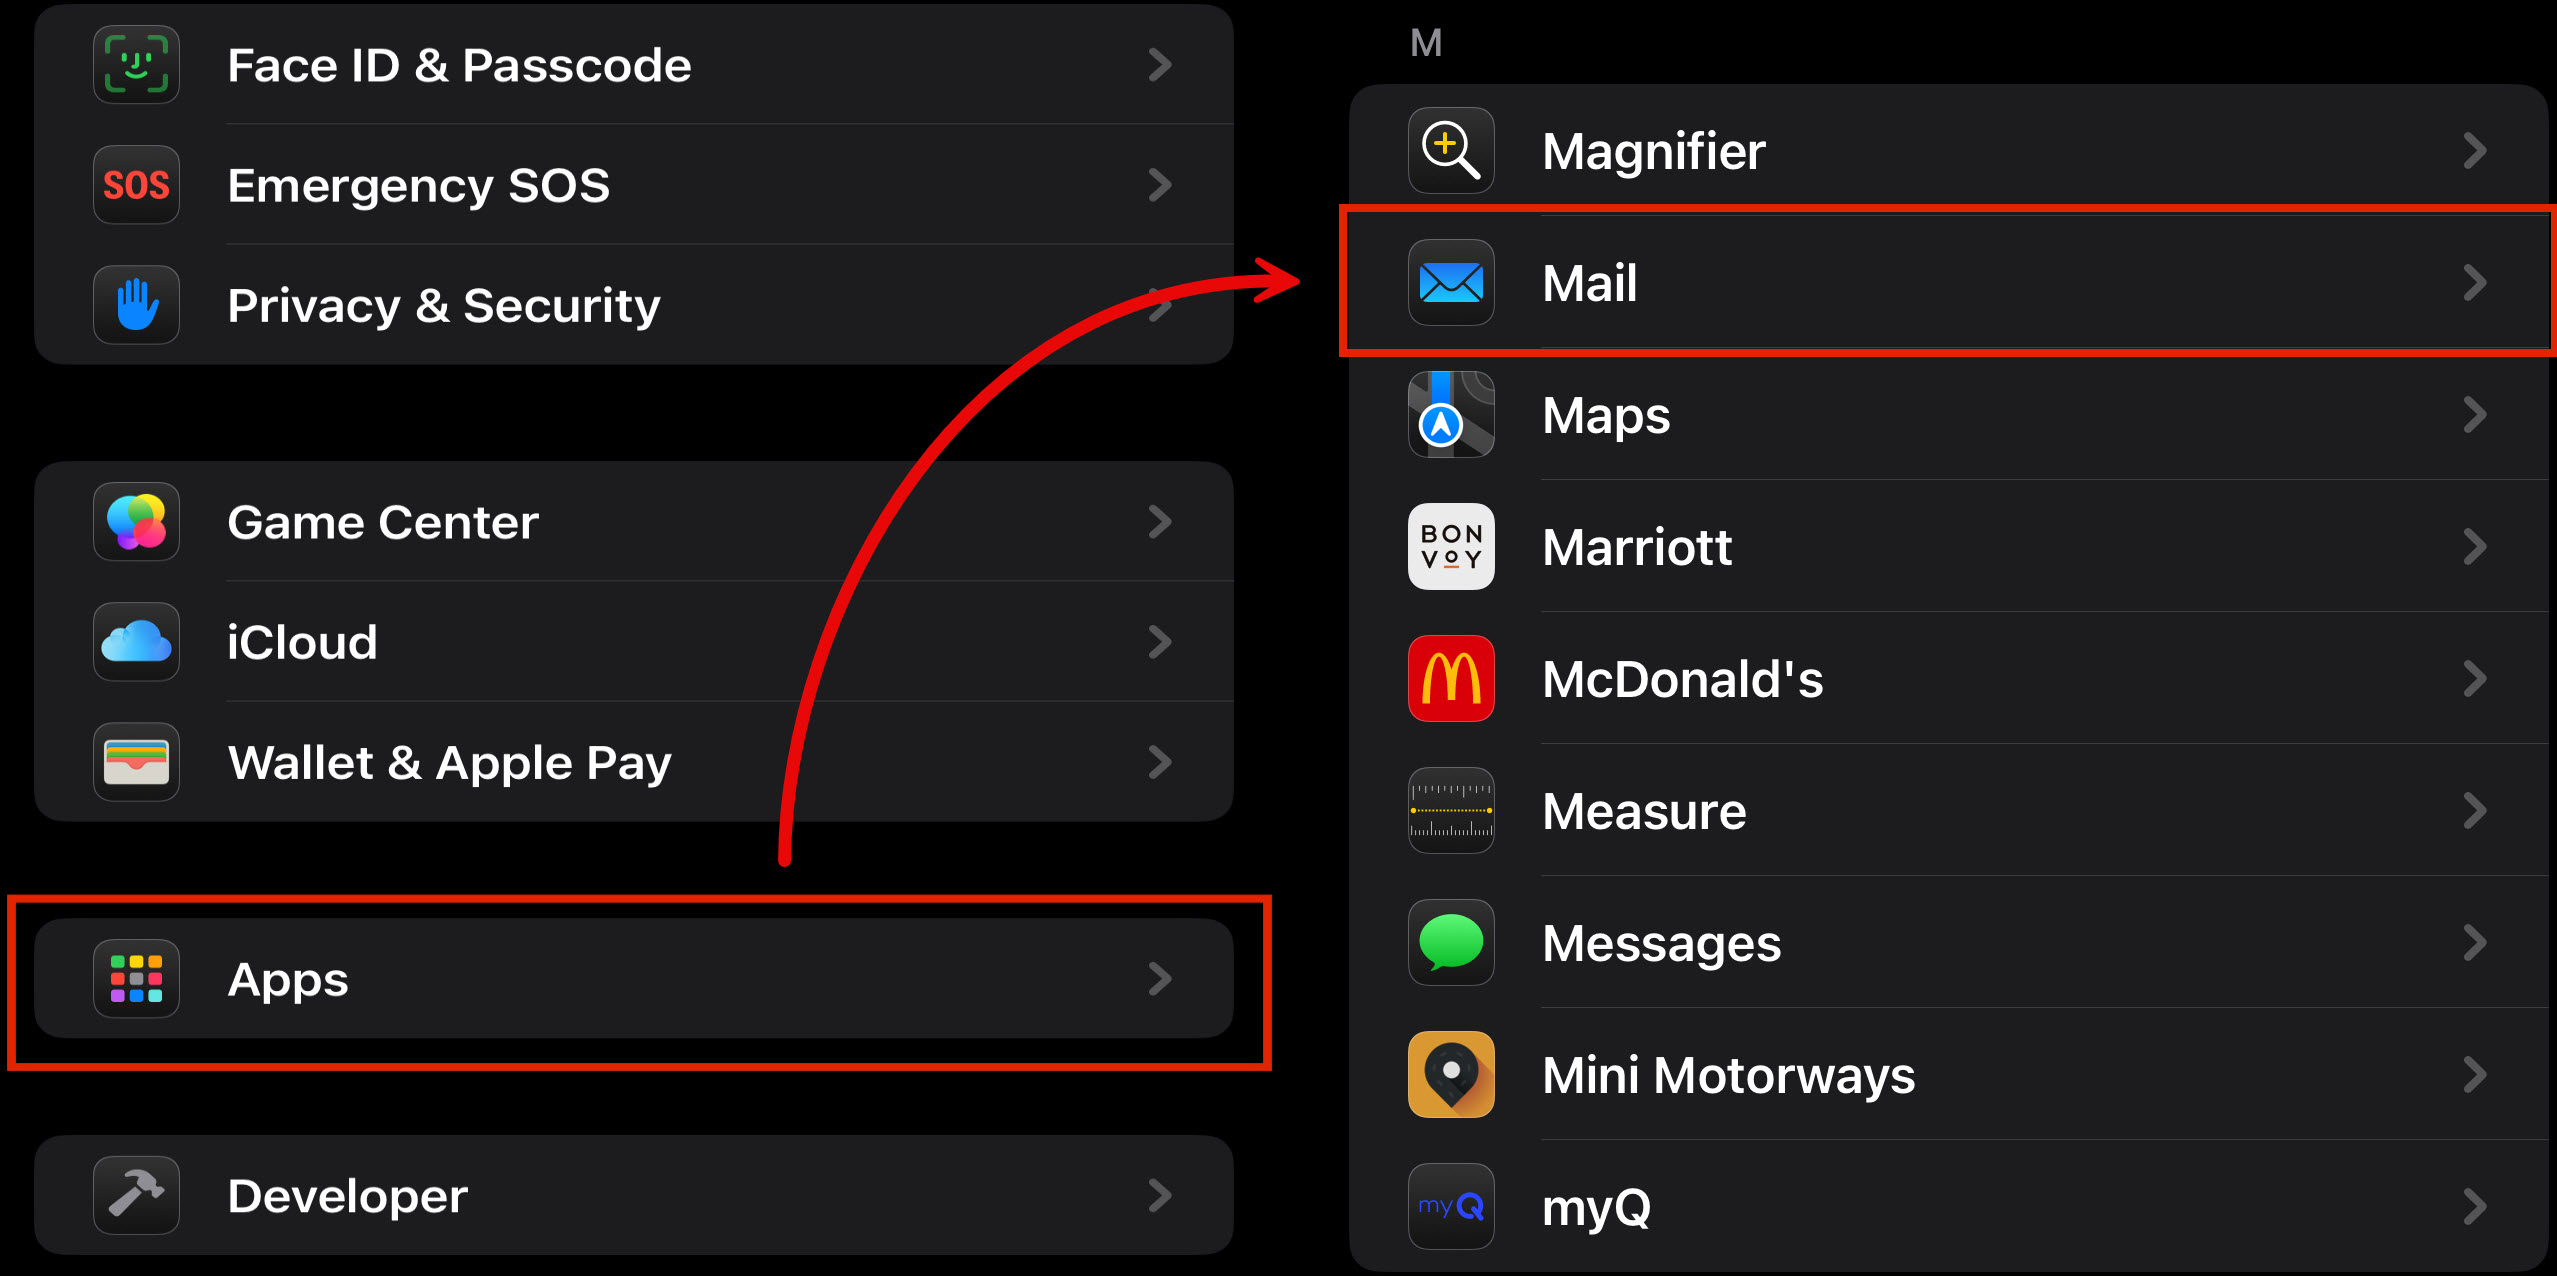
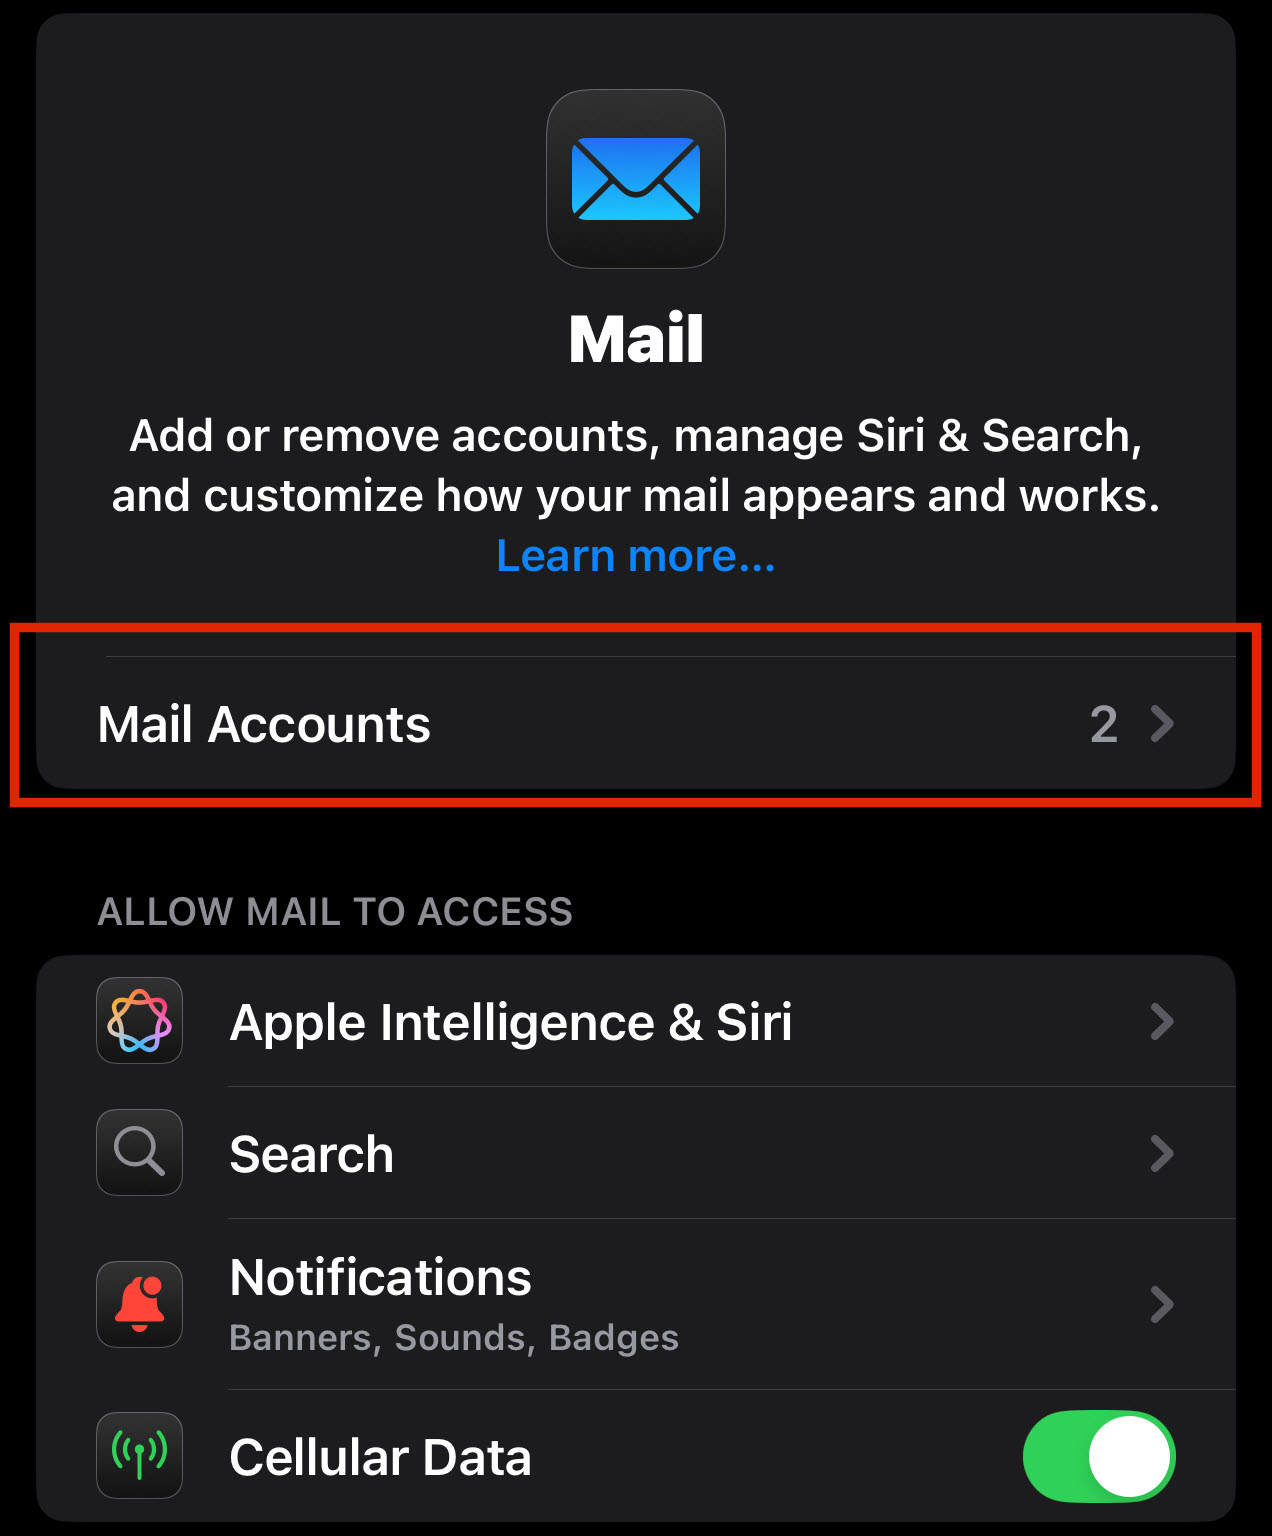
- Open the Settings, tap Apps, and then Mail.
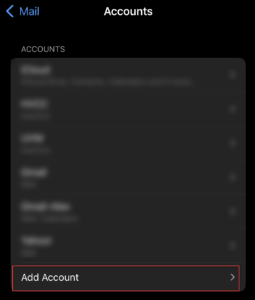
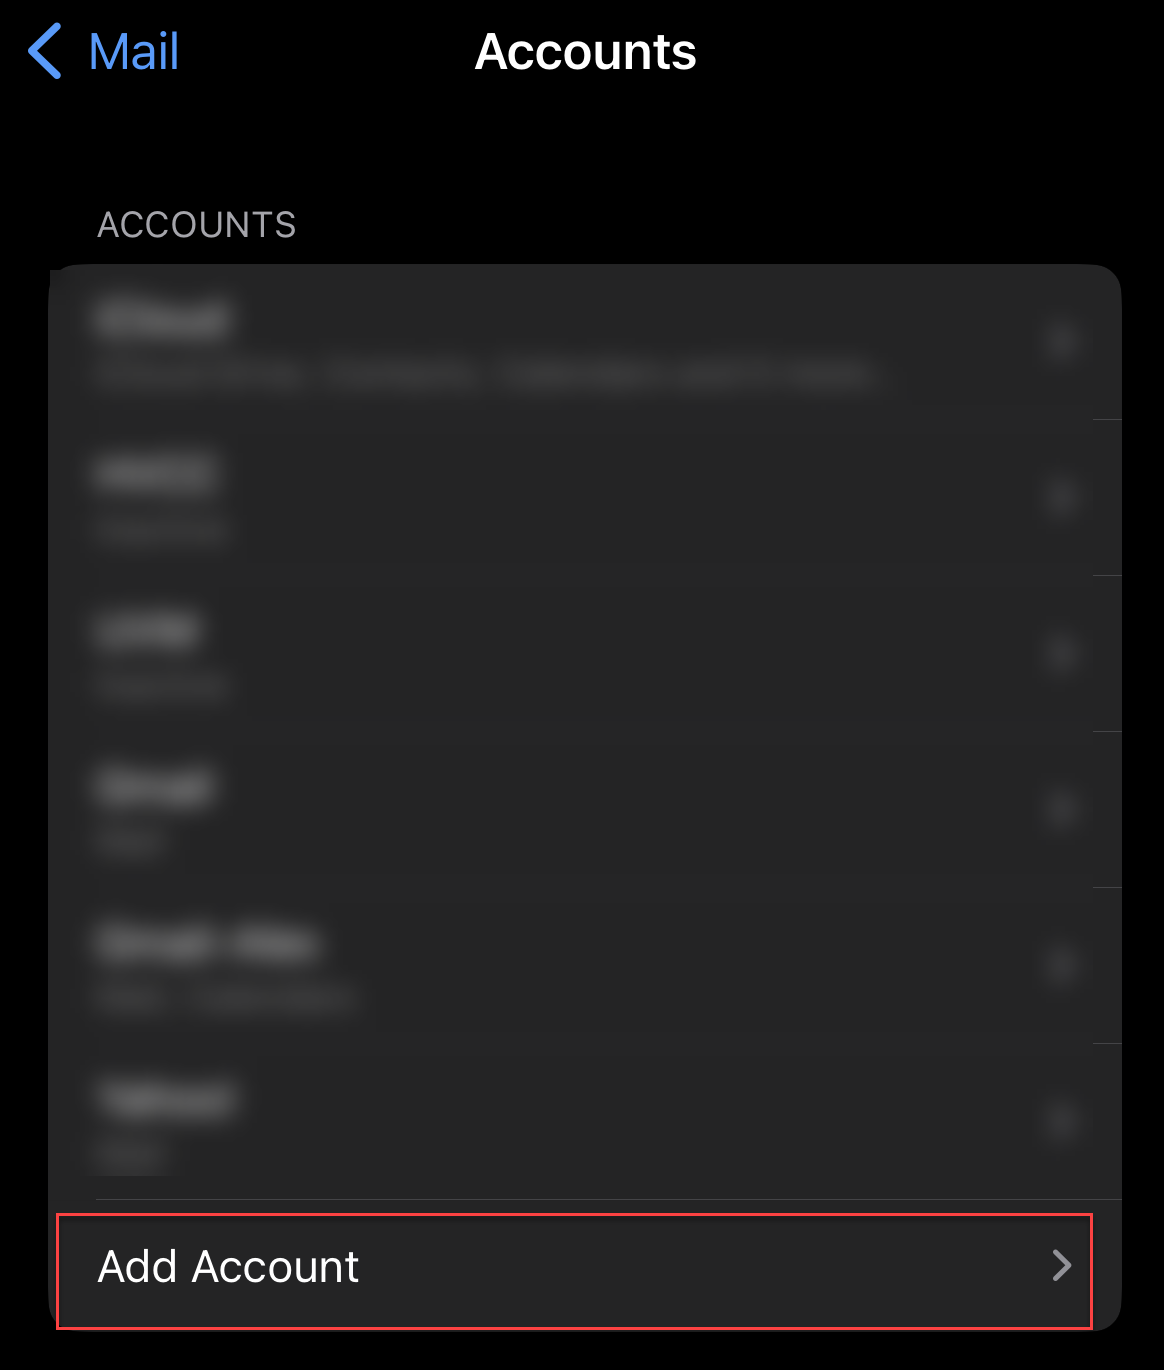
- From the Mail menu, select Accounts.
- Tap on Add Account.
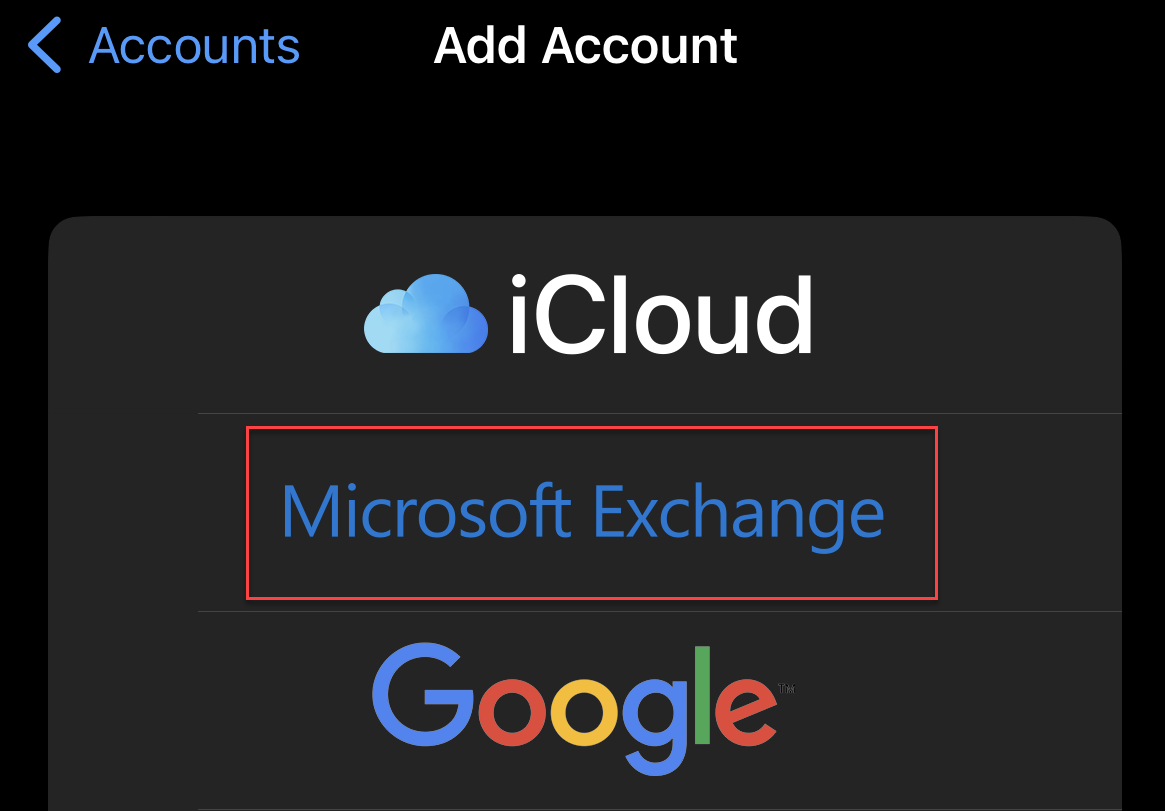
- Tap on the Microsoft Exchange option.

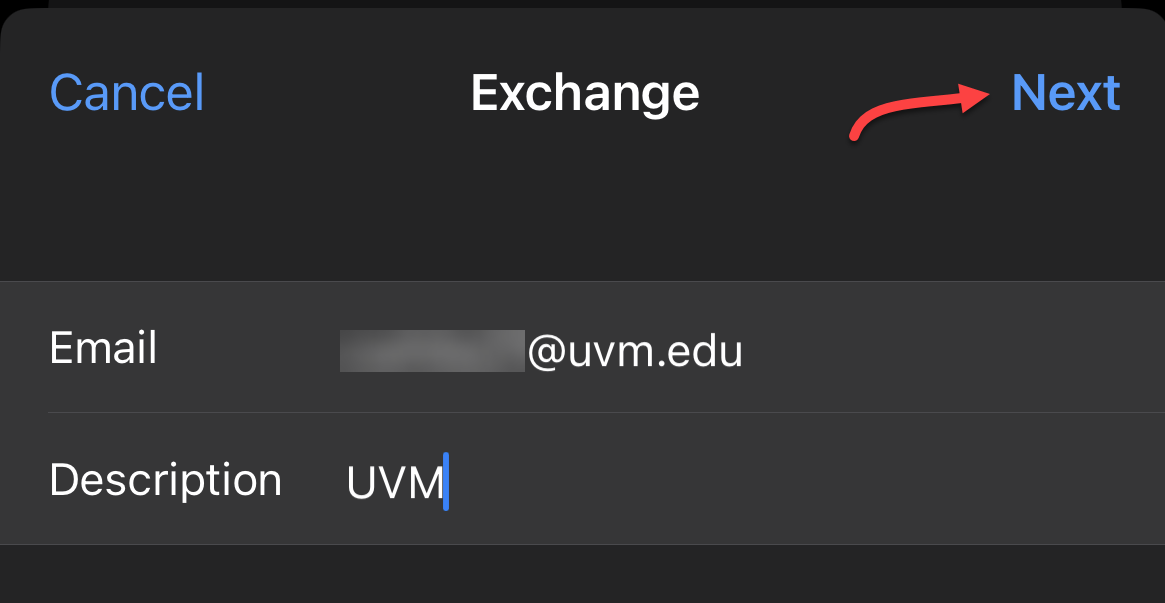
- In the “Email” field, enter your UVM email address in NetID@uvm.edu format. In the “Description field, enter “UVM“, then tap “Next“.
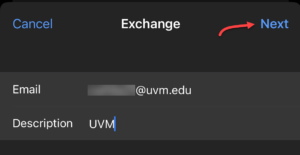
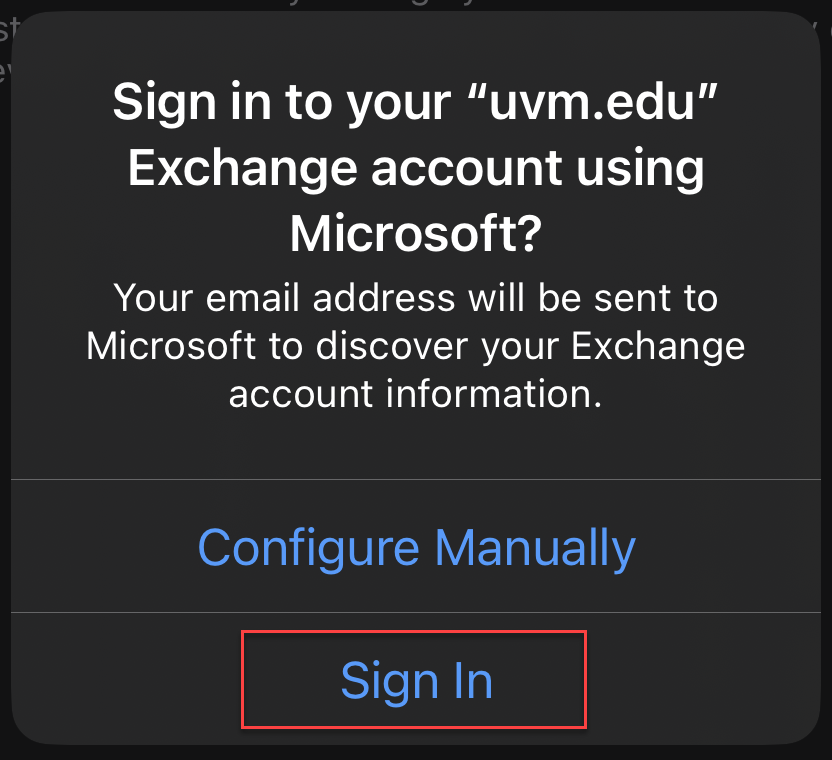
- You’ll receive a prompt asking if you’d like to sign in to your Exchange account using Microsoft. Tap the “Sign In” option.
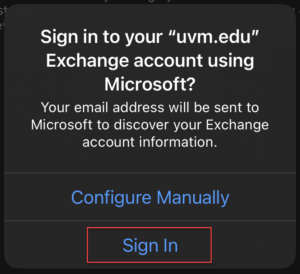
- Sign in with your UVM NetID and password.
- If prompted, proceed through the normal Duo MFA prompts
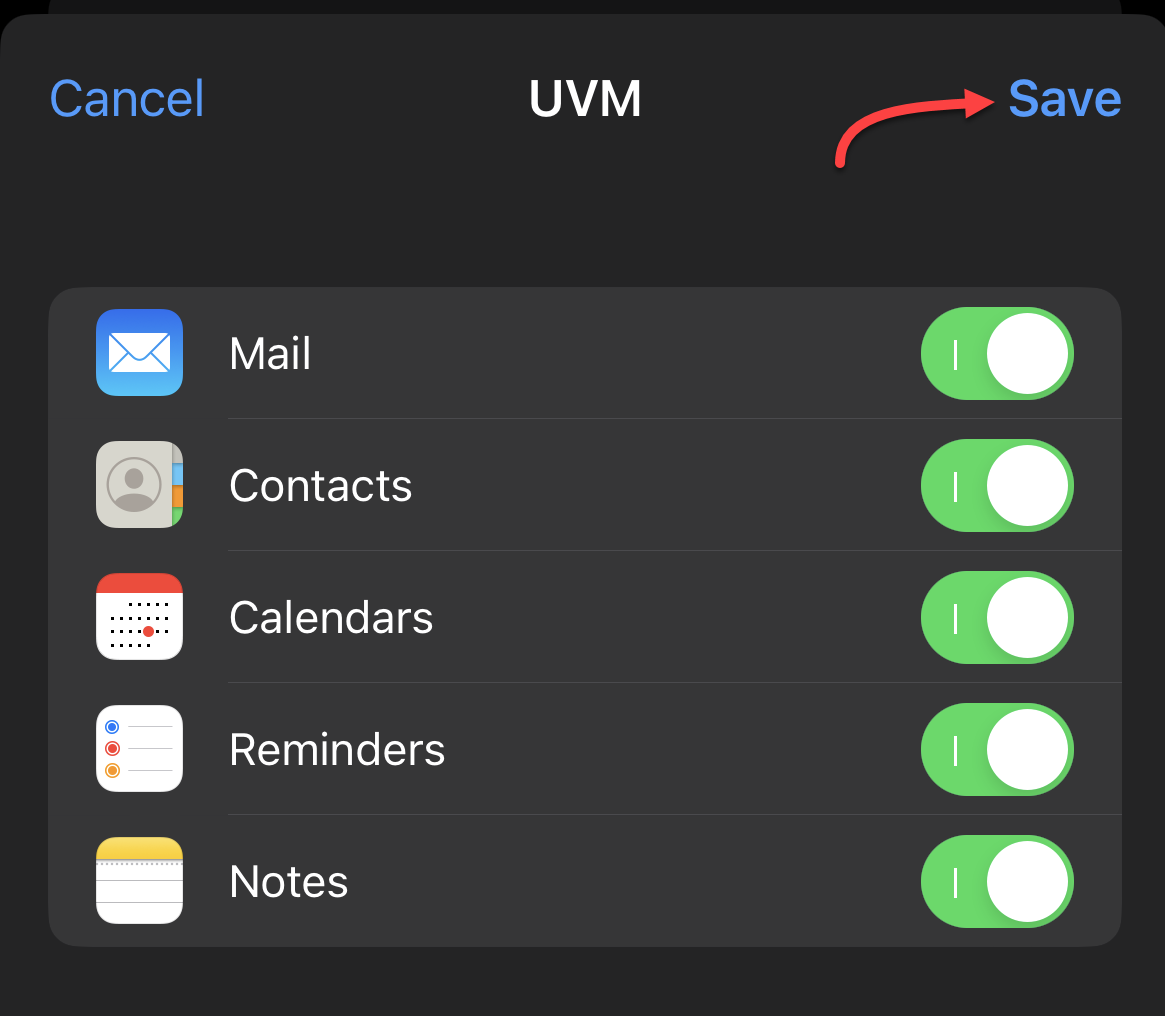
- You’ll be asked to choose which items you’d like to sync with your device. ETS recommends leaving all toggles switched “On”. When you’ve finished adjusting your sync settings, tap Save.
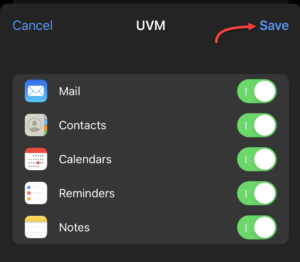
That’s it! You’ve successfully added your UVM Exchange account to your iOS device.
Android
Outlook
- Search for and install Outlook from the Play Store, and then open the app.
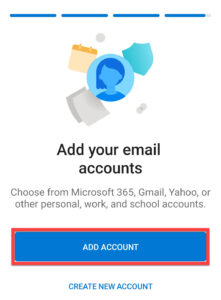
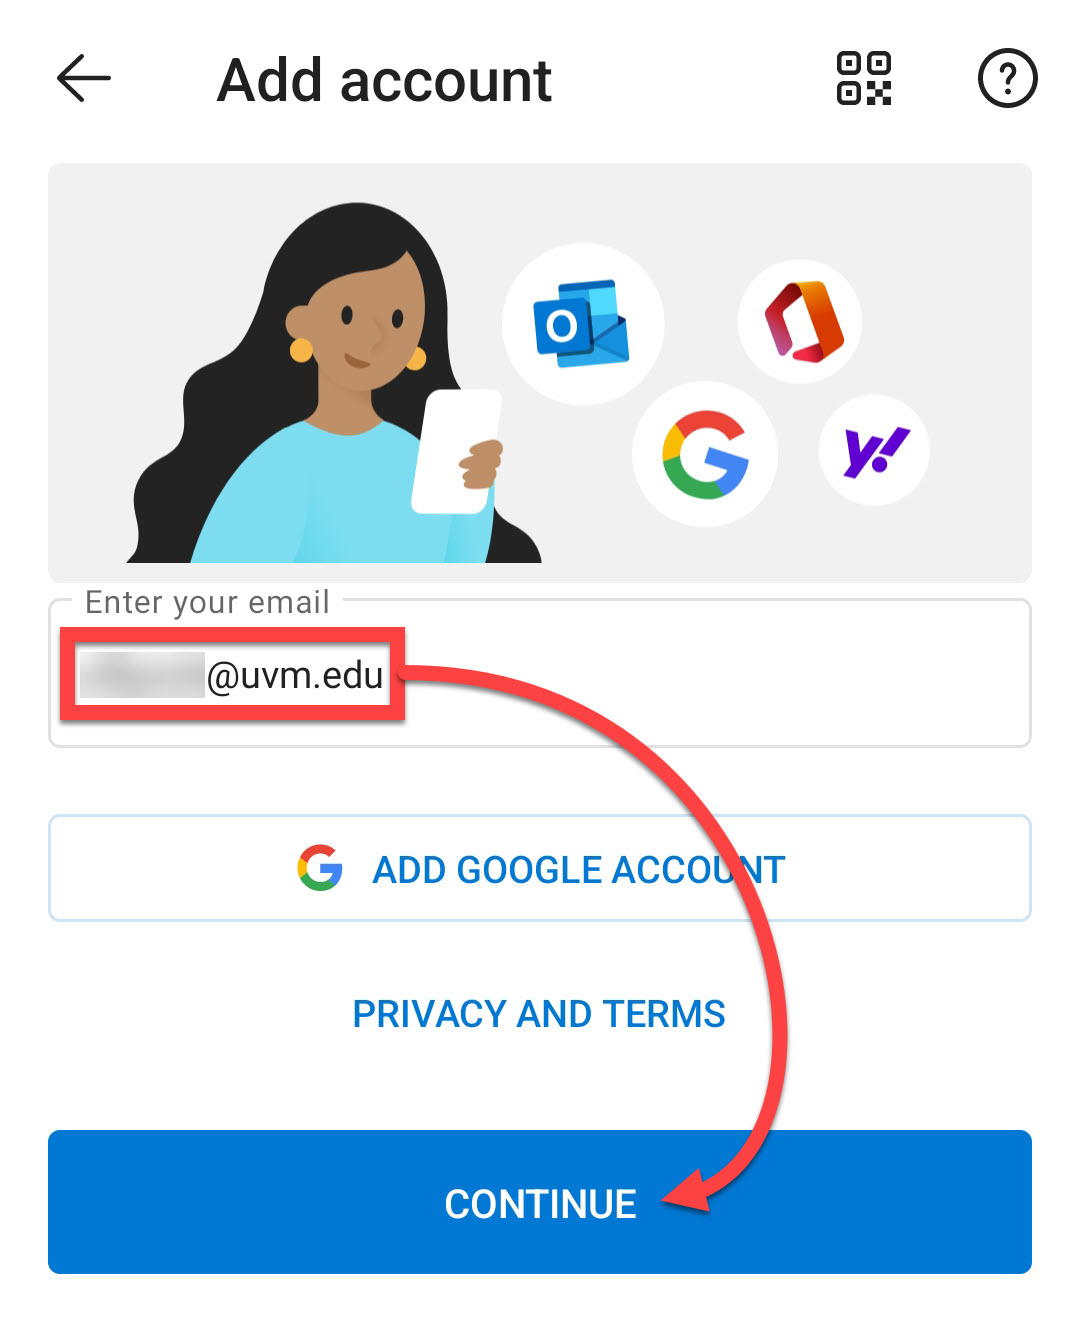
- Tap Add Account.
- Enter your UVM email address in the format NetID@uvm.edu and tap Continue.

- Sign in with your UVM NetID and password.
- If prompted, proceed through the normal Duo MFA prompts
- Tap Maybe Later to proceed.


You should now begin to see your inbox populate. It may take some time for all of your emails and folders to appear.
Gmail
- Open the Settings app on your Android device.
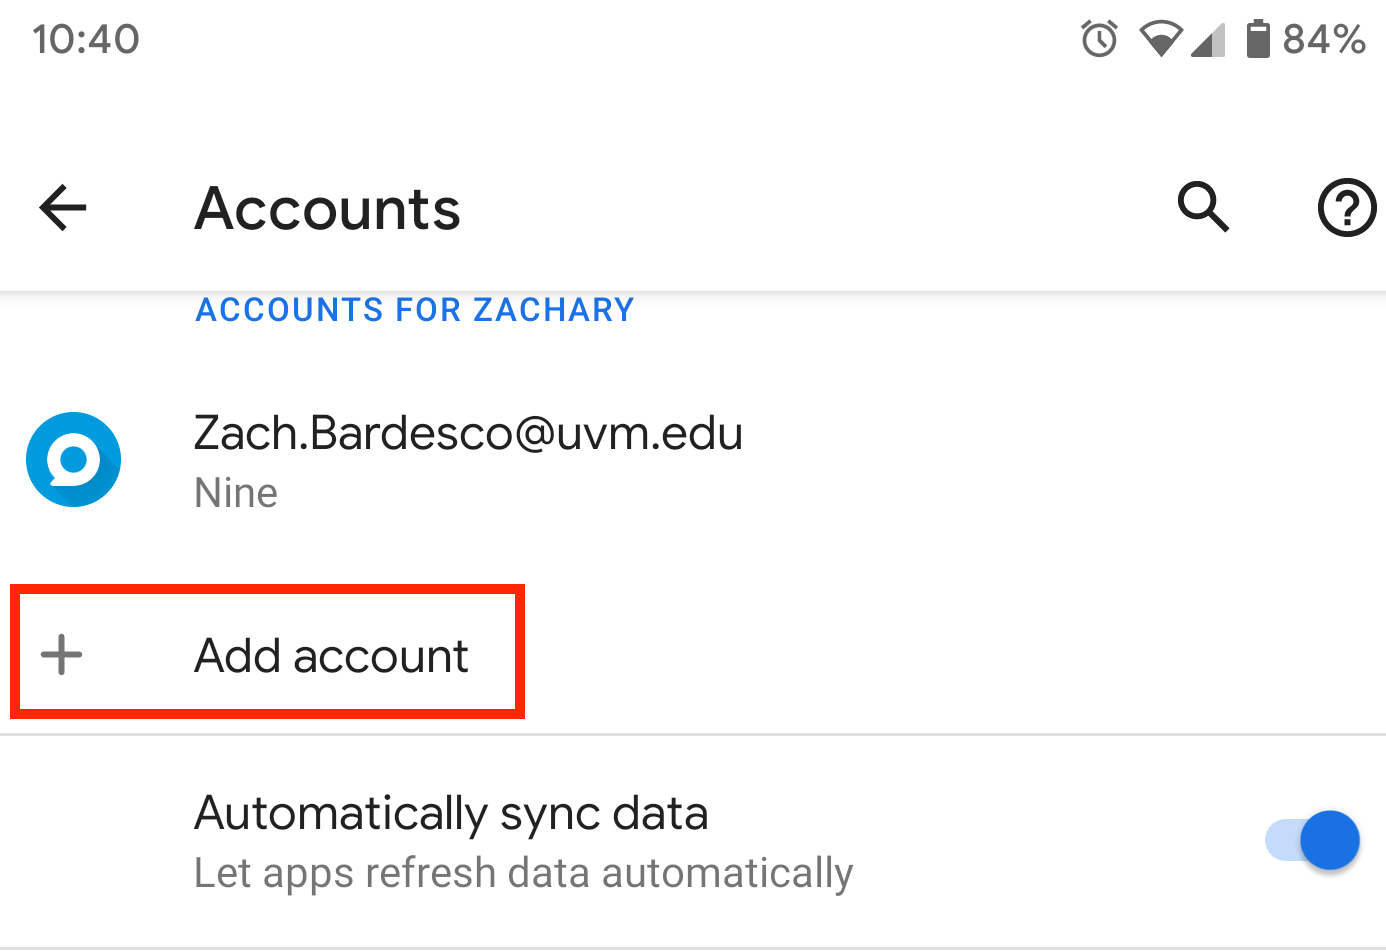
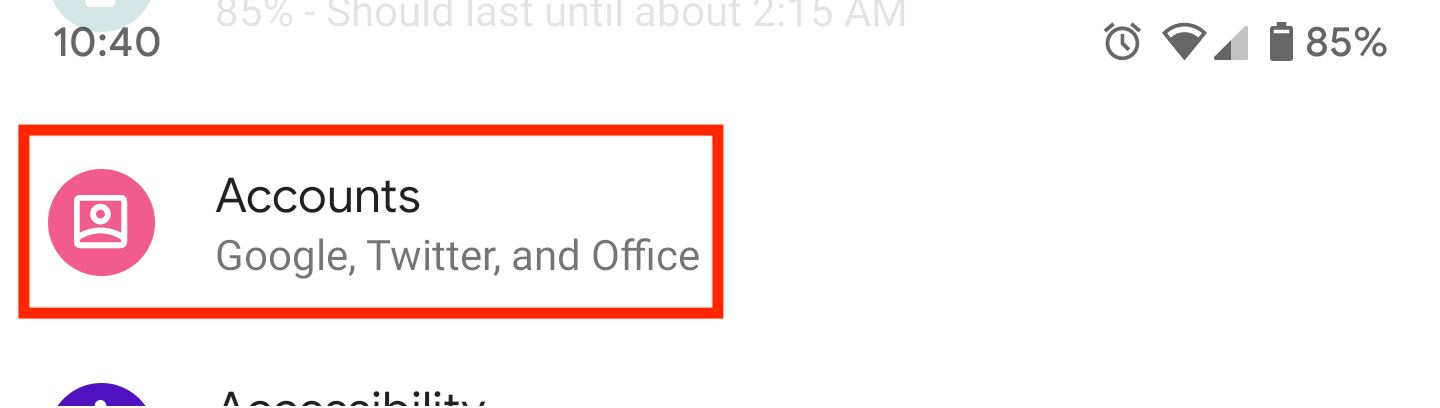
- Scroll down and tap Accounts.
- Scroll down to the Add account option.

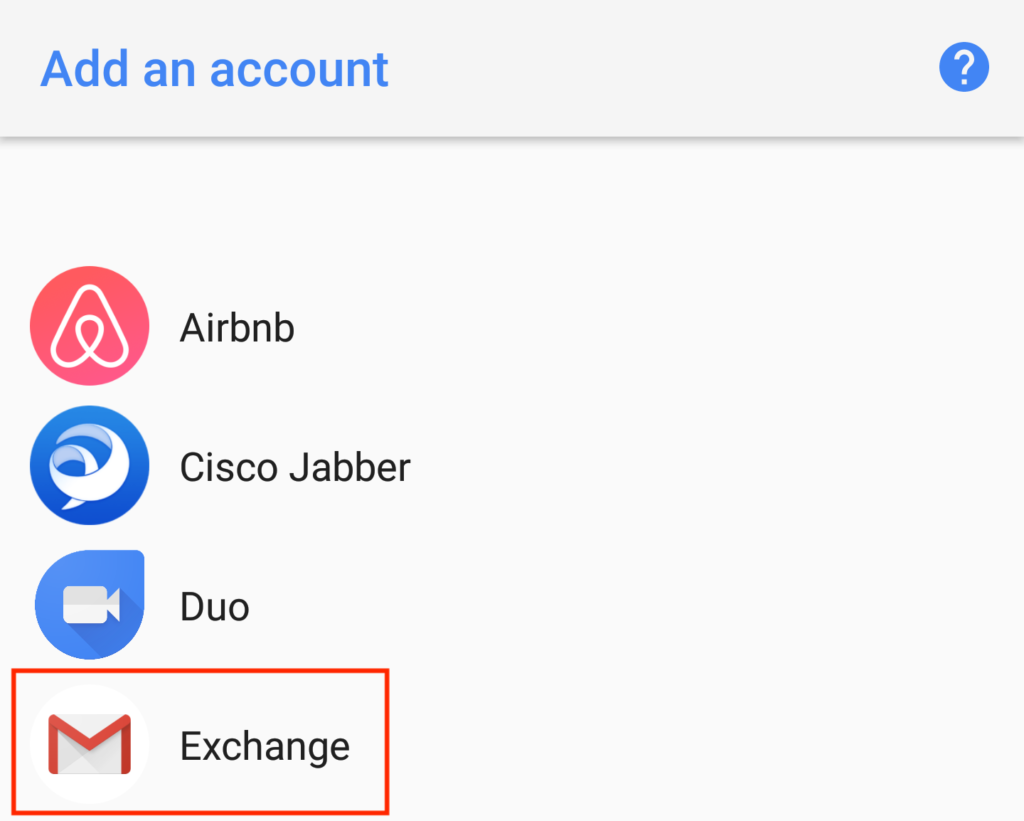
- From the list of account types, select Exchange.
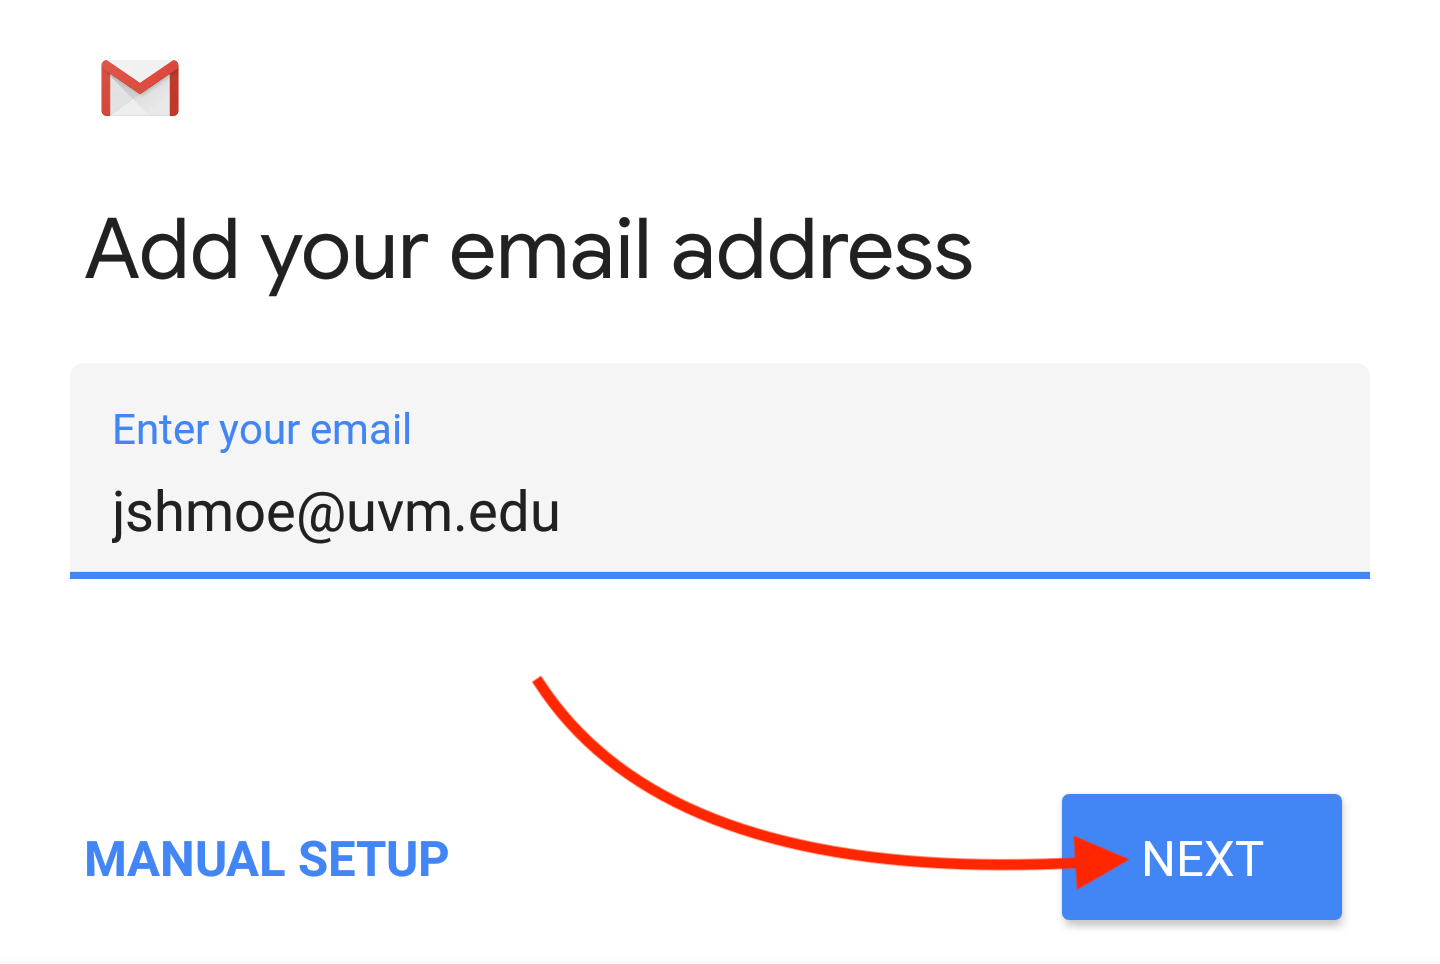
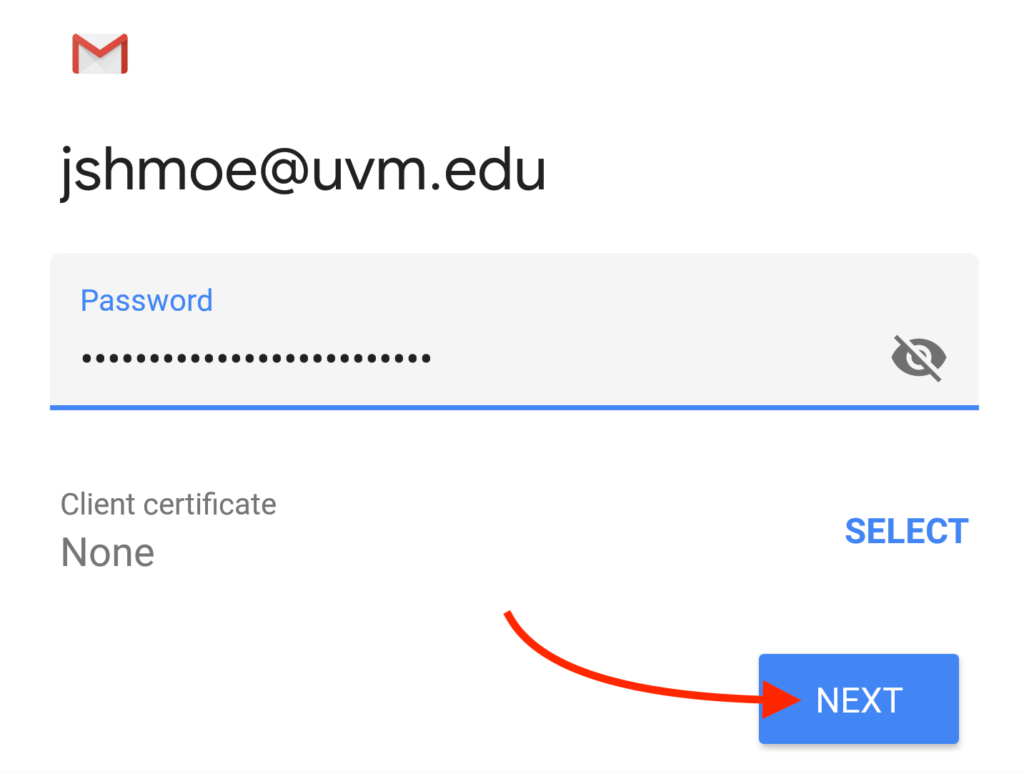
- Enter your UVM email address in NetID@uvm.edu format. Then tap Next.

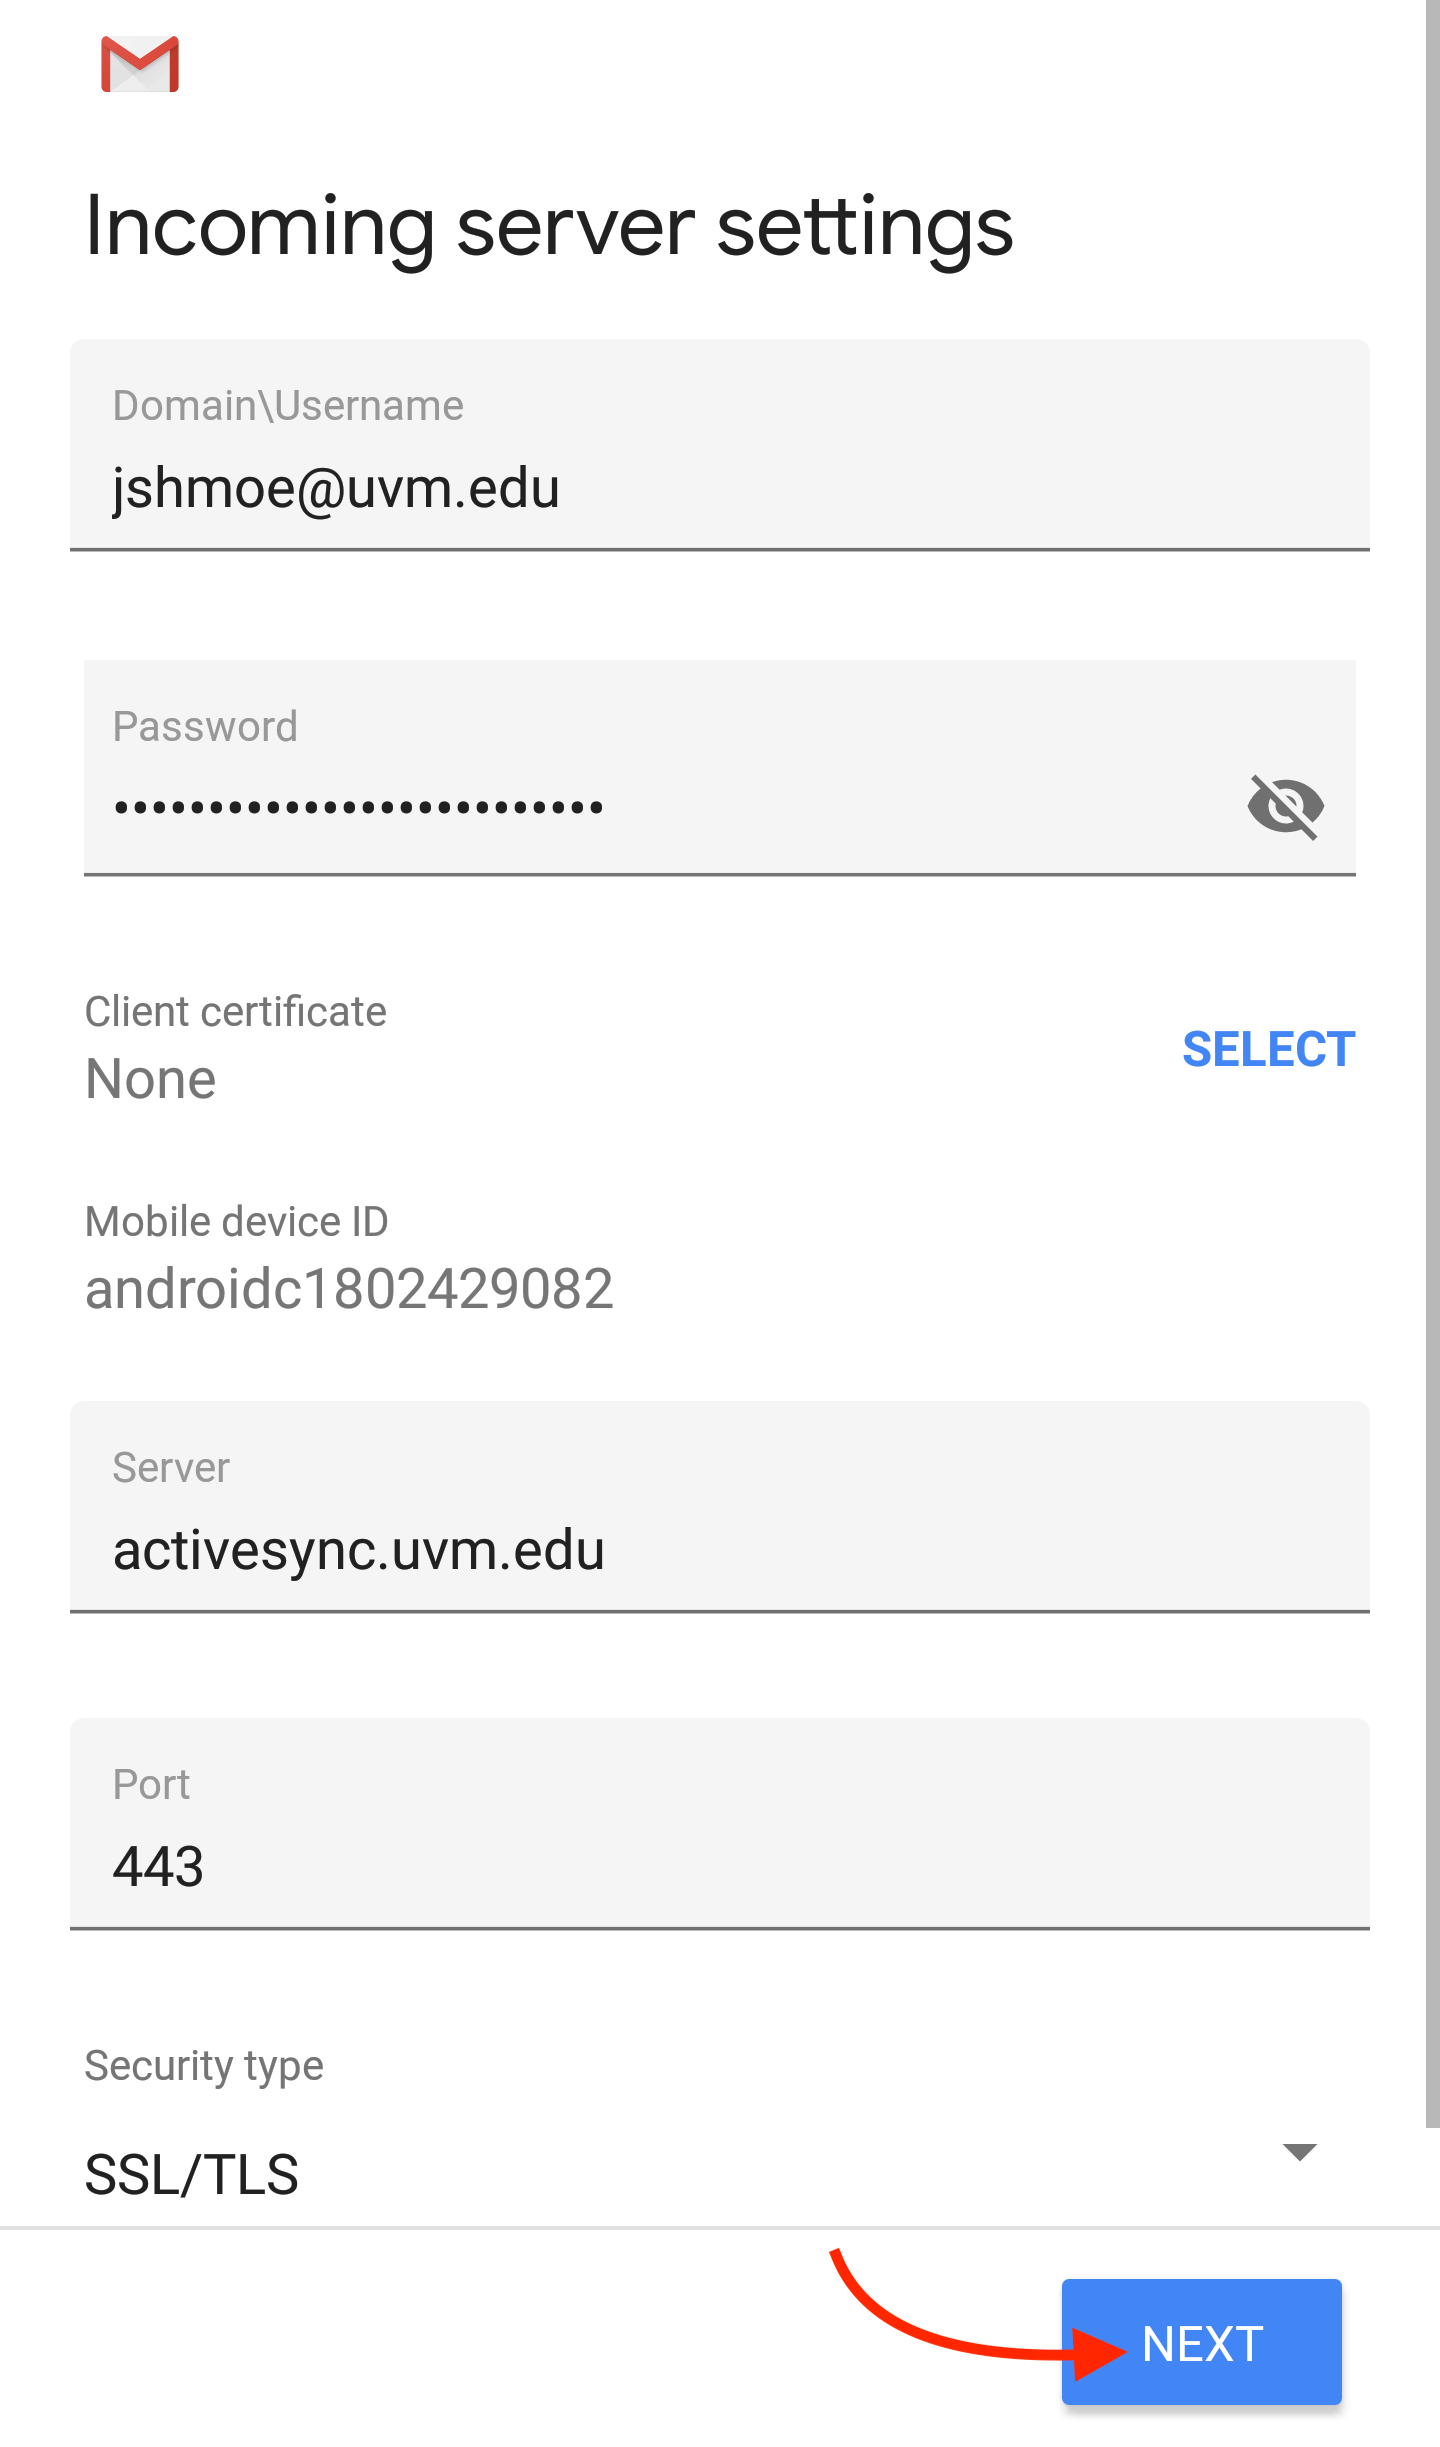
- Enter your UVM NetID password. Then tap Next.
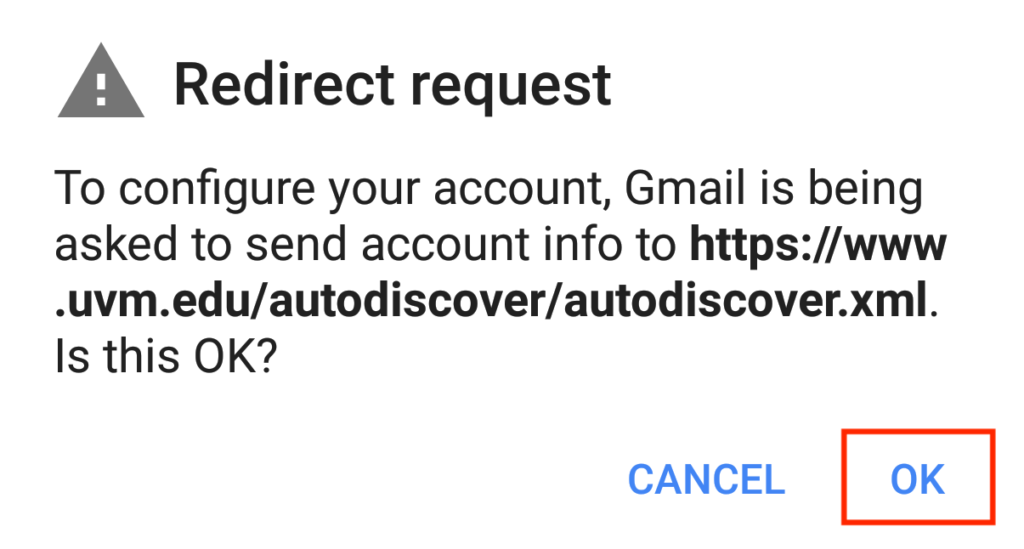
- You may receive a Redirect Request prompting for permission to send account info to uvm.edu/autodiscover, tap OK.
- You may receive a Redirect Request prompting for permission to send account info to uvm.edu/autodiscover, tap OK.
- Account configuration should complete automatically. Tap Next to continue.

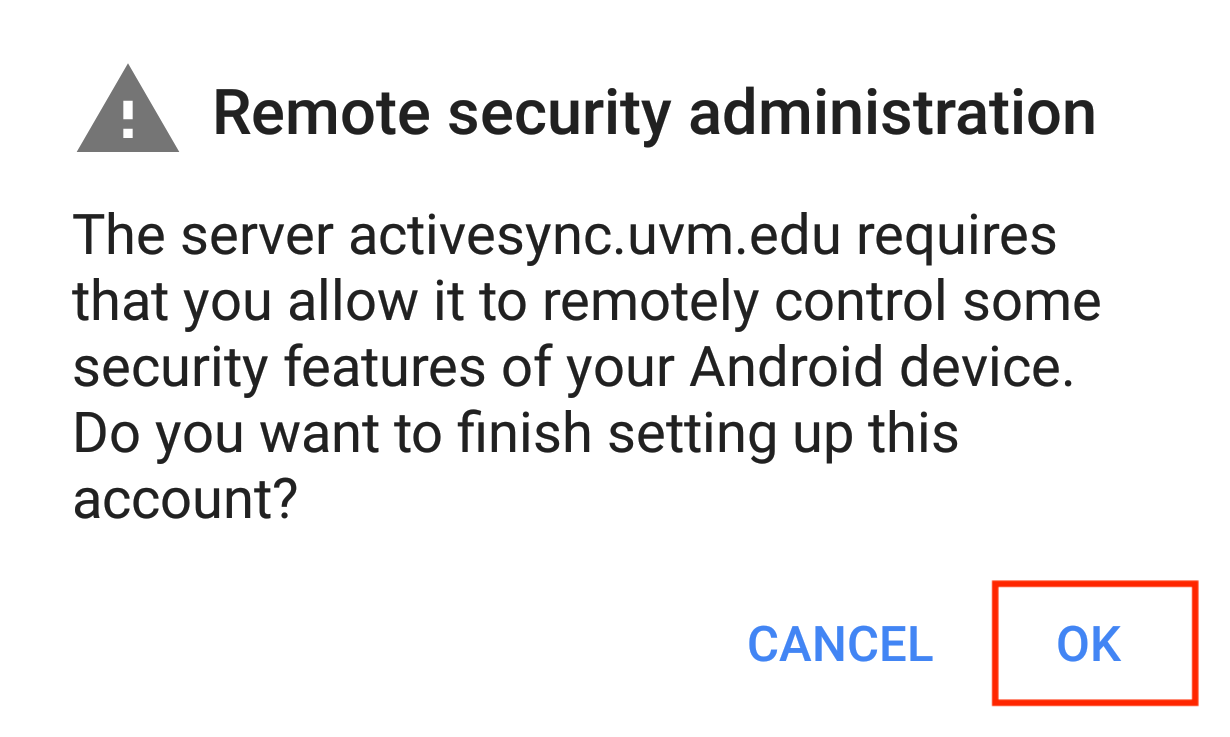
- You may receive a Remote Administration request, tap OK.
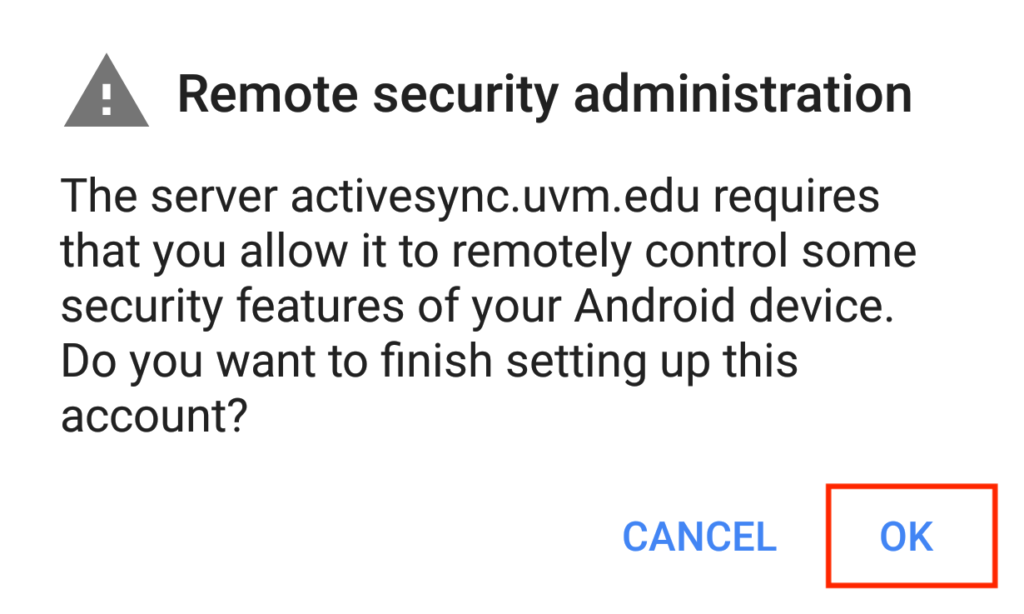
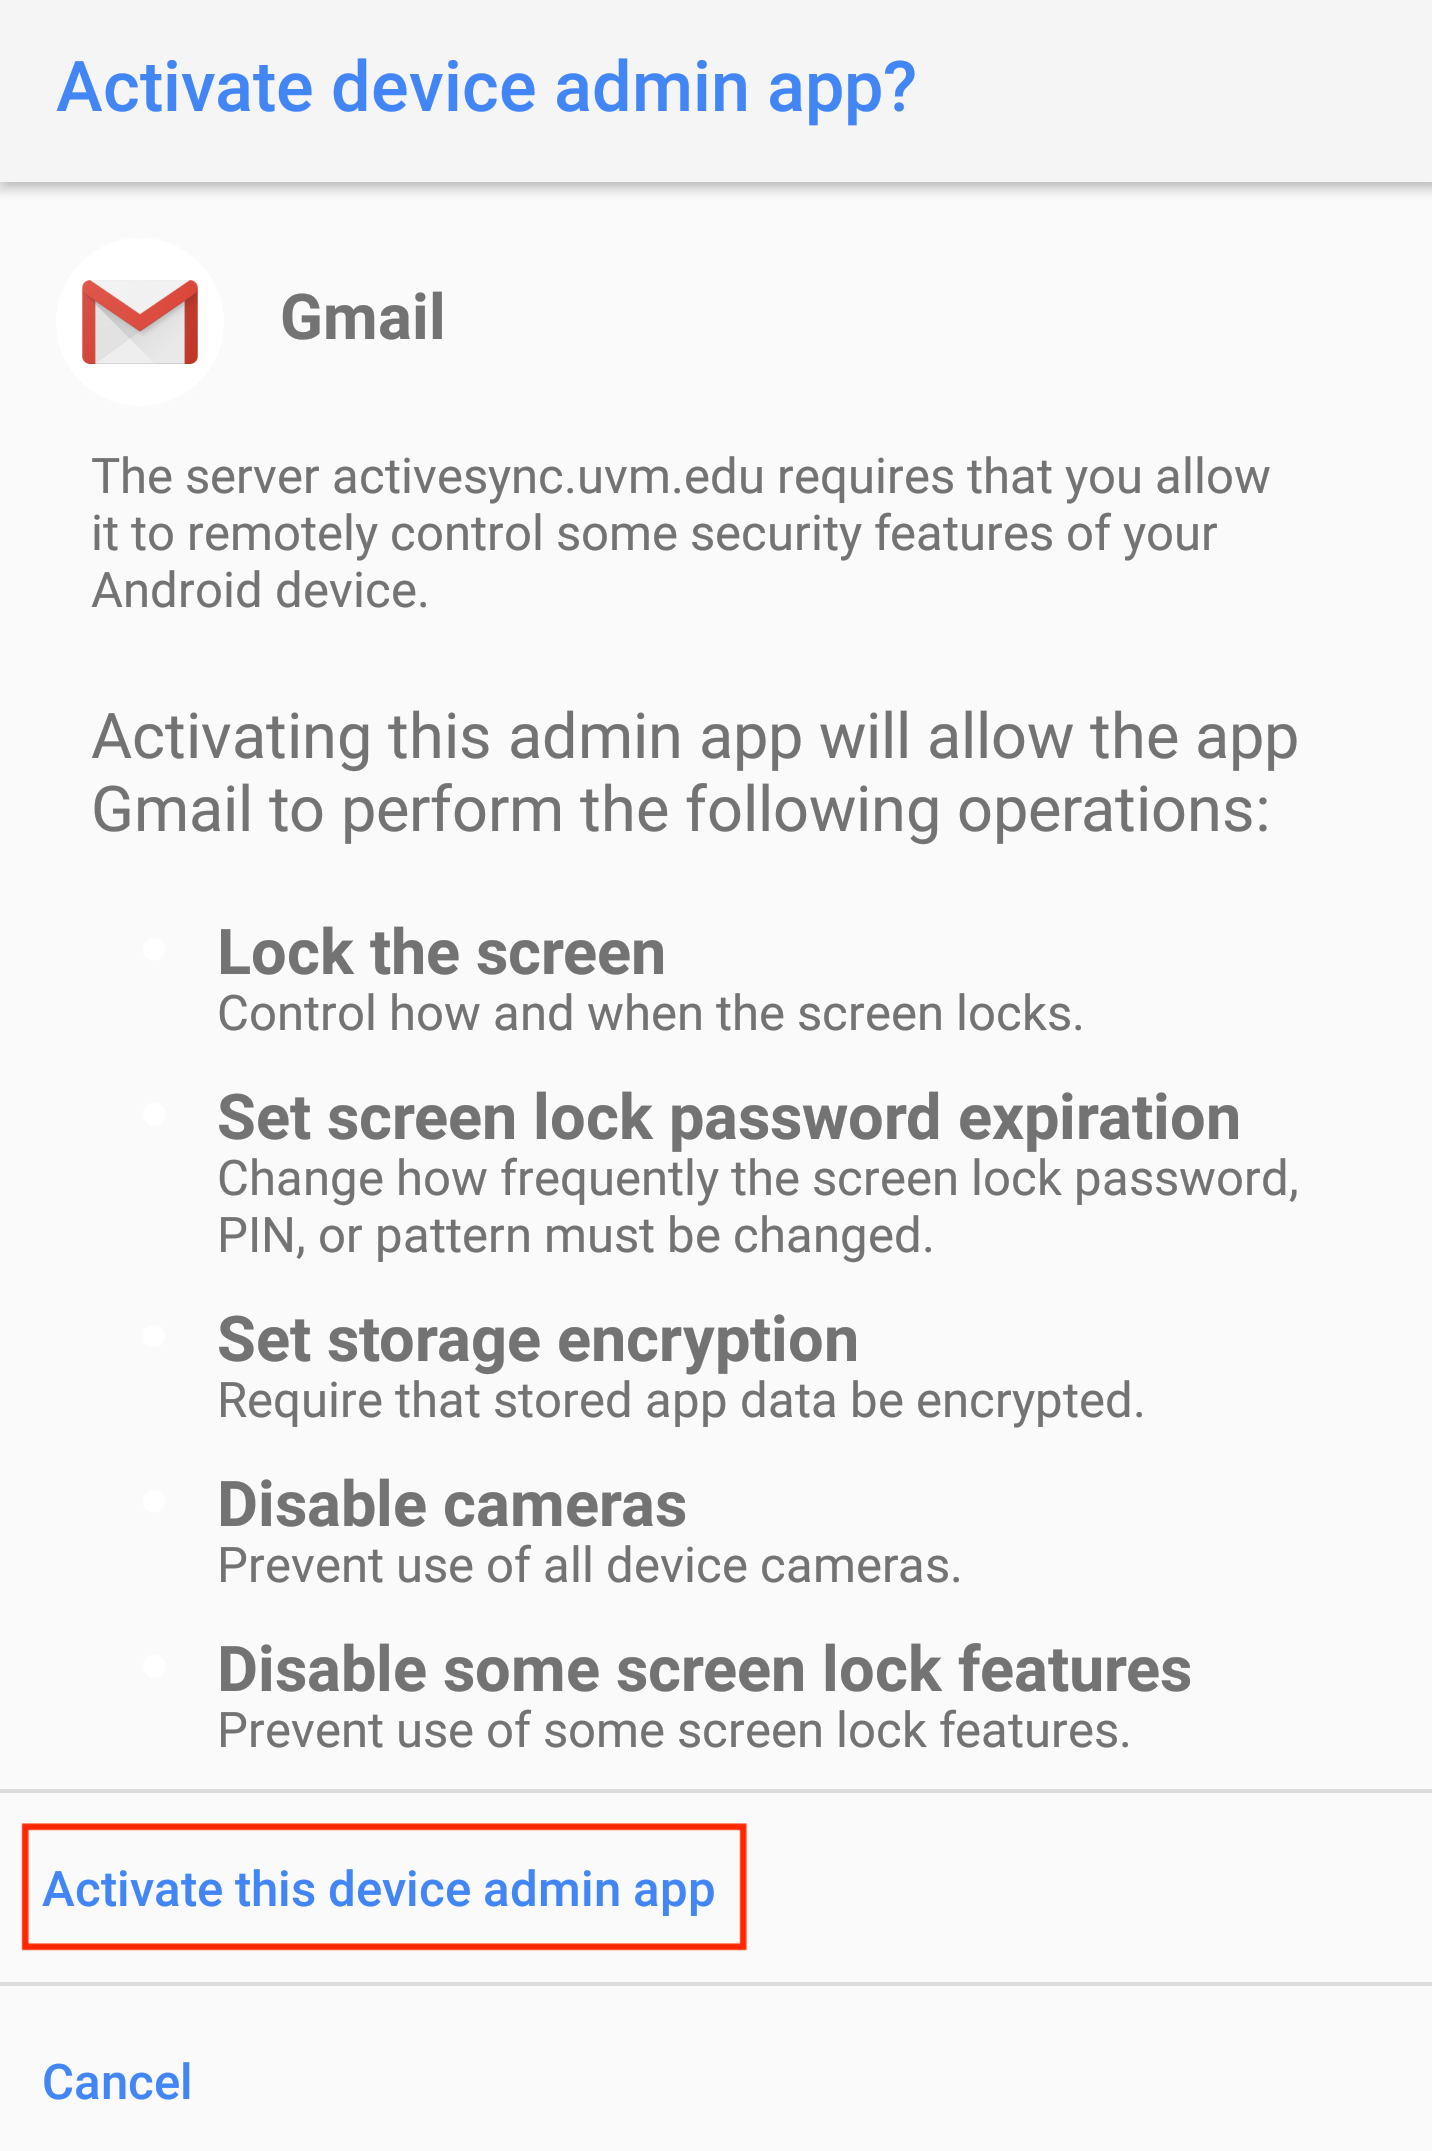
- Allow remote security features by scrolling down to and tapping on Activate this device admin app.

- You may receive a Remote Administration request, tap OK.
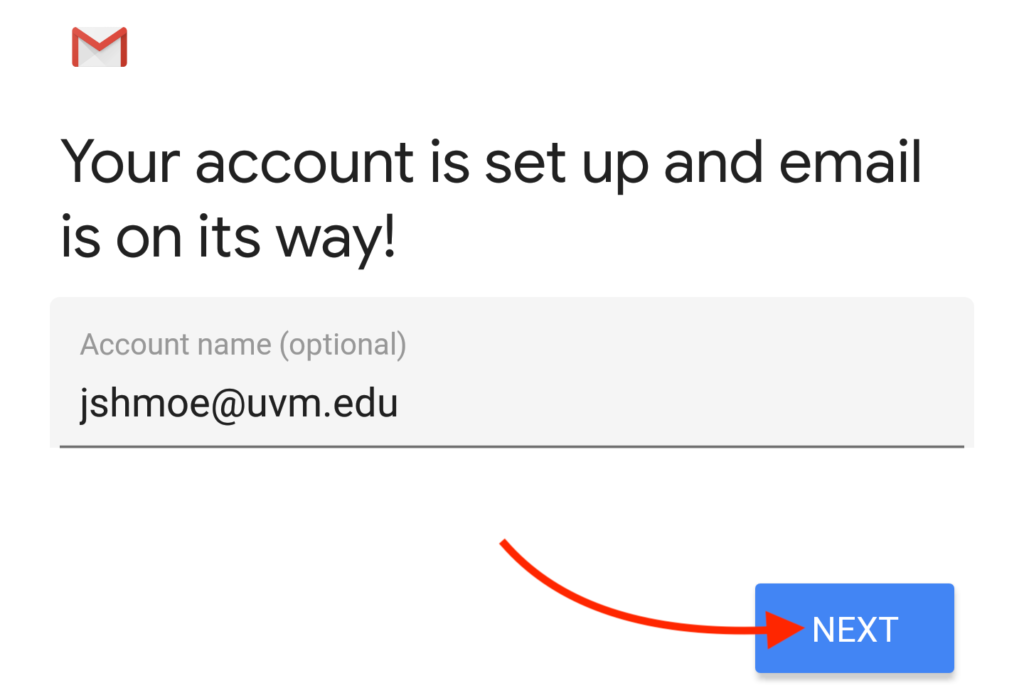
- Tap Next to complete the setup process. You have successfully added your UVM Exchange email and calendar account to your Android device.