


  |   |
| 1 | Turn on your Macintosh®. | ||||||
| 2 | Put the supplied CD-ROM into your CD-ROM drive. Double-click the HL2100 icon on your desktop. Double-click the Start Here icon. Choose your printer model and the language. 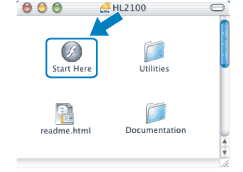 | ||||||
| 3 | Click Install Printer Driver on the menu screen. 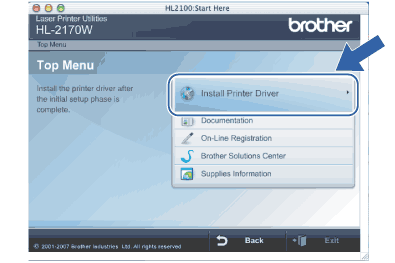 | ||||||
| 4 | Click Wireless Network users. 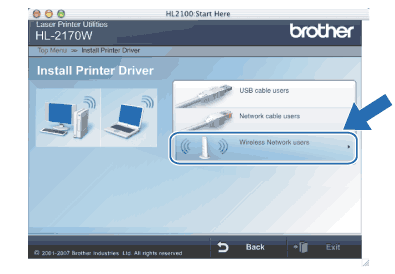 | ||||||
| 5 | Choose Driver Install Only, and then click Next. Follow the on-screen instructions. Then, restart your Macintosh®. 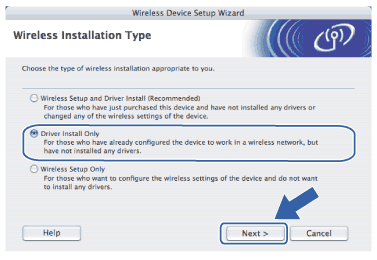 For Mac OS® X 10.2.4 to 10.2.8 users: Go to step 8. For Mac OS® X 10.3 or greater users: Go to step 6. | ||||||
| 6 | The Brother software will search for the Brother printer. During this time the following screen will appear. 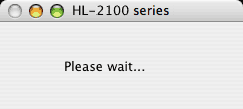
| ||||||
| 7 | When this screen appears, click OK.  | ||||||
| 8 | When this screen appears, click Add. 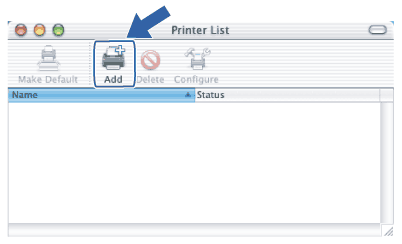 | ||||||
| 9 | Make the following selection. 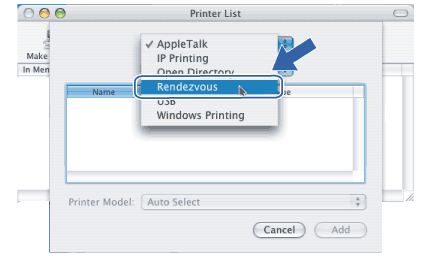 | ||||||
| 10 | Choose your printer, and then click Add. 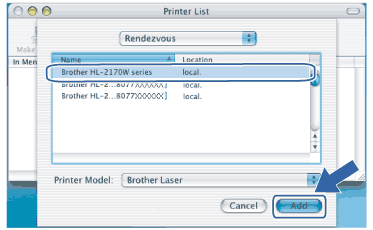
| ||||||
| 11 | Click Print Center, then Quit Print Center. |
  |   |