If you're interested in contributing news to an existing UVM website, reach out to that group's administrator to gain access to contribute news. Instructions for group admins on adding users to Drupal.
Get ready to build your story.
Login to the shared content server
First access the content server. Go to: "Content" > "Add Content" > "Story" -- OR -- go directly to Create a Story (consider bookmarking this). If you experience trouble logging in, please fill out our online help form and select "Obtain Drupal access."
Create your story
The key when building your story is to come with the assets you need ready to roll (text, sized images, video links, related links, etc.). This is still a Drupal interface and there's no regular auto-save, so you will want to build your story then save, or save regularly as you build. You won't want to write the story as you build it.
Working in the news tool form
Tab 1: Start here
This tab is your home base -- from here you can find this documentation, info on web help hours, shortcuts. If you don't need those things, skip to the next tab.
Tab 2: Story ownership
Author info
If you were a news contributor in the legacy news tool, you may notice that content is added in a different order. There is a reason for this.
This is the tab where you add story authors. It may seem confusing to have two author fields, but remember that you're driving a car as it's being built. At some point in the future, authors will be able to link to their UVM Drupal profiles that will also be housed on this shared content server. For now, if the author has a profile, we want to be able to begin to associate the story content with it. We have created a number of placeholder profiles; be sure to check if you have a profile in this list.
Click on "Add items" and search for the author by first or last name. Select the box next to appropriate author and hit the submit button. When applicable, you can add multiple authors to a story. If the author does not have a profile, you can type in the name manually in the "Authors without profiles" box.Group info
This is where you identify groups — for both story permissions as well as for the story display. Any member of this Drupal group has access to add news to the group. The Drupal group chosen here will appear in the page banner, and that group's menu will display on the news story.
If you wish to only be a contributor to news in a group, your admin should add you to the Drupal group on the Shared server. If you would like to be able to also contribute web content to your group, your admin should add you as a group member on the existing/regular Drupal server. Group website administrators will manage who should have access to their site as well as who can create news. Revised instructions on adding news contributors to your group.
Tab 3: Add featured media
This is where you create the hero banner experience for your story. It can be a single impactful image, a slideshow of great images or a single featured video. You can also attach an image gallery; in Tab 5 you'll learn how to add one. But here we'll fill you in on what combinations are possible. Here's what you need to know:
Ordering your media:
This featured media component was built with several basic rules in mind. You'll want to understand these in order to choose how you order/structure your content.
- Featured Video: This is a single video with an optional caption. If you add a featured video, it will always take priority and display instead of other added media. This means that if you add a featured image AND include a link to a video, then ONLY the video will appear at the top of the page. This also means that you cannot have a video appear in a slideshow of featured media images. You CAN have a gallery with your video (Icon will appear on right side, below featured video. Clicking icon opens gallery in overlay). Your video will NOT appear in the gallery.
- Featured Image: A single featured image can appear at the top of your story. You can also have a story with no featured image. Image sizes must follow those laid out below for featured images. There is a space for an optional caption. You should also use the caption field to add a photo credit. You can have a gallery with your image (Icon will appear on right side, below featured image. Clicking icon opens gallery in overlay).
- Featured Image Slideshow: Check the box to be able to create a slide of featured images (with optional captions). You must have at least two, and can have a maximum of five images in a slideshow. Your featured image will NOT be included in this collection. This means that if you've uploaded a featured image that you want displayed in an image slideshow, you will need to remove and upload as a slideshow image. Image sizes must follow those laid out below for featured images. These images are integral to telling the story, and not supplementary (supplementary images can be collected in a gallery). You can have a gallery appear with your featured media slideshow (Icon will appear right side, below featured image. Clicking icon opens gallery in overlay).
- Social Media Sharing: For Featured Image Slideshow and Featured Video include a Featured Image if you want an image to display for social medial sharing. This image can be a screen capture of your video or one of the slides from your slide show.
If you add or update this image and don't see the image in the social preview 1) got to https://developers.facebook.com/tools/debug/ 2) paste the url of you published page in the url and press the DEBUG button 3) When the page reload use the SCRAPE button to refresh the Facebook cache of your page.
Adding your media:
- When you "select file" for image, you should be taken to a directory structure that looks familiar -- you assign your image to the Drupal group that owns it.
- When adding files to the file directory, and file names and/or folder names you add should have NO SPACES in the names.
- Featured image(s) has a specific size need: Plan for a size of 1149 (W) x 647 (H) pixels (this is an aspect ratio of 16x9)
- Featured video field should link to an active video link (format is absolute, ie: https://www.uvm.edu/sites/default/files/admissions/graduation.swf). Supported video platforms: Vimeo, YouTube, MP4.
- Note: Don't forget your alt tags for accessibility! Tips on writing great alt tags.. If you're creating a slideshow or gallery, each image should have a unique alt tag.
Tab 4: Add your story
Here you'll add the majority of your written content: headline, subhead, story body, featured quote. Note that the story title is semantically designated as an heading 1 (h1). With that in mind, if you add any additional headings to the story body, you'll start with the style for heading 2 (h2) to ensure that they're properly nested and accessible.
When pasting in your text from any word processing tool, always be sure to review how your text is being displayed via the "View Styled Preview" tab in case you need to fix any formatting issues.
Inline a photo or video:
Inlined Images
Within the editor, you have the option to place a photo to be inline with your text. Your text will not rag around the image, so keep that in mind when you choose where to place it (i.e. -- don't place an image in the middle of a sentence).

Adding your images:
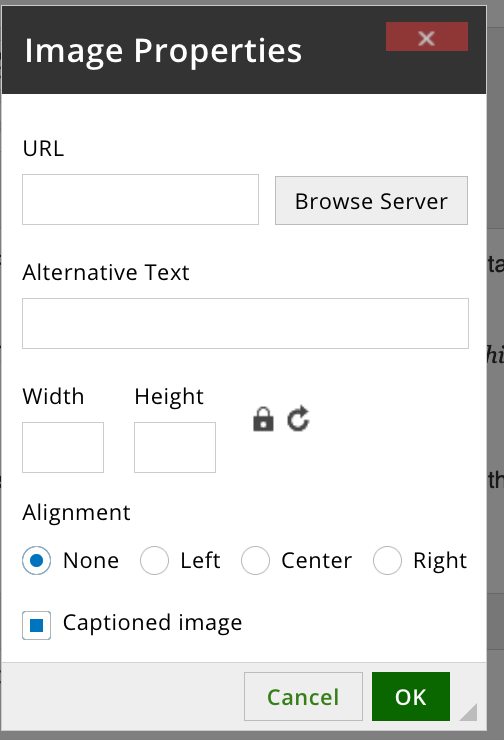
If you use the image upload icon in the editor tools (image above) to upload an image to a specific spot in your story text, here are some guidelines:
- Image size constraint settings don't matter here--only that you properly sized your images for optimal inline placement (sizes above).
- Alignment marked "none."
- Check button for caption if you'd like to have a caption.
- Don't forget your alt tag!
Once you upload the image, you will see where you can add your caption.
Recommended image sizes and advanced orientation options:
When sizing your images, we recommend the following sizes:
- Vertical image size: 448 (W) x 672 (H) pixels (aspect ratio of 4x6)
- Horizontal image size: 915 (W) x 610 (H) pixels (aspect ratio of 6x4)
More advanced options
For the majority of our users, we think that uploading your images at the recommended sizes above, or at the size you need them to be, will be a perfectly acceptable solution. Inline images by default take up the text column width. If you want to do something else, you have two choices -- you can go wider than the text column (landscape) or create a more vertical orientation (portrait) photo. The latter will constrain your image to be a bit more narrow on the page so that it doesn't take up as much vertical height. If you'd like to do this, you will need to manually add a class to your image source code after upload.
- Use the editor to upload your image.
- View the source code.
- For images with captions -- Add either of the two following classes: class=landscape (for horizontal) or class=portrait (for vertical) to your code. Example:
<figure class="landscape"> <img alt="[ALT]" src="[URL]" /> <figcaption>[CAPTION]</figcaption> </figure> - For images without captions -- Your code will just look a little different, but you still add either class=landscape (for horizontal) or class=portrait (for vertical). Example:
<p class="landscape"> <img alt="[ALT]" src="[URL]" /> </p>
Inlined Video
If you have the need for a video in the middle of the page, you can copy embed code in the source code field.
If you inline a video, YOU MUST wrap it in the following div or it will not scale properly on all devices:
<div class="video-container"><iframe frameborder="0" src="https://www.youtube.com/embed/yeS6PAqn2pU" title="YouTube video player" ></iframe></div>If you have a strong desire to make an inline image smaller than the well width, you can play around with adding styles (ie: style="max-width:400px")
Tab 5: Attach an image gallery
What's a gallery:
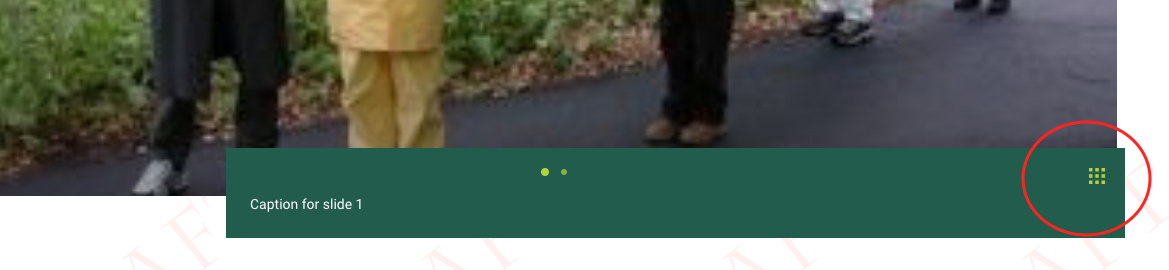
With either a single featured image, a slideshow of featured images, or a video, you can have a supplemental gallery of any sized photos (with optional captions). Once you do so, an icon will appear in the lower right hand corner, below your featured image. In order to feature a gallery, at least one single featured image is required. If a gallery is present, an icon will appear on the right side, below featured image(s) or video (see following images). Note that there is no photo limit, photos of any orientation will work, and each photo should have a unique alt tag.
Creating a gallery
To build your gallery, you will be directed to a location where you will both name your gallery and upload your gallery images, Then, back in the form where you're building your story, you will attach the gallery by using the "Add Item" button and finding your gallery. Because all galleries are findable (they are not limited by permissions), you will want to name your gallery something specific and something that you'll remember upon searching for it. Note that the gallery title will not be displayed.
NOTE: You must have uploaded at least one image in the "featured image" tab in order for the gallery feature to appear in your story.
Gallery icon in lower right corner:
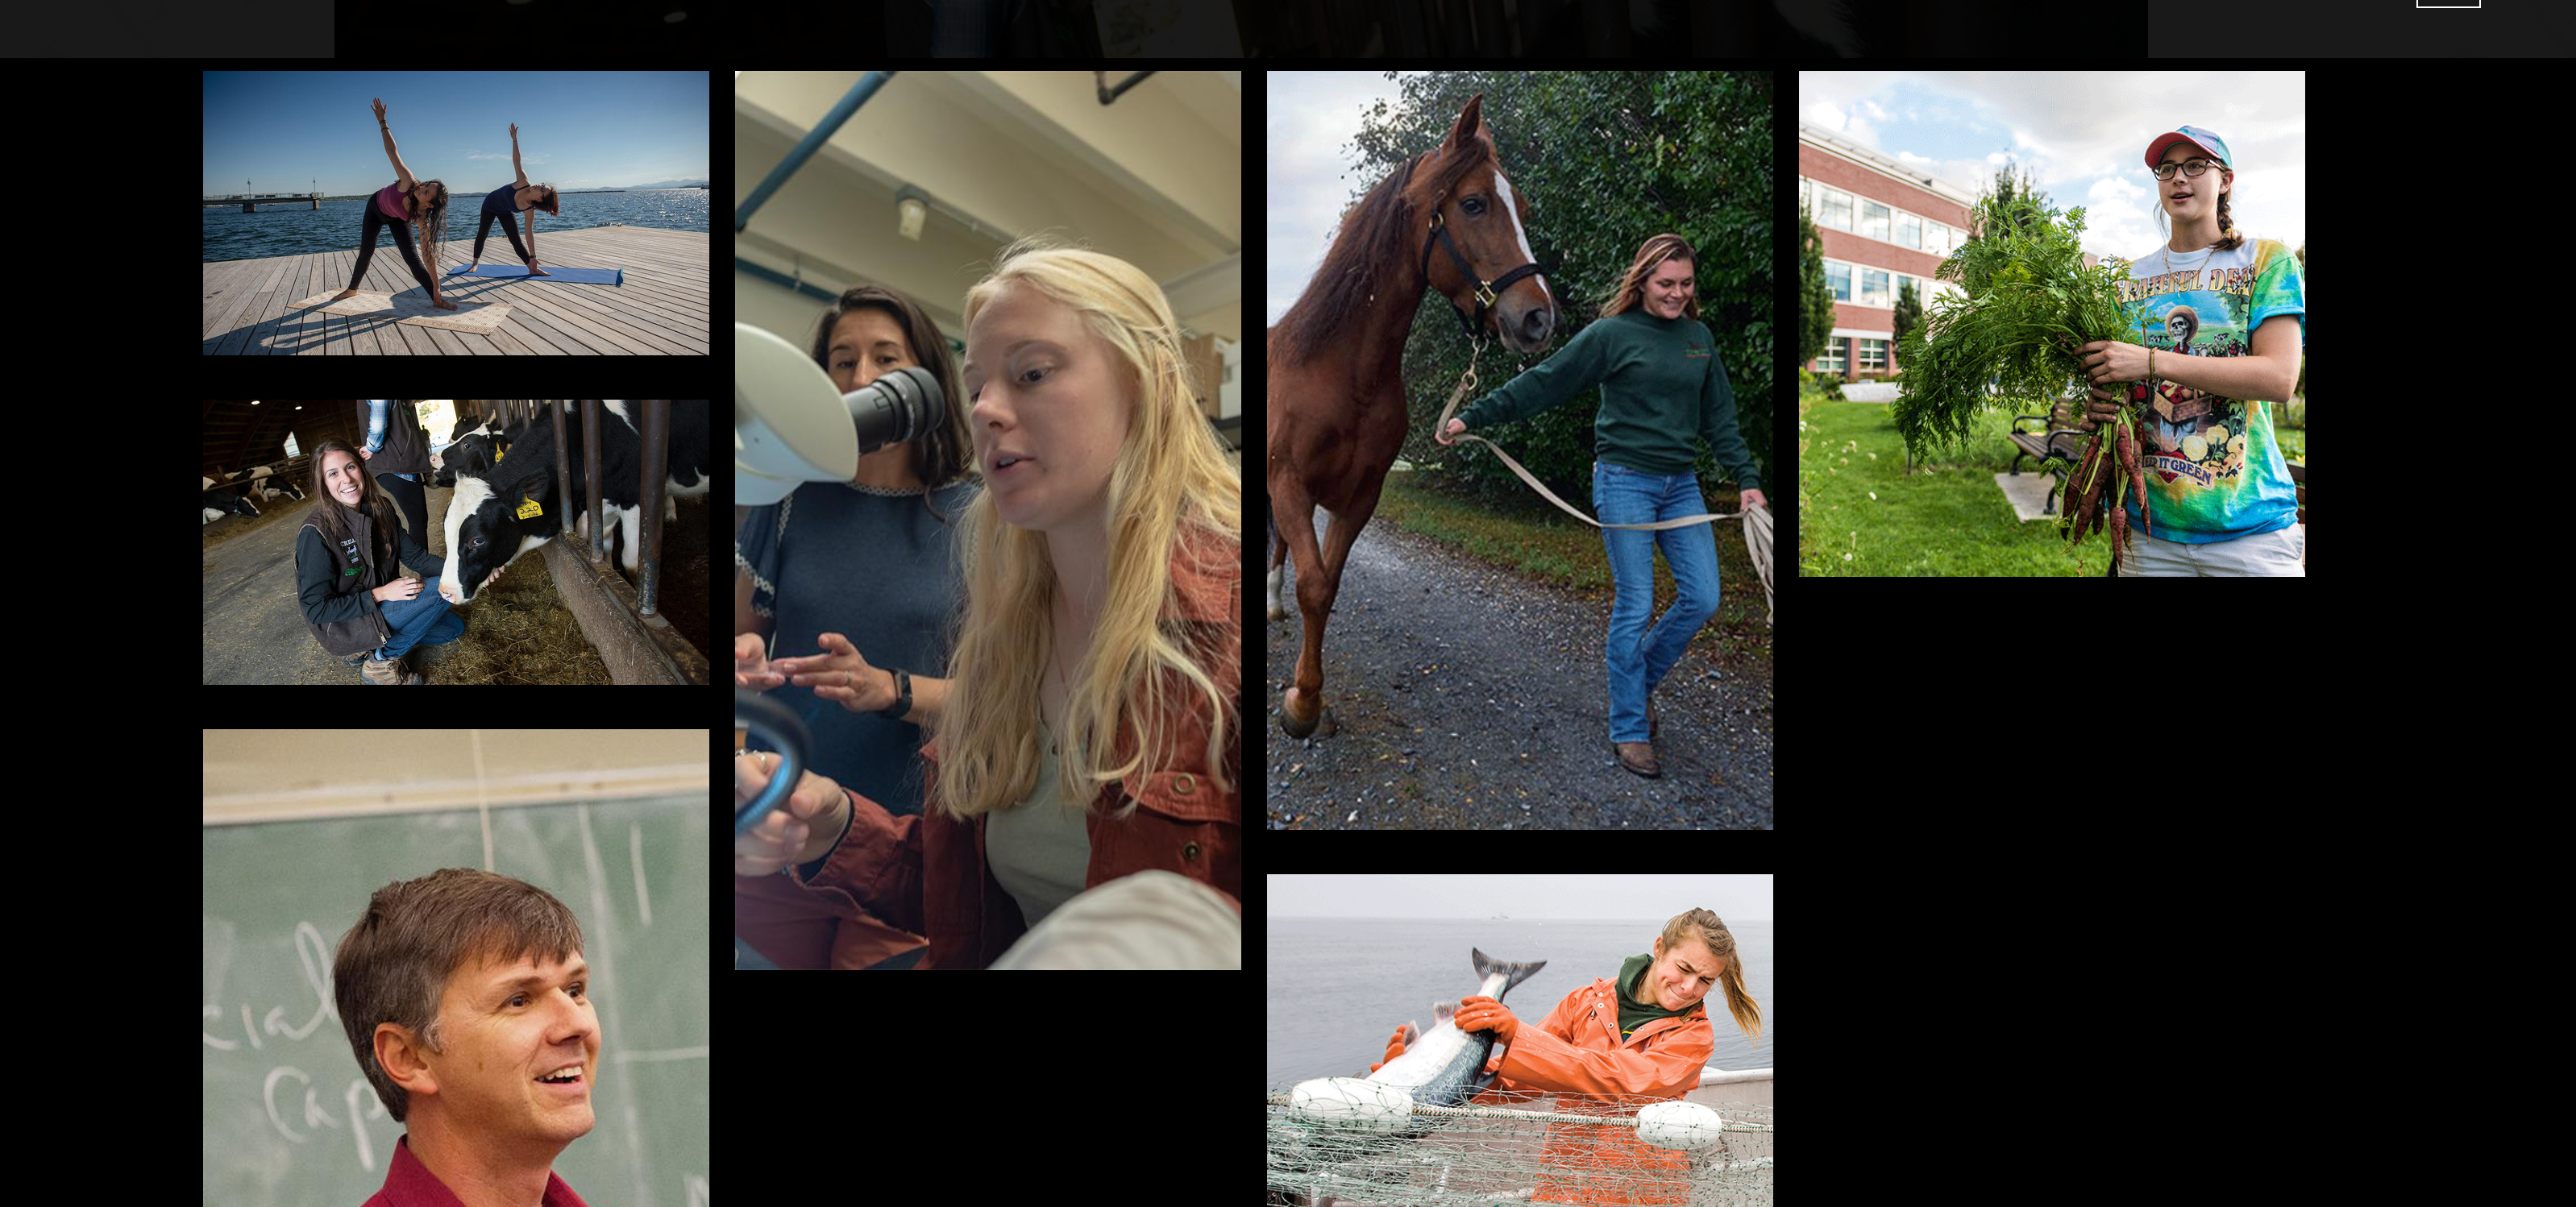
Gallery launched:
Tab 6: Categorizing and placing your story
This tab is devoted to helping story creators classify their story, group it with other like stories for future uses, and determine where you want it to appear.
Type of story
Select which category most closely identifies your story, or, select "other."
Keywords
Keywords are used to group similar stories together to make it easy for audiences to find and read more stories about specific topics. Strategically used keywords can also make your stories more searchable in search engines and assist you in better categorization of this story with others like it for future uses.
The keywords you choose in this section should be words that are used in the story and/or body. A good keyword strikes a balance between being general and specific. Remember, the goal is to relate to similar stories so your audience can read more about a topic. The keywords here can be used to generate a list of related stories, among other uses. Using only very general keywords will not likely result in relevant stories and using only very specific keywords might not result in any related stories.
The keyword tool in the news form will help you determine which words appear most frequently in your story with a press of the button. (Note: keywords can be a single word or a 2-3 word string.) The tool will suggest keywords based on frequently used words in your story. You can then add those that you feel are a good match (separated by commas) in the field above. You can add keywords that are not suggested by the tool, but keep in mind that best practice is to have that keyword appear at least once in the title or body. Adding more than one good keyword can help create more relevant related stories (stories do not have to have the same combination keywords to be related, but ones with more keywords in common will match higher than those with fewer). Do not enter UVM employee names, only related topics of information. You CAN add your own department name.
Note: Keywords can be a single word or a 2-3 word string. Please be very mindful of proper spelling and standard hyphenation rules when adding keywords.
Share your story
In this field you will list the news groups that will determine where your story appears on any number of Drupal websites. The news groups should be familiar to you from the legacy news tool, and these groups are associated with UVM Drupal websites making it possible for news stories to appear in these feeds. NOTE: Upon publication, your story will appear in each news feed listed here. There is no separate approval process. Separate multiple groups with a comma.
Tab 7: Related stories and links
Related stories:
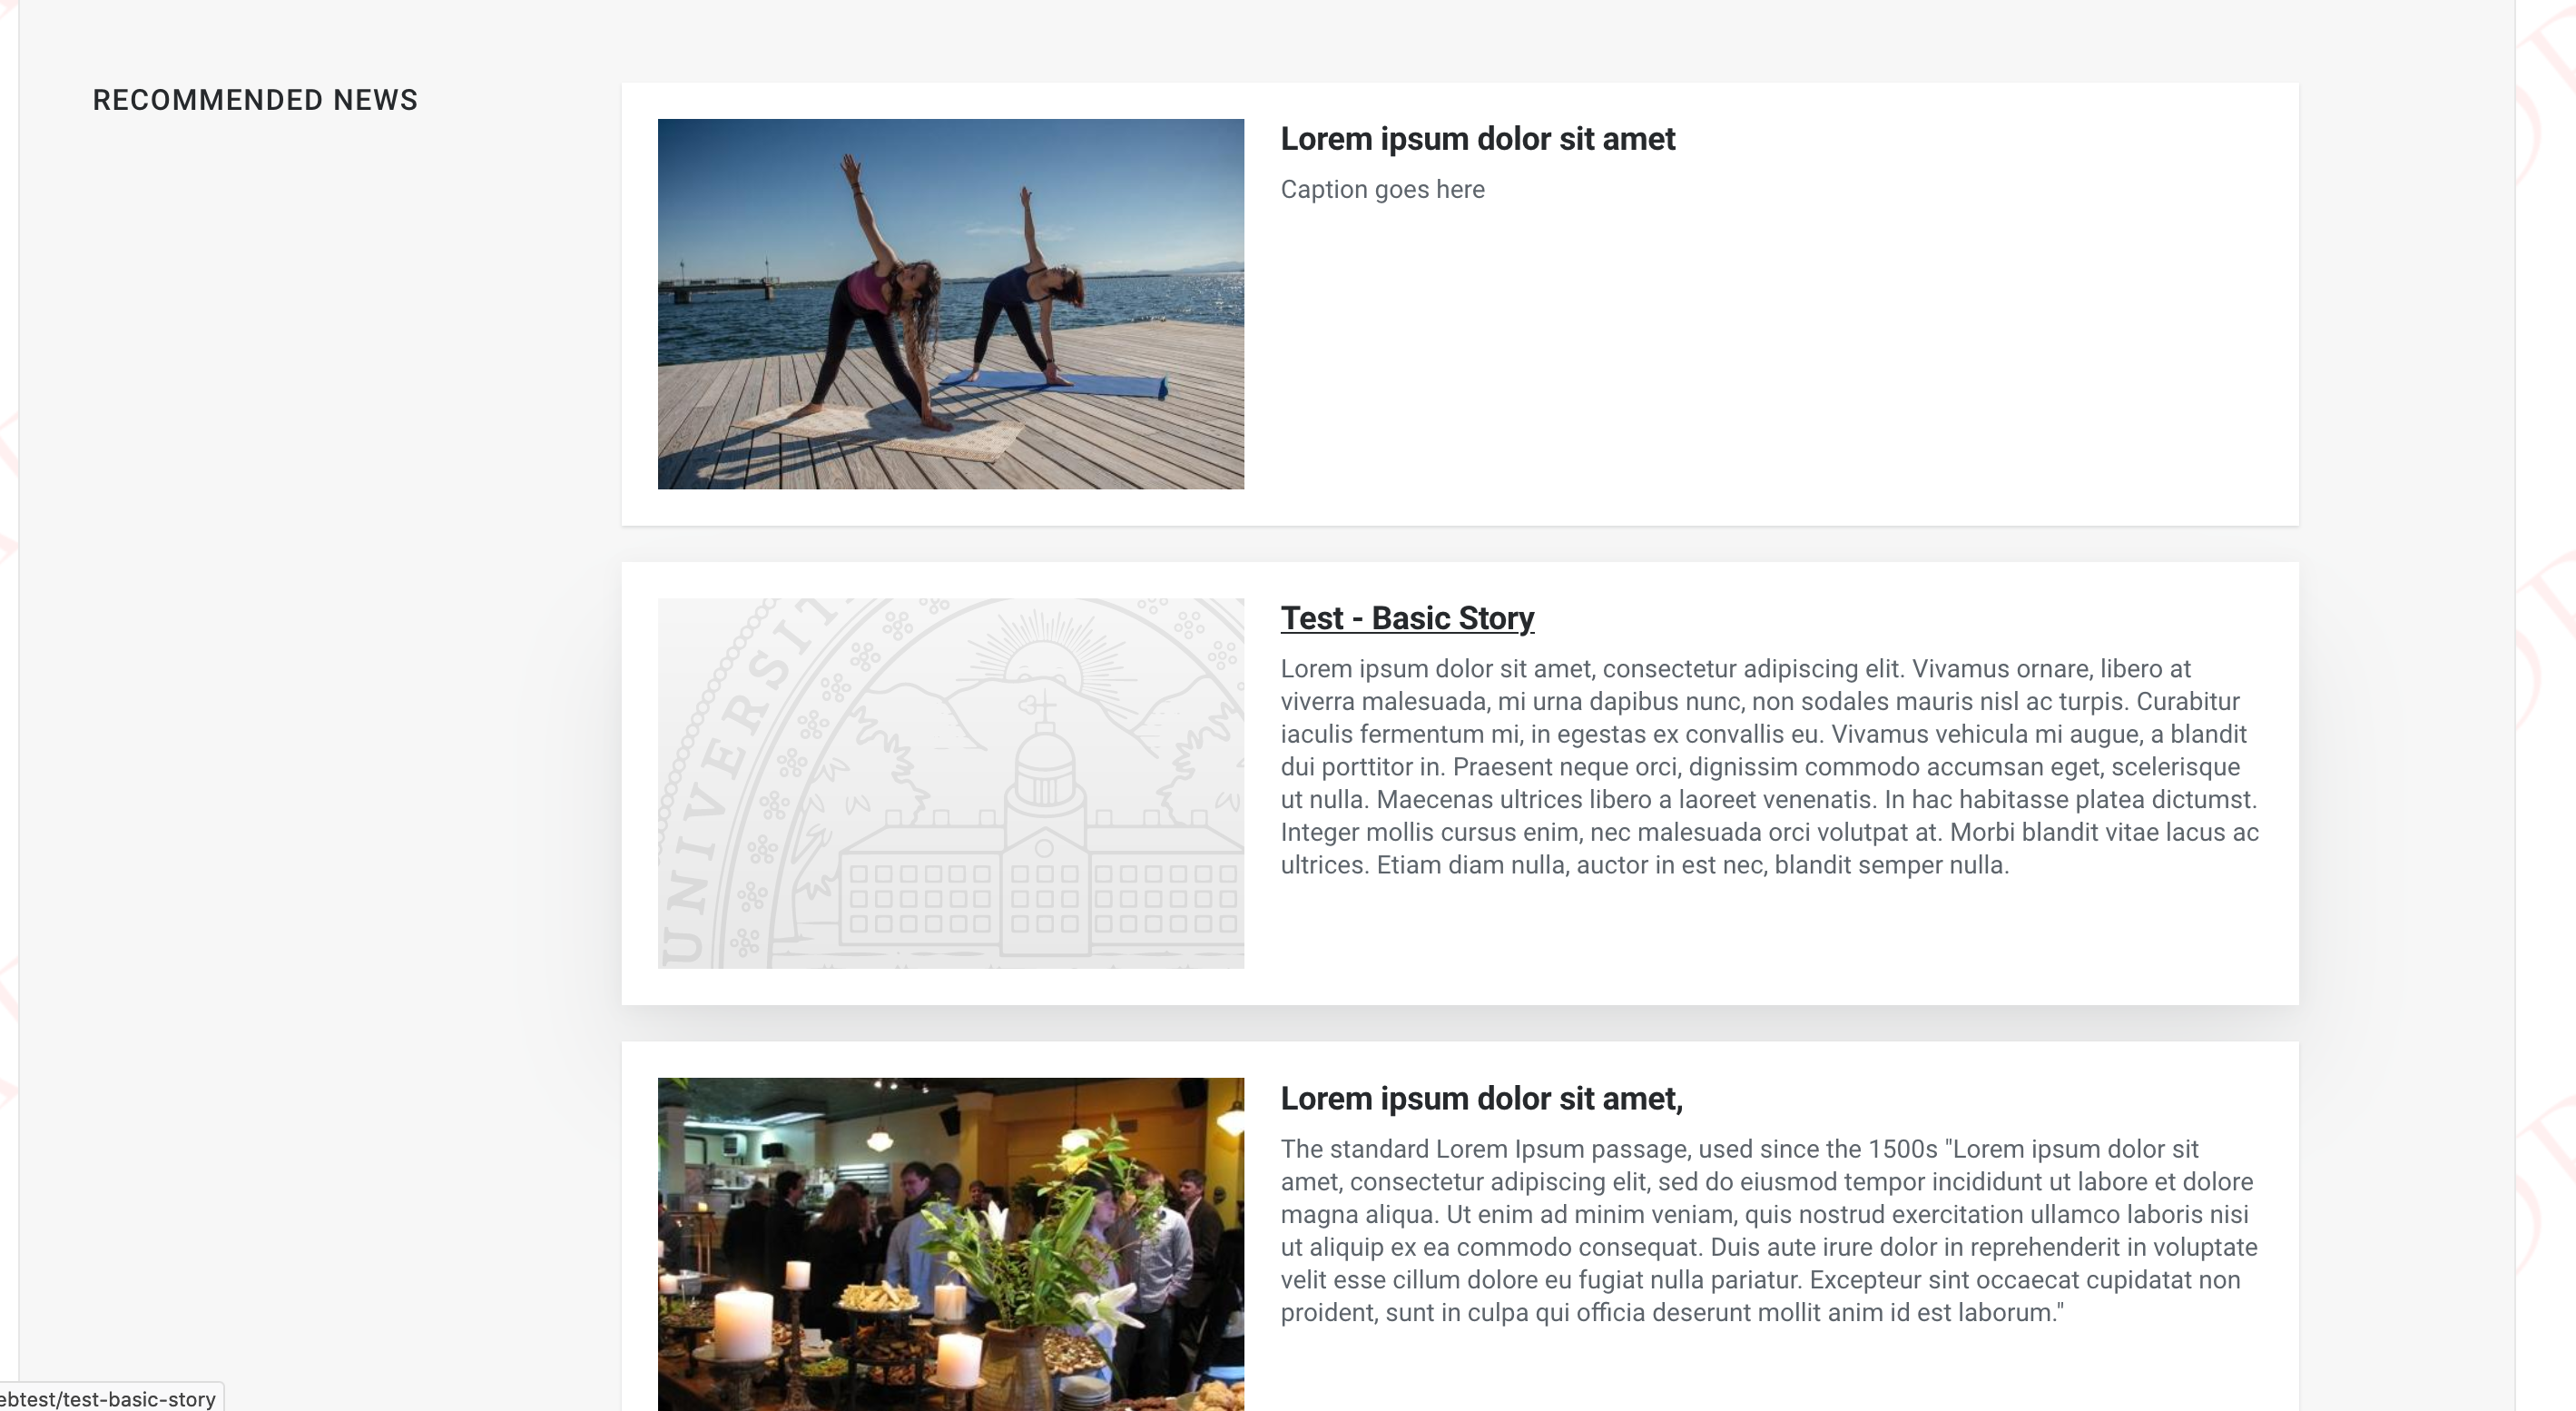
Behold the power of the previous tab's choices! Related stories helps the tool to associate previously published articles with this story you are now creating. Three stories will be displayed at the bottom of your news page. You can choose to have no related stories appear, to let the tool choose the stories (based upon matching keywords supplied in the "Categorizing and placing your story" tab), or to manually choose stories from the list of all news stories. Related stories appear at the end of your story under the title "Recommended news."
Related links:
Here you can offer a list of related websites that would enhance your reader's experience and provide further information. Related links appear in a call-out box alongside your story's content under the title "Of related interest." See following images:
Visual - related news:
Note that stories that were published without images will automatically receive the UVM seal as their image.
Visual - related links:

Working with your stories in Drupal
Using the tool bar to find your stories
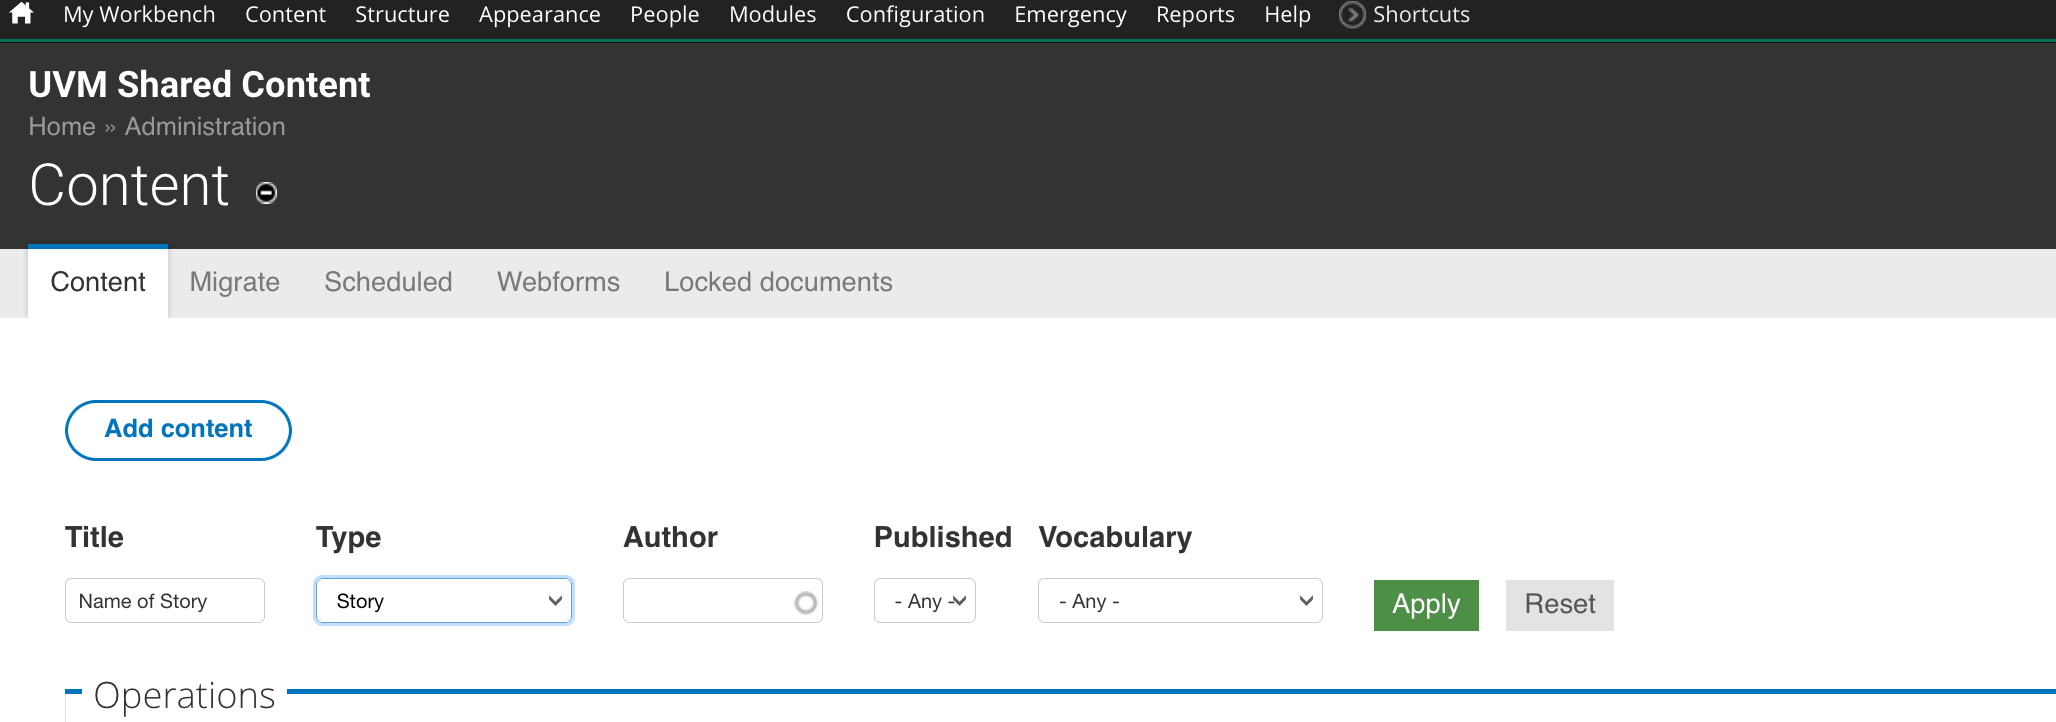
Navigating to all of your news stories is much like navigating to any content in Drupal. While still on the Shared Content Server, you'll go to the "Content" landing page. Here you will sort by content type "Story" and/or add your news story name to the "Title" field. See image:
How to preview and share a draft of your story
You can preview your story in its finished form and get a shareable link that is not password protected by selecting "View styled preview" tab in draft mode. See image:

What can I do about images in my legacy news stories that now look grainy or stretched?
The Web Team solved for images that were sized at the recommended photo size (800 x 400 pixels). However, if users added inline photos that did not meet the recommended image dimensions, or if an image of not-so-great quality was used, there may be some clean-up to do. You have choices. Consider the following options: 1.) delete old images; 2.) find the original image (assuming it's high quality) and re-size and re-upload at the new recommended image sizes (sizes vary depending on whether it's a featured image at the top of the page or inline image within the body content of the story); 3.) for inline images, consider applying the special inline styles that were offered above to see if a different orientation helps with the visual quality; 4.) if the original working photo asset is high quality and larger in resolution or dimensions than the legacy 800x400 placed image, you can take your original image, resize it in Photoshop to 300dpi, 1200 x 600 (to maintain the 2x1 aspect ratio currently in place) and export it as a .jpg at 300 dpi . Drupal would optimize this for web but would maintain the image quality due to the extra pixel depth. Remember that all images in Drupal must not exceed 5MB in size in order to be uploaded. Adobe has a good support article with tips for resizing and upsampling images in Photoshop to enhance the quality of images.
When will I see my story on my website?
Once you save your story on the Shared server, it has to be migrated to the server where your website is. This should take about five minutes before you see it live on your website.
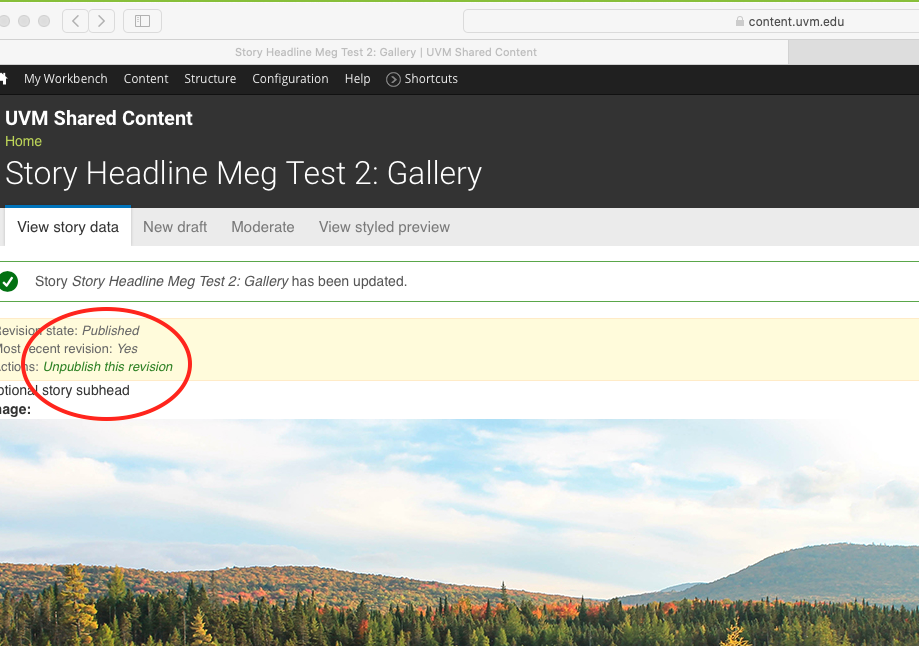
How do I unpublish my news story?
Because we are working between multiple platforms ("old" drupal, "new" news on shared), this is a two step process:
- Remove from news feeds: Edit the page, go to Categorizing tab, remove from "News Groups Approved to Display This Story," and save as published.
- Unpublish page: On “View Story Data” tab, click Unpublish This Revision.
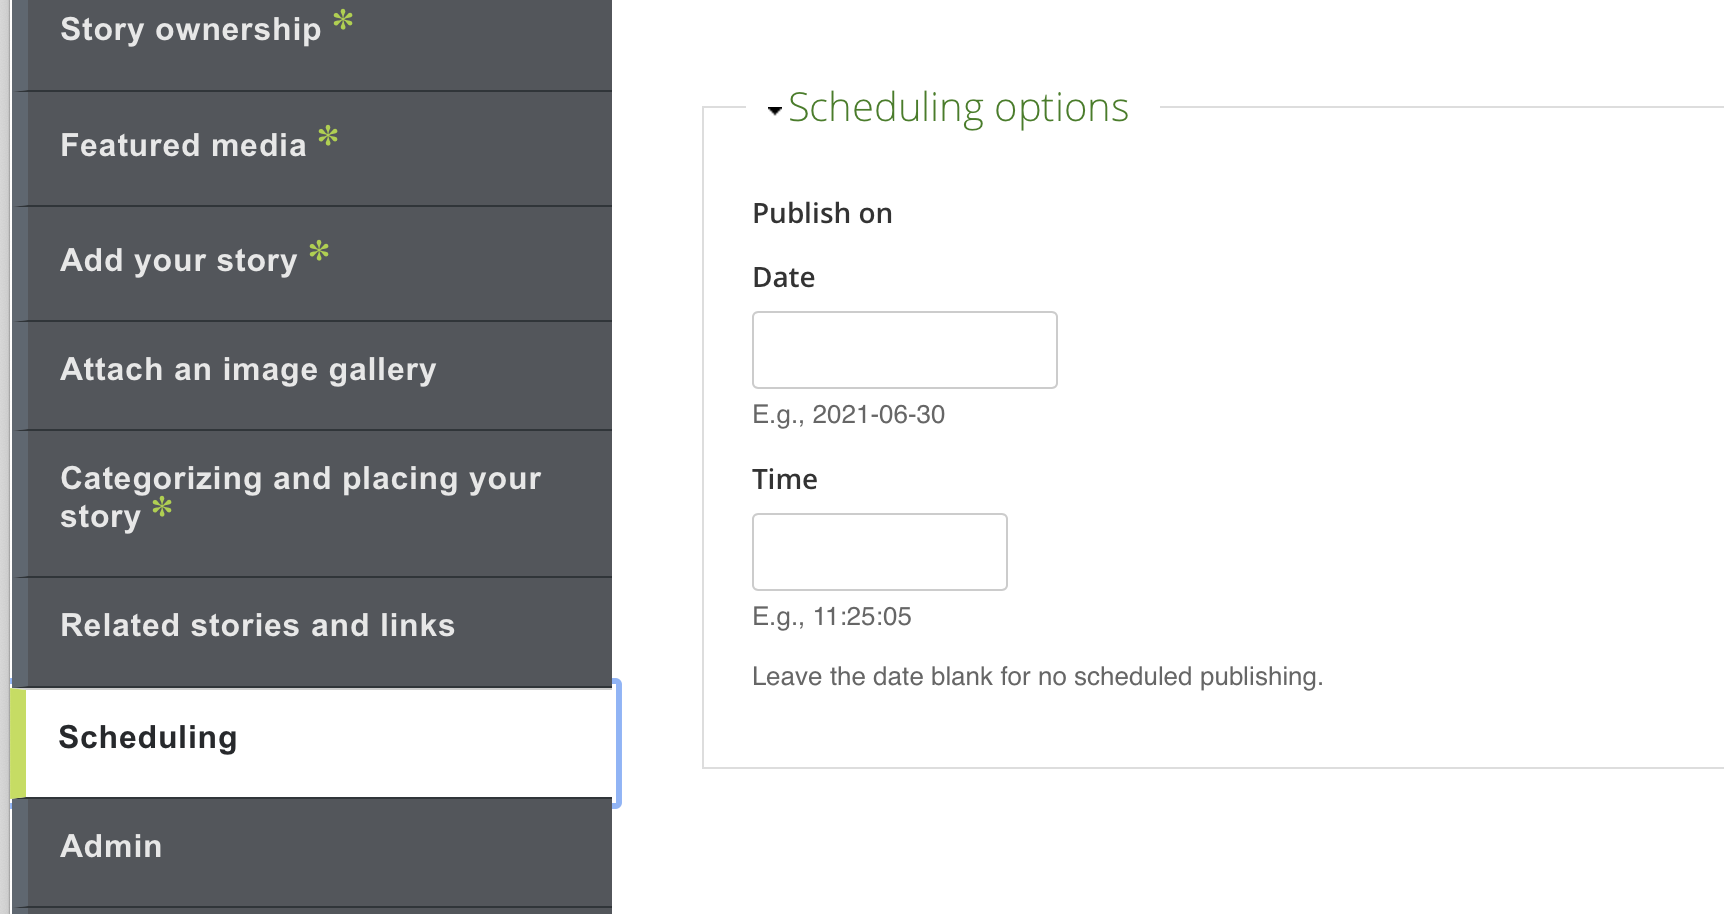
Can I schedule my story to publish at a future date?
Yes, you can schedule stories to publish in the future in the "Scheduling" tab. Be sure to leave your story in draft mode (do not publish). Publication happens at the future time set (at 5 minute intervals).
Once it gets published, you cannot unpublish the story then reschedule it to be published later.
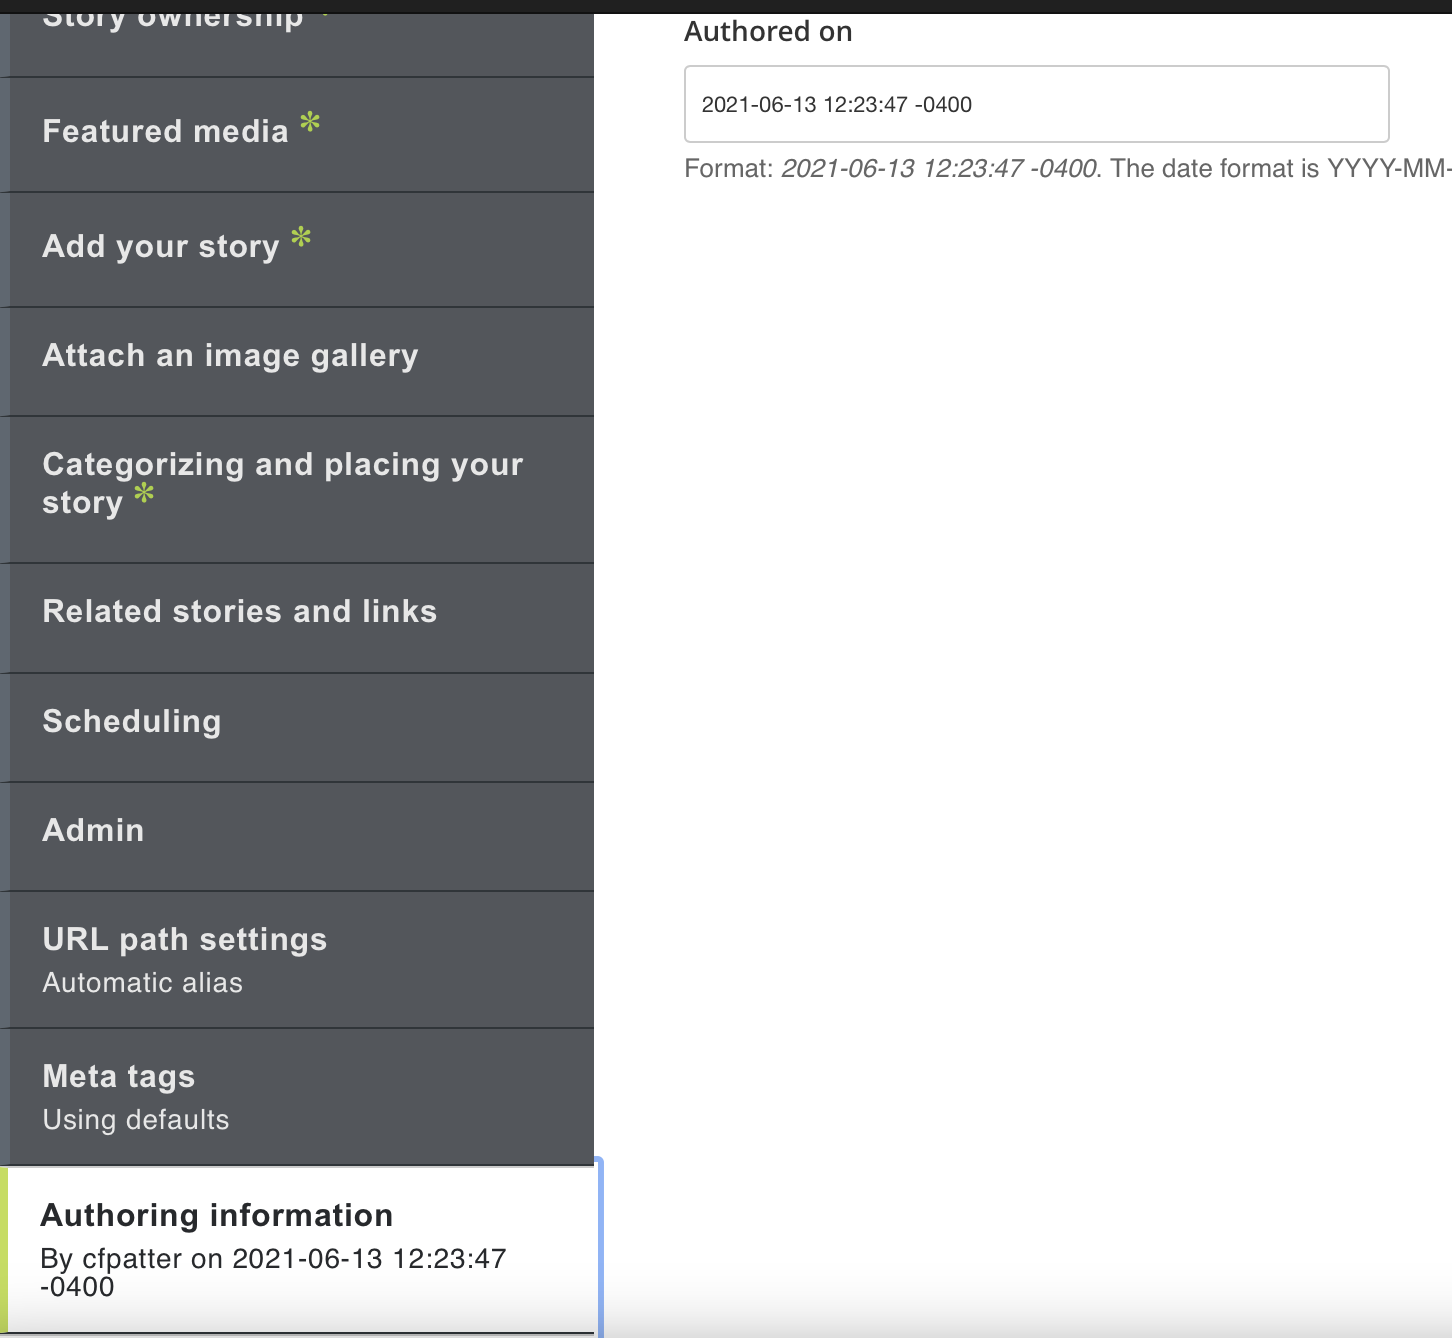
How do I reorder my stories in my news feed or give it the appearance of publishing on a past date?
Adjust this date in the "Authoring Information" tab.