
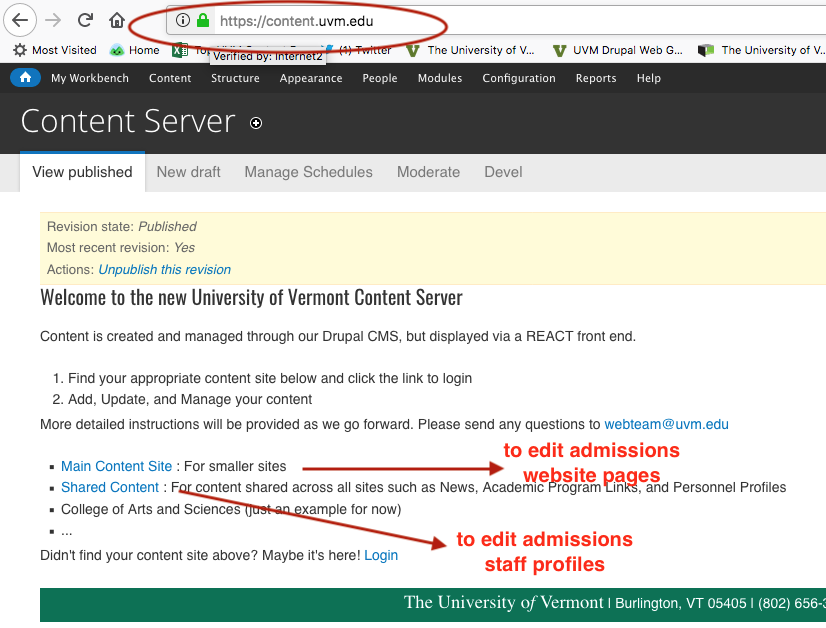
How do I login to edit?
You'll login to the new web server (content.uvm.edu)
New way to edit/create links
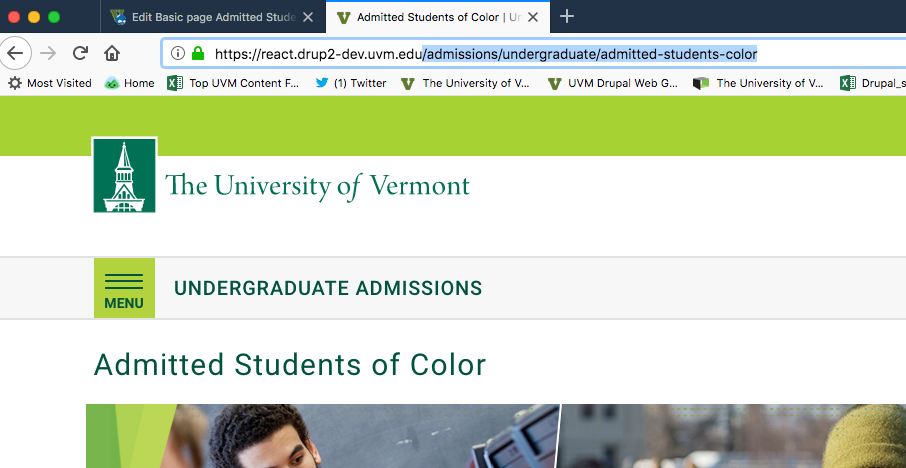
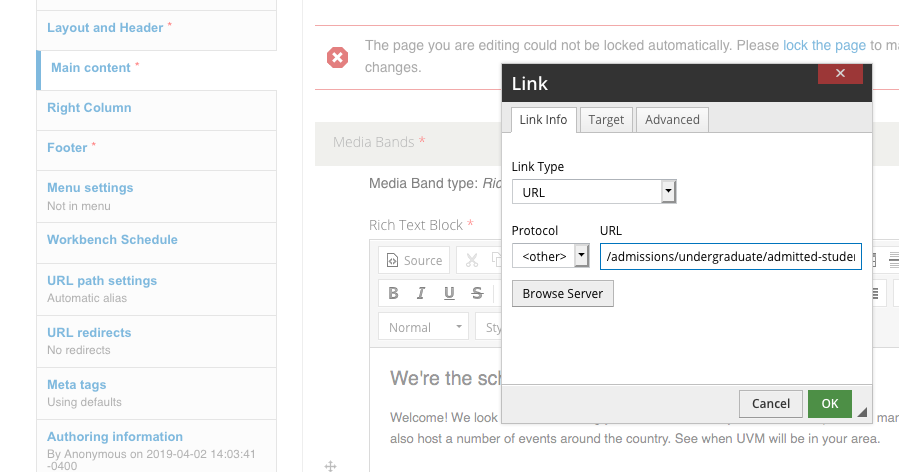
Previously, we had you link using node #s. We ask that you now link using a relative path. See two screenshots:
Copy this part of the url:
Click on the link button and paste your link:
Editor shortcuts
UVM's Drupal has a new and improved editor (piloted by admissions). Here are a few things that are done differently in this editor:
Uploading an image
(Note: Be sure that the undergraduate admissions directory is selected).
Making a dashed rule in your content
Add an accordion
Add an admissions counselor profile, then add to the "Contact Us" page
Important note about removing profiles:
There's a preferred order in which you should remove a profile; first you remove from the queues, then you can unpublish the profile. Do not upublish the profile before removing it from the queue.
If you accidentally do not follow this order, re-publish the referenced profile first, remove the profile from the queue and save it without the unneeded profile. Then unpublish the profile.
Adding the profile to the "Contact by State" queue
If it's an existing location, you will have completed the first step of this when adding the profile by adding that person's territory. Step two is to go to "Contact by State" and add this person to the queue. What if you have a new state or location? Adding a new taxonomy item for location is done here https://content.uvm.edu/shared/admin/structure/taxonomy/locations State and Alphabetical are not the same list — Alphabetical is inclusive and State is exclusive. Profiles will always show up in "Alphabetical" once added, but will only show up in "State" when the appropriate state is checked for the taxonomy term. You can also clean up the list of locations in this area.
Editing your webform
Currently, admissios has one webform (Re-entry application). We have not yet built webforms on our new installation of Drupal. So webform is the one page that you'll still manage through the "old" interface (until further notice). uvm.edu/user/login/sso. We have redirects in place so that linking to the form will be seemless for the user.
Creating a new page
Check for broken links
Link Checker periodically tries to detect broken links by checking the remote sites and evaluating the HTTP response codes. It shows all broken or failed links in the reports/logs section and then lists them again at the top of the content edit page. Because of the way it checks links, you could stumble upon a link that failed due to a connection issue but isn't actually broken. The only way to check this is to go to the node and find the link referenced and test it. Quick video to find link checker:
Inlining images in admissions
It's not ideal to inline images in this environment, however we know that sometimes it's necessary. Users will have to address the code in order to make their images work responsively, across many platforms.
1. Use the image upload button in the WYSIWYG field
2. Upon upload, remove the height and width tags. In code, this will look like:
<img alt="" height="100" src="/files/undergraduate-admissions/virtual/cals-100-dinner.png" style="float:left" width="100" />
would change to
<img alt="" src="/files/undergraduate-admissions/virtual/cals-100-dinner.png" style="float:left" />
3. Wrap the image tag in a span tag with the same width setting but as a style and a display style, ie:
<span style="display:inline-block;width:100px"><img alt="" src="/files/undergraduate-admissions/virtual/cals-100-dinner.png" style="float:left" /></span>
4. If the image has a float style, move that to the span’s style and add an opposite margin of 15px. ie:
<span style="display:inline-block;width:100px;float:left;margin-right:15px"><img alt="" src="/files/undergraduate-admissions/virtual/cals-100-dinner.png" style="float:left" /></span>