UPDATE! All UVM email accounts have been migrated to Microsoft Exchange, and so this guide is no longer necessary. Outlook 2013 and 2016 setup is very easy, and all functionality is available.
These instructions describe a configuration for connecting to our old email system via IMAP. For connecting Outlook to UVM’s current mail service, see http://www.uvm.edu/techteam/outlook-2016-for-exchange/.
Changes in Outlook 2013
The most significant change in the new version of Outlook is the support of touch-based interfaces. In Outlook 2010, using your finger to scroll a message resulted in selecting a swath of text, as though clicking and dragging with a mouse. Outlook 2013 addresses this, and adds specific support for touch interaction with adjusted menu spacing and a thumb-based button bar that works really well on Windows tablets.
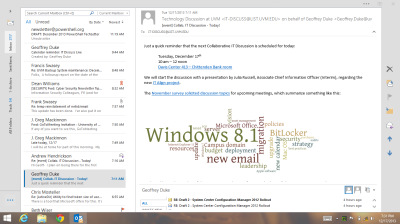
You’ll also notice a much cleaner design, where the faux 3D buttons and look have been simplified and flattened. I find myself selecting the dark gray color scheme to restore some visual variety and separation, though.
One change that’s a little irritating is that you can no longer specify the folder into which copies of your sent messages are received; they go into a folder called Sent Items. Instead, I’ve configured Pine, Webmail, and Thunderbird to use Sent Items, too.
I continue to find Outlook a user-friendly, feature-rich email client, and I’m glad to share these instructions with you. Let’s get started.
Configuring UVM IMAP email in Outlook 2013
When you first start Outlook 2013, you will be greeted by a large, very white welcome window.
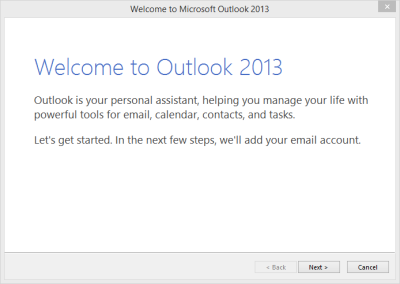
After clicking Next, you’ll be asked if you want to set up an email account. Select Yes and click Next.
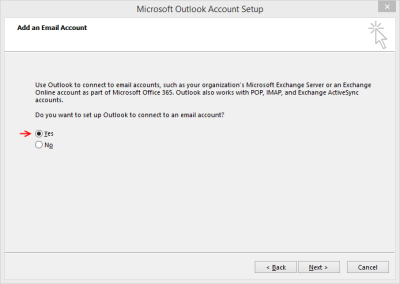
Outlook will attempt to configure itself automatically; if we used Microsoft Exchange as our email service, we would be set up at this point. There’s always hope… Right now, we need to perform a manual setup.
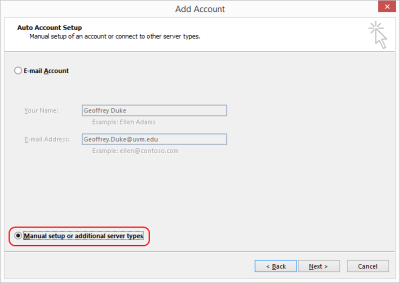
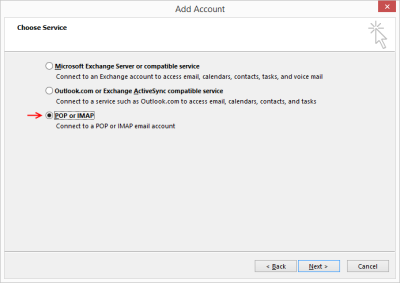
UVM’s central email service uses IMAP for receiving and storing messages, and SMTP for sending messages. Select Pop or IMAP and click Next.
Fill in your name and account details, following my example (see also the general email settings page).
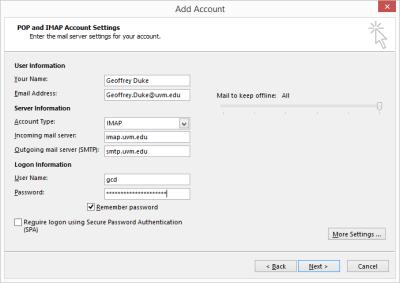
You can also decide how much email to store locally. This means that if you have large folders with old messages, you can just cache the more recent messages for access from this device. This can be useful on some tablets, which can have limited storage.
Click More Settings… before you click Next.
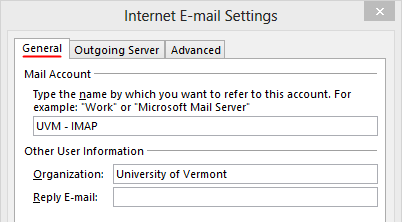
This is optional, but I like to give my account a descriptive label, which helps if add multiple email accounts, and I add my organization.
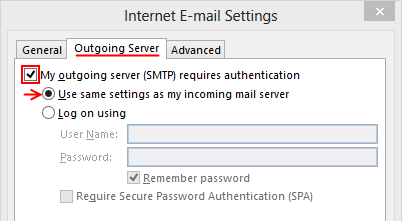
On the Outgoing Server tab, you need to set the option to use authentication with your outgoing (SMTP) server, and select the option to use the same settings (i.e., username and password) that you configured for your incoming mail server.
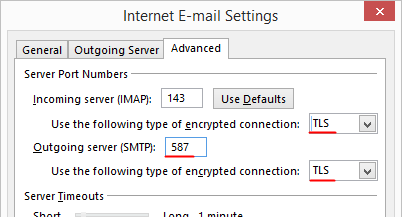
In the Advanced settings, set the encryption for both incoming and outgoing to TLS, and set the outgoing server port to 587. This should allow you to send email using the UVM SMTP servers from any Internet Service Provider. Click OK.
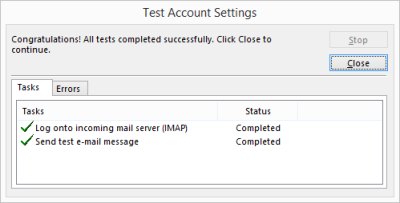
When you click OK and then Next, you should see Outlook running a test of your settings. It will attempt to log into the incoming mail server that you specified, and it will attempt to send a test message to your email address through your outgoing server. A successful test will look like this.
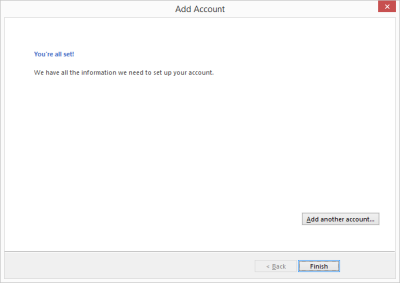
If your test fails, double check the settings, and try retyping your password. Once your settings are entered and working, you can click Finish.Â
At this point, your email account should be functional. There are a couple of additional configuration items I like to address:
- Setting up the UVM Directory for email address lookup
- Setting the folders that I want to sync (that is, not all of them)
- Change some mail preferences (monospaced font for plaintext messages, no response to read requests, ets…)
Configuring the UVM Directory
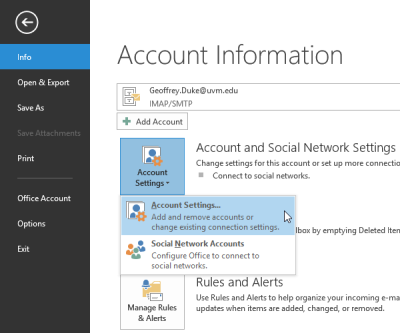
To be able to search the UVM Directory for email addresses other information, we need to add it as an address book account. The first step is to open the Account Settings window. You’ll find this under the File→Info menu.
In the Account Settings window, switch to the Address Books tab and click New.
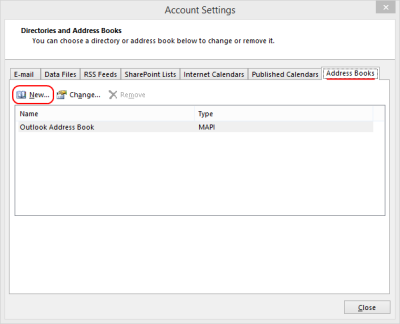
Select Internet Directory Service (LDAP) when prompted.
![Outlook 2013 - Add [Address Book] Account](https://gcd.w3.uvm.edu/files/2013/12/Outlook-2013-13-Adding-LDAP-account-400x283.png)
![Outlook 2013 - Add [Address Book] Account](https://gcd.w3.uvm.edu/files/2013/12/Outlook-2013-14-LDAP-Basic-Settings-400x283.png)
I like to give this address book a descriptive name; I use UVM Directory.
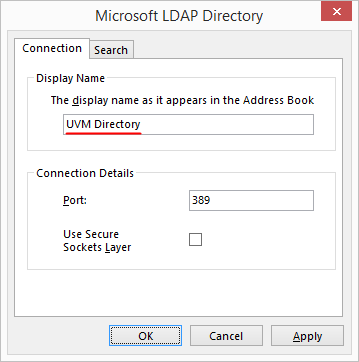
Then click OK, Next, Finish, and Close, and then restart Outlook.
One minor frustration I have with Outlook is that its name/email look-up is less broad and forgiving than Thunderbird’s. I sometime need to open the address book advanced search, which works just fine.
[need img showing lookup]
Customizing Send/Receive
This step is purely optional. I do it because I have a large number of email folders, and I regularly use only a handful. I don’t want Outlook to check and sync every folder each time I check for new mail. I can still access those folders as long as my computer is online.
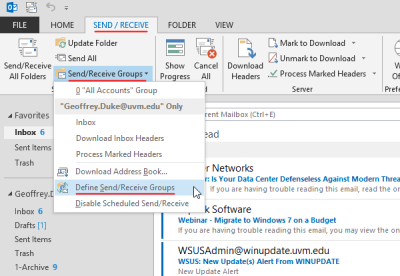
To customize the Send/Receive group, open the Send/Receive ribbon, then click the Send/Receive Groups drop-down menu and click the Define Send/Receive groups item.
In the Send/Receive groups window, I set the scheduled check values to 27 minutes, so that my session doesn’t time-out with the server (which is set to drop an inactive connection after 30 minutes). You may be tempted to set this a really low value, but you don’t need to; the server will push new messages to you as they arrive (more or less).
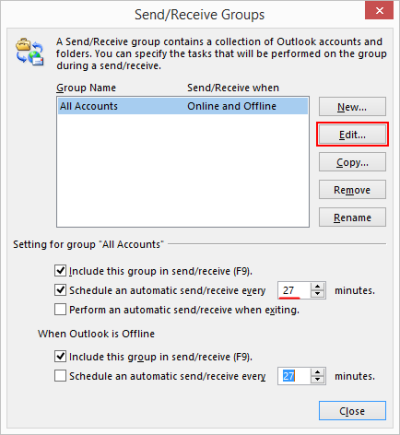
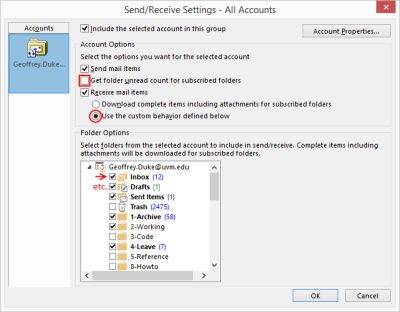
Click the Edit… button to change to settings for this (default) Send/Receive group. Here, I make the following changes:
- Uncheck the Get folder unread count for subscribed folder item
- Change the Receive mail option to Use the custom behavior defined below
- Check those folders that you want to “syncâ€
Click OK a couple of times and you should be good to go.
Some options I usually change
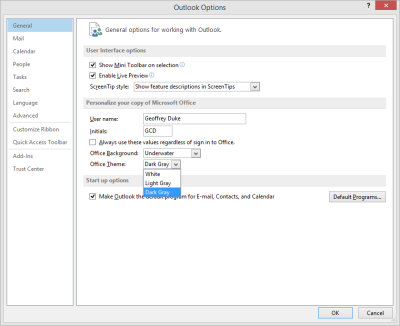
There are some addition settings that I change to make Outlook work the way I want. Open the Options window from the File menu → Options.
First, I fix my initials, and select the Dark Gray color scheme.
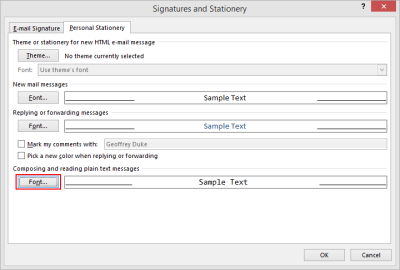
Next, under Stationery and Fonts, I select a monospaced typeface for plaintext messages. I like Consolas.
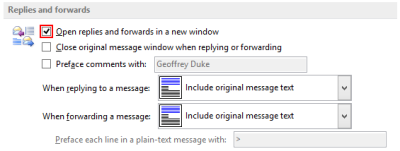
Outlook 2013 will create new reply or forward messages inline in the reading pane, rather than opening a separate window. I prefer the latter behavior, so I check the first option under the Replies and forwards section.
Some spammers will request read receipts on the messages they send, in order to identify those valuable live email address. I never send email receipts, so I set that option under the Tracking section.
Because I receive a lot of computer-generated plaintext email alerts and reports, I disable the Remove extra line breaks option.

And that covers most of the options that I change. There are some additional things I do to make Outlook 2013 work for me, but since this is getting really long, I will share those things in a separate post.
I hope this is helpful. Please let me know if you have any questions or suggestions for making these instructions more useful.